Carefulness costs you nothing. Carelessness may cost you your life.
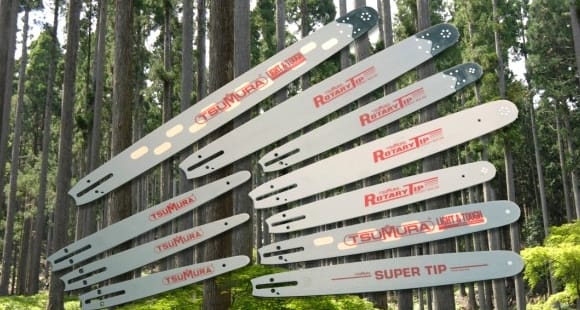
Let’s talk about the bar…
No, not that place you may go after work. There is much to be said for a cozy watering hole, but we aren’t going to talk about that today. Let’s have a heart-to-heart about your saw bar. It is definitely under-loved and over-used.
The bar is just as important as the chain, and it needs attention. Follow these steps to give your bar the TLC it needs:
- Wearing gloves, take the bar off the saw. Check to see if it is straight. On a long bar, you can sight down it. If you have a flat surface, lay a bar of any length down on the surface and look for light underneath it. If the bar is curved, it’s time to replace it.
- To make sure the side rails are level, stand the bar on its edge. It should stand up on its own. If not, use your flat file to level it out by filing from the tip downwards towards the opposite end. Test both the top and the bottom of the bar.
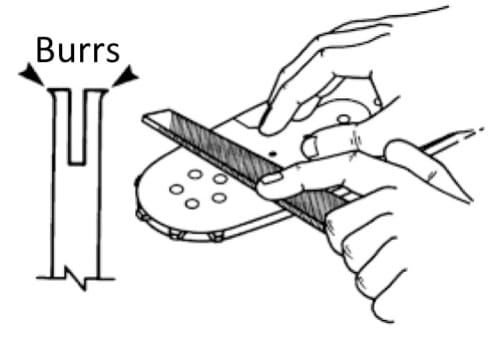
- Check the bar edges for burrs. Check both sides of both sides. You can do this by running a flat file along the edge of the bar starting near the tip and working towards the opposite end. File off any burrs.
- Clean the groove on the bar by running a bar cleaning tool in the groove to get the debris out.
bar cleaning tool - Grease the sprockets if you have a sprocket-nosed bar. There is a special grease gun that can be purchased to do this. Look for the hole near the sprocket that’s usually labeled “grease” and fill it with grease.
- Finally, put a new chain on it and check the chain for excessive side-to-side wiggle. The rails can spread when a pinched bar wiggles in a tree. If your chain wobbles side-to-side, time to get a new bar.
- Each time you sharpen the chain, flip the bar over to even the wear on both sides of the bar.


Now that this bar work is done, you we can talk about that other one . . .
Latest posts by Brian Maddy (see all)
- Oil and Fuel - January 31, 2017
- The Bar - January 24, 2017
- Sharpening Tips - January 17, 2017