Now that your seeds have germinated the fun begins! When most of the seedlings have germinated and look strong, think about removing the top dome. You can do this gradually by placing it askew on the seed tray for a day or two before totally removing the top.
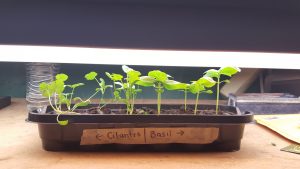
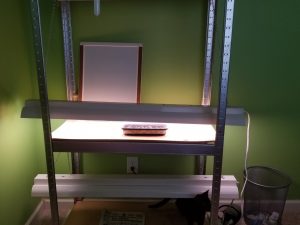
It is important to keep the light just above the seedlings and to move it as the seedlings grow. If the light is too far from the seedling, the seedling will become “leggy” as it grows towards the light.
Keep the light source close to the seedlings.
At this stage the seedlings are very fragile. When you need to add water, add it between the pellets. The flow of water can actually displace the seedling and/or damage the stem. Also watering from the bottom will help your roots grow longer. You want to avoid diseases such as damping off, so let the seedlings dry out before re-watering.
Fungus is your enemy here.
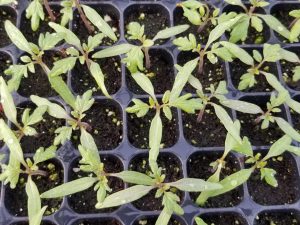
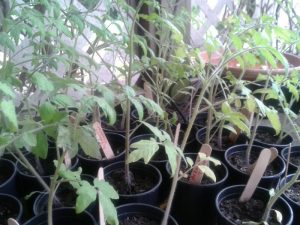
As the seedlings put on a few true leaves, they will outgrow the pellet and will need to be repotted in a larger pot with soil. After repotting you can keep them under the lights until the weather cooperates for transplanting in the garden.
As the seedlings get closer to that point, run your hand across the plants moving the stems slightly. The goal is to toughen the stems a bit so that they will be able to handle wind outdoors.
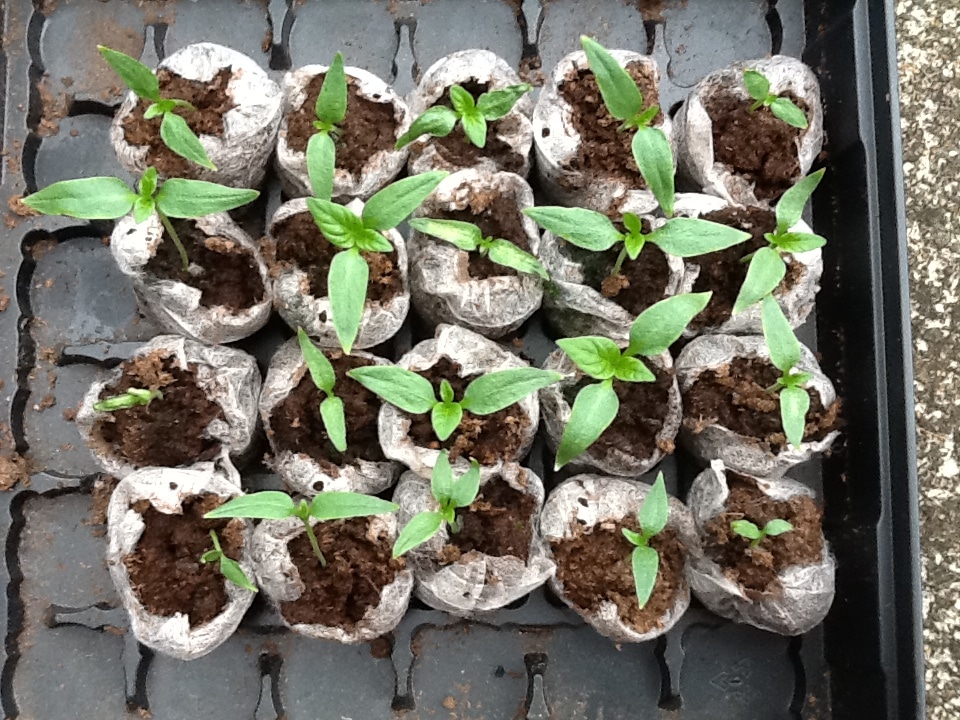
These seedlings are a bit leggy but they can still be good producers. Hardening-off is an important step.
When the weather is ready for transplanting you will need to harden off the transplants. If you take plants that have been living in a cozy, protected environment and move them into a place with full sun and wind they will suffer. You can avoid this by moving them out slowly. The first few days place them outside in the shade just for the day. Next, put them outside in the shade for the day and night. Then move them into full sun for a few hours. Finally, they are ready to be put in the ground. This type of hardening-off is the ideal way. You may not have all the time for all of these stages, but do the best you can. Your plants will reward you!
All of this rain has me very excited about getting back to our seed starting project.
I have one note about seed starting media. If you choose to purchase bagged media for starting seeds indoors, do not choose something with fertilizer in the mix. This will be too strong for seedlings. There are plenty of bagged mixes specifically for seed starting so choose one of those.
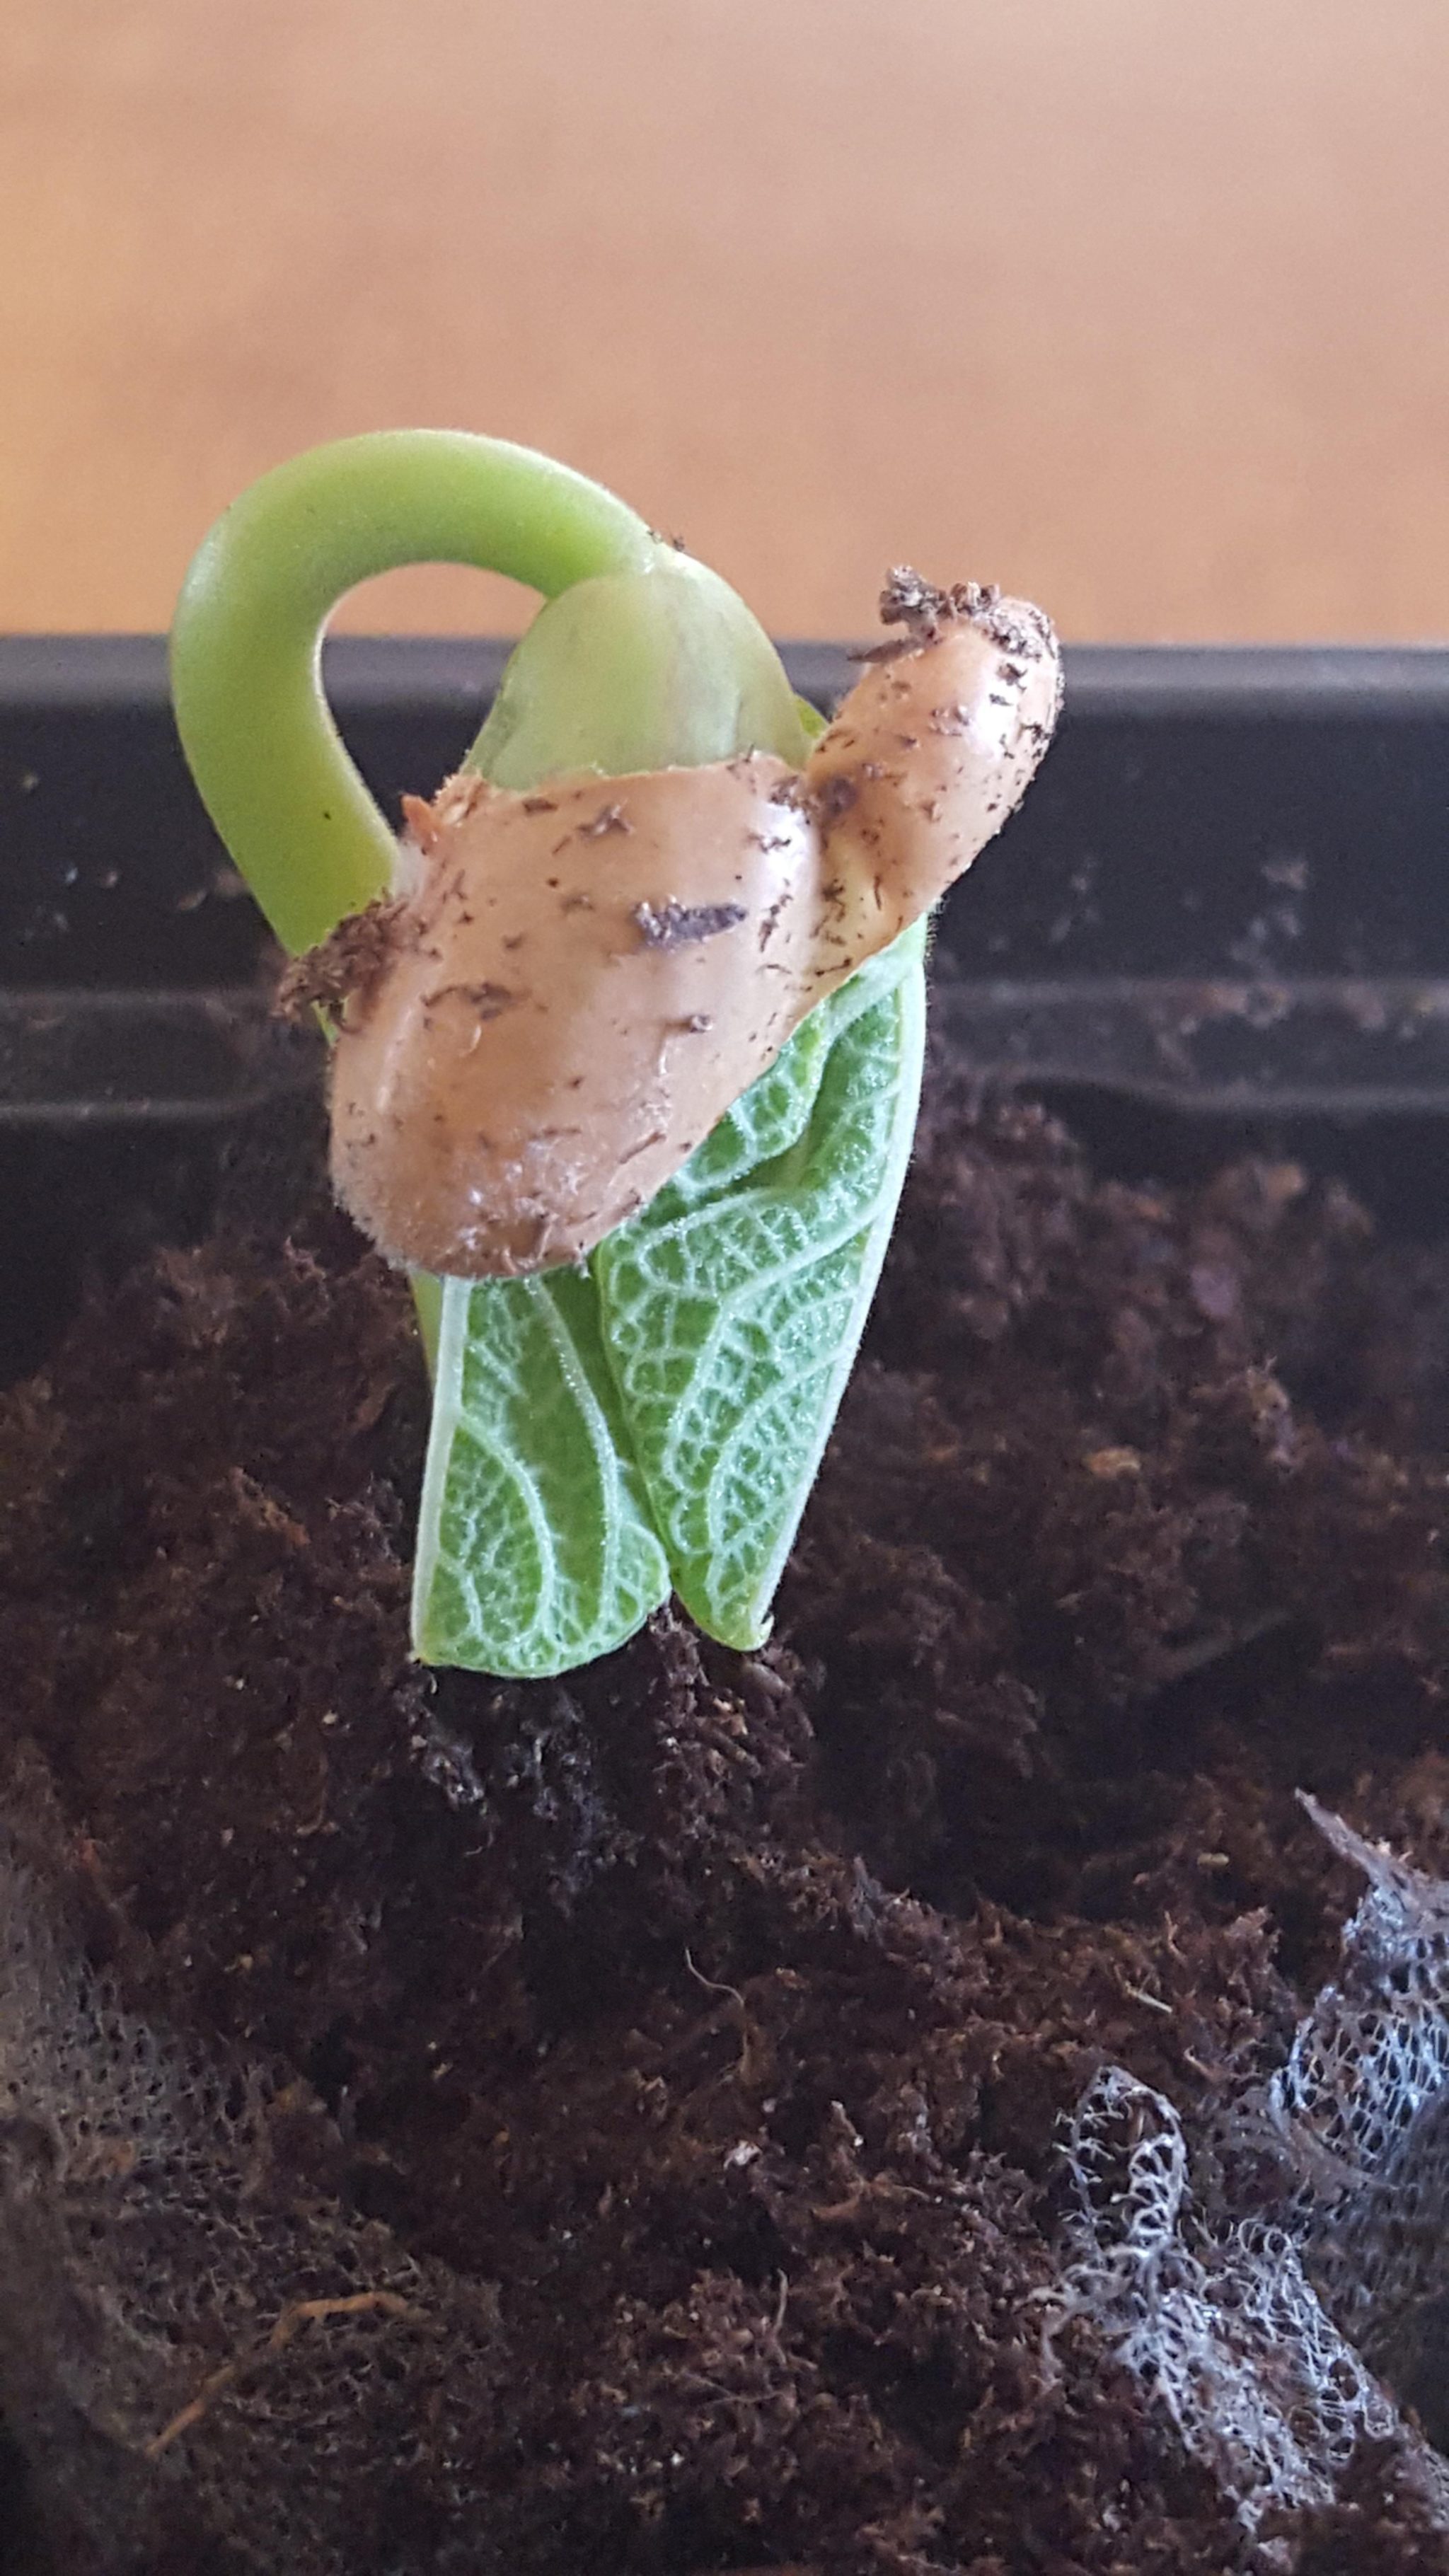
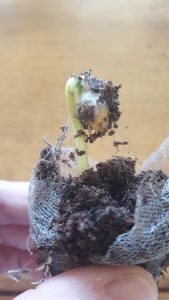
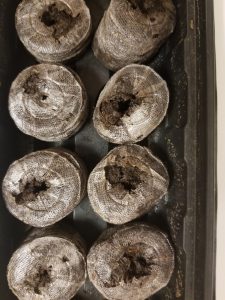
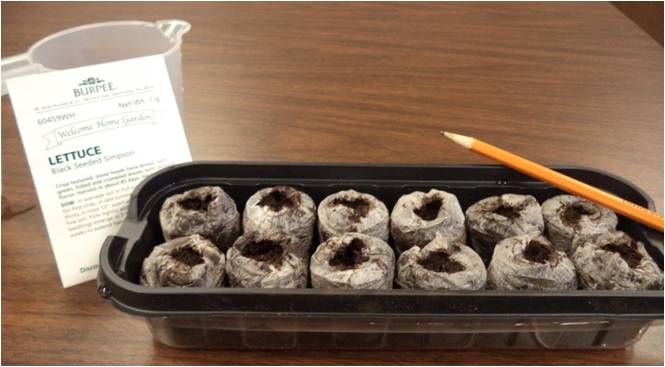
We are ready to expand our pellets. Notice the seed pellets are fully expanded with no standing water:
Seed pellets are not too wet but moist all the way through.
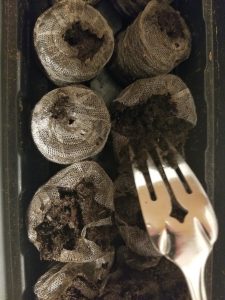
Next, take a fork and open up the top a bit and fluff the media. I like to take this time to make sure that the moisture is uniform all the way through with no dry spots:
Fluff the planting media with a fork to ensure uniform moisture.
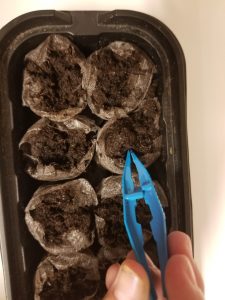
Now you are ready to plant your seeds. If you are mixing seed types in one tray, make sure that they will emerge and grow at about the same rate. I like to use plastic forceps to exactly place the seed where I want them. Some seeds, like lettuce and herbs, are very small and easily lost in the tray. Know how deeply to plant the seeds. Most of the ones you will probably plant just need to be lightly covered with the planting media.
Plastic forceps can be your best friend!
It is worth the effort to do some research on your seed types. For example, cilantro seeds don’t germinate easily when exposed directly to light. Also, there are some seeds that just do better planting directly into the soil, beans and corn are good examples.
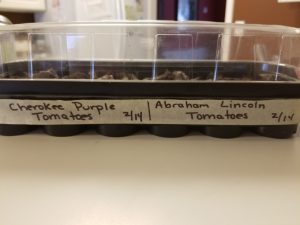
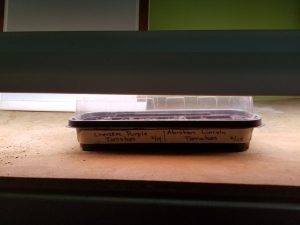
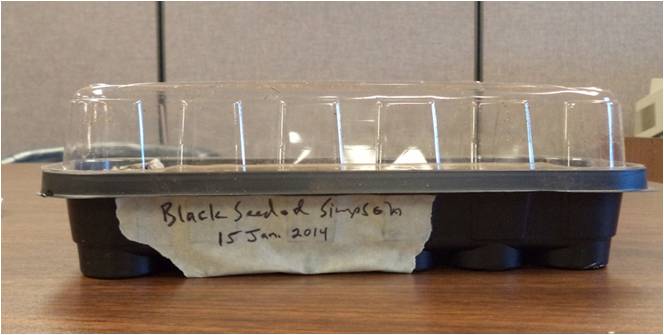
At this point it is a great idea to label your seed tray. Sharpie markers on masking tape work well. The tape sticks to the tray but can be removed later. Do not be tempted to label the lid. You will be removing the lid later and you don’t want to forget the original orientation. Finally, put the lid on the tray, making sure it fits tightly.
Do not forget to label your seed trays.
Do not place your seed tray near a window and hope for the best. You will be disappointed. You will not get enough light for healthy seedlings and the temperature fluctuation at the window will be problematic.
Use a light system. The system does not have to be complicated. I have a light fixture with florescent bulbs attached to a structure with moveable chains. This setup was originally housed in a bathroom tub but it is now in my grown daughter’s bedroom. Very simple. You need the chain to move the light so it stays just above the seed tray. To produce robust seedlings you need the light no more than an inch or two above the tray. This will be imperative as the seeds germinate and grow.
If you are germinating seeds in a place that is reasonably warm you do not need a heating mat. Those were designed for outside greenhouses and places like Michigan. By using a heating mat when you don’t need one, you risk drying out your planting media.
So far this is pretty simple, right? If you have any questions or concerns you can comment or email me at beckygri@uga.edu. Send photos! Next week we will discuss seedling care.
Over the next few weeks we are going to talk about seed starting. I did three in-depth posts last year and I am going to rerun them this year by request. Spring is coming….
Just flipping through one garden seed catalog I found 89 varieties of tomatoes, 21 varieties of cucumbers, 20 varieties of eggplant and 26 varieties of sweet peppers, including three types of lunchbox peppers. Compare that to the different types of vegetable plants that you would find at your big box retail store. Add some variety to your life and try starting your own seeds!
The rule of thumb is to start your warm-season seeds 6-8 weeks before planting time so over the next weeks we are going to explore indoor seed starting in-depth. For beginners, follow along with me as you start your first seeds. For seasoned seed-starting veterans, you may pick up a trick or two. I also encourage you to share your experience through the comments.
Let me begin by writing that there are many effective ways to start seeds indoors. I am going to share with you the way that I like to do it. I have been starting seeds indoors for decades and I have found a way that works best for me. You may find a different way that works best for you and that is terrific. I look forward to learning from you all as well.
To start, I like these re-useable plastic trays. They are easy to store and come in many sizes. I have friends who save their old plastic milk jugs and trim them down for seed starting; that works well for them.
These trays are easy to use for seed starting.
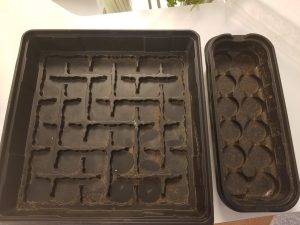
Any plastic trays MUST be disinfected before adding soil media and seed. I use a solution of 9-parts water to 1-part bleach. This step is important to eliminate any pathogens that have been overwintering on remaining soil particles. Starting with clean trays is an important step towards healthy seedlings. Don’t skip it.
These soil particles could hold pathogens. Disinfect those trays!
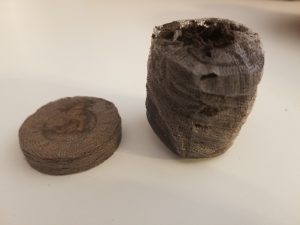
I like to use the peat moss discs for my planting media. As a bonus, the peat moss contains properties that discourage fungal growth. This helps prevent the disease damping off which is a real problem for seedlings.
The pellets expand with the addition of water.
These pellets are readily available and are easy to store. Add water and the pellets expand. I use warm water to create a favorable environment for the seeds. It is important here to not oversaturate the discs with too much water. Too dry is better for the seeds than too wet. Too wet means that the seeds could rot or disease will become a problem. You want the planting media to be just damp. If you can wring water out of the media, it is too wet. If this happens you can let the discs sit outside the tray for a few hours so that they can dry out a bit. You will get the hang of how much is too much as you practice.
Okay, gather your seed starting equipment, and play around with the pellets. Next week we will talk about planting the seeds.
I have been asked to re-run this wonderful post from seed starting expert, Amy Whitney, of Cobb Extension. It is time to start your indoor seeds. Amy gives us all the details….
What you’ll need:
Seeds
Planting medium
A container with a clear lid
Light source
Time
Which seeds can I start now?
Seeds that are good to start ahead of the usual spring planting typically are those that have a long time-to-maturity, like tomatoes, peppers, and eggplants. Other seeds to start indoors include many kinds of greens.
Will any potting mix work?
Seed tray the pellets made of peat moss. The pellets expand with the addition of water. – photo by Amy Whitney
Regular potting mix is not the best choice; instead, choose a seedling starter mix. Such a mix will be finely textured, so that small seeds don’t wash too deep down into the mix. Also, it should be sterile (or nearly sterile), so the damping-off fungus that attacks seedlings is less likely to strike. Seedling starter mix can be purchased in small bags to use in your own containers or as flat pellets of either peat moss or coconut coir that inflate as they absorb water.
Why does the container need a lid?
Jiffy seed tray with lid. Labeling your seed trays with the type of seed planted and date of planting is helpful.- photo by Amy Whitney
Seeds need to be kept evenly moist but not soggy. If seeds are too wet, they tend to rot rather than germinate, and if they are too dry they won’t germinate, either. The lid helps moderate moisture levels in the container. The lid should be clear to let light in for the growing seedlings. As the seedlings grow taller, the lid will need to be removed.
If the seedlings are in a very sunny window, the “greenhouse” lid may allow too much heat to build up inside the container. Check your seedlings to make sure the young plants don’t end up being cooked under the lid!
Trays and flats especially designed for starting seeds can be purchased at most garden supply stores, but “clamshell” type containers that previously may have held salad greens from a grocery store can also work, after a few holes have been made in the bottom half to allow excess water to drain away.
How much light will my plants need?
After germination has occurred and seedlings have pushed their seed leaves up above the soil level, a strong light source will be needed. A very sunny window is good, but more hours of light would be better. A fluorescent light kept a couple of inches above the tops of the plants for 14-16 hours each day can help provide the needed light.
This sounds easy. When can I start?
You can count back the correct number of weeks for your seeds from the last expected frost date in your area. As an example, a seed that should be started 6-8 weeks before the last frost in an area with an average last frost date of April 10 should be started between February 11th and 25th. Most seed packets include the information about when to start seeds indoors.
Your seed-starting flats or containers will also need to be kept at an adequate temperature range for best germination results. The good news is that the same temperatures that work for most humans, 65-75 degrees F, are also good for seed germination and seedling growth!
As the seedlings mature, they will need to be transferred to more-roomy accommodations (new pots!) with fresh potting mix, to encourage further growth and development.
For additional information and expanded explanations of the above steps, check out UGA’s new guide to seed starting, “Starting Plants from Seed for the Home Gardener” by Horticulturists Sheri Dorn and Bodie Pennisi. UGA’s “Home Garden Transplants,” by UGA Horticulturists Wayne McLauren, Darbie M. Granberry, and W.O. Chance, is another great source of helpful information. Of course, your local UGA Extension Agent is always ready to help!
Amy is a Horticulture Program Assistant for Cobb Extension. She loves seed saving and saves seeds from a heirloom tomato given to her by a guy she met at a seed rack in Home Depot many years ago. Amy will talk plants with anyone! Thanks again Amy. Great information.