Dr. Jason Lessl Talks Soil Testing

Winter is a season of waiting for gardeners. But winter is the perfect time to work on our soil. When is the last time you had a soil test? This week Dr. Jason Lessl gives us a refresher on why and how to soil test. Dr. Lessl writes….

One of the most fundamental, but often overlooked aspects to any successful vegetable garden, flower bed, landscape, or lawn is good, fertile soil. Getting your soil tested by a laboratory is the best and most accurate way to assess your nutrient and pH levels which are vital components of maintaining your soil.  The University of Georgia Soil, Plant, and Water lab offers such services (www.aesl.ces.uga.edu). 

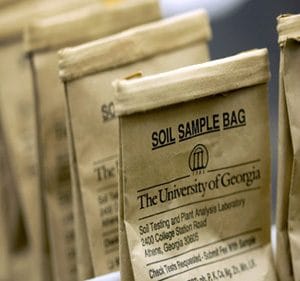
When you send a soil sample to a lab, you will receive a detailed report of soil nutrients levels along with crop-based recommendations on how to fix any potential deficiencies. The steps required to submit a soil sample are simple and can be achieved through a few items commonly found household items. You can start by contacting your local county extension office to acquire soil bags and get information on how to submit your samples.  Locate your county office here: http://extension.uga.edu/about/county/index.cfm or call 1-800-ASK-UGA1.
Soil Testing for Georgians - a guest post by Jason Lessl
Soil testing is available at your local UGA Extension office.

When to soil test?

Soils can be tested any time during the year, although it is typically best to take samples in the Fall/Winter.  This is the time of year when most plants are dormant and the soil is most accessible.  If pH adjustments are necessary, it is also the best time to apply amendments as it can take several months for them to take effect.  Lime (to raise pH) and sulfur (to lower pH) reacts slowly and, if possible, should be mixed with the soil at least two to three months before planting.
Soil Testing for Georgians - a guest post by Jason Lessl
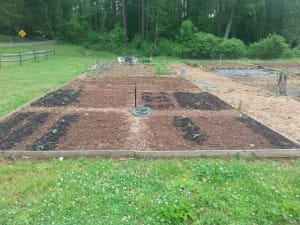
Soil from a community garden in Woodstock.

How often do I test my soil?

For intensely cultivated soils (i.e. vegetable gardens), an annual soil test is recommended.  Otherwise, for lawns and ornamental areas, after medium to high fertility levels are established along with the appropriate pH, sampling should be done every two to three years.

Steps in Soil Sampling

Recommendations about when and how to apply nutrients are only as good as the soil sample submitted for analysis. To obtain a representative soil sample, the following steps are useful:

Map out the entire property. This will help in record keeping and ensure that the soil sample is representative of the entire area. Divide areas such that each soil sample represents one general plant type.  For example, separate vegetable gardens, blueberry bushes, ornamentals, fruit trees, lawn, etc.  If you have specific problem spots, sample those areas separately.

Use clean sampling tools and containers to avoid contaminating the soil sample. Collect samples with any digging tool you have available (hand trowel, shovel, soil probe, etc.).

Slightly damp soil is the easiest to work with if you can wait for those conditions.  Clear the ground surface of grass, thatch, or mulch. Push your tool to a depth of 6 inches (4 inches for lawn areas) into the soil.  Push the handle forward in the soil to make an opening then cut a thin slice of soil from the side of the opening that is of uniform thickness, extending from the top of the ground to the depth of the cut.  Repeat this process in a zigzag pattern across your defined area, collecting 8-12 samples to mix together.  For trees, take soil samples from 6-8 spots around and below the leaf canopy. Take about a pint (~2 cups) of the mixed soil (after removing large rocks, mulch, sticks, and roots) and fill the UGA soil sample bag.  Be sure to label the sample clearly on the bag.  If the samples are wet, spread the soil out over clean paper and let them air dry.  Otherwise, take your samples to your local extension office for submission.  Once the lab has received your soil, it will take 2-3 business days to get your report.

Dr. Lessl is a program coordinator for UGA’s Soil, Plant, and Water Lab.  He understands the importance of the garden ecosystem as he is a fellow bee lover!

Spring is coming! Will your soil be ready?
Tiny Topics – Mulch

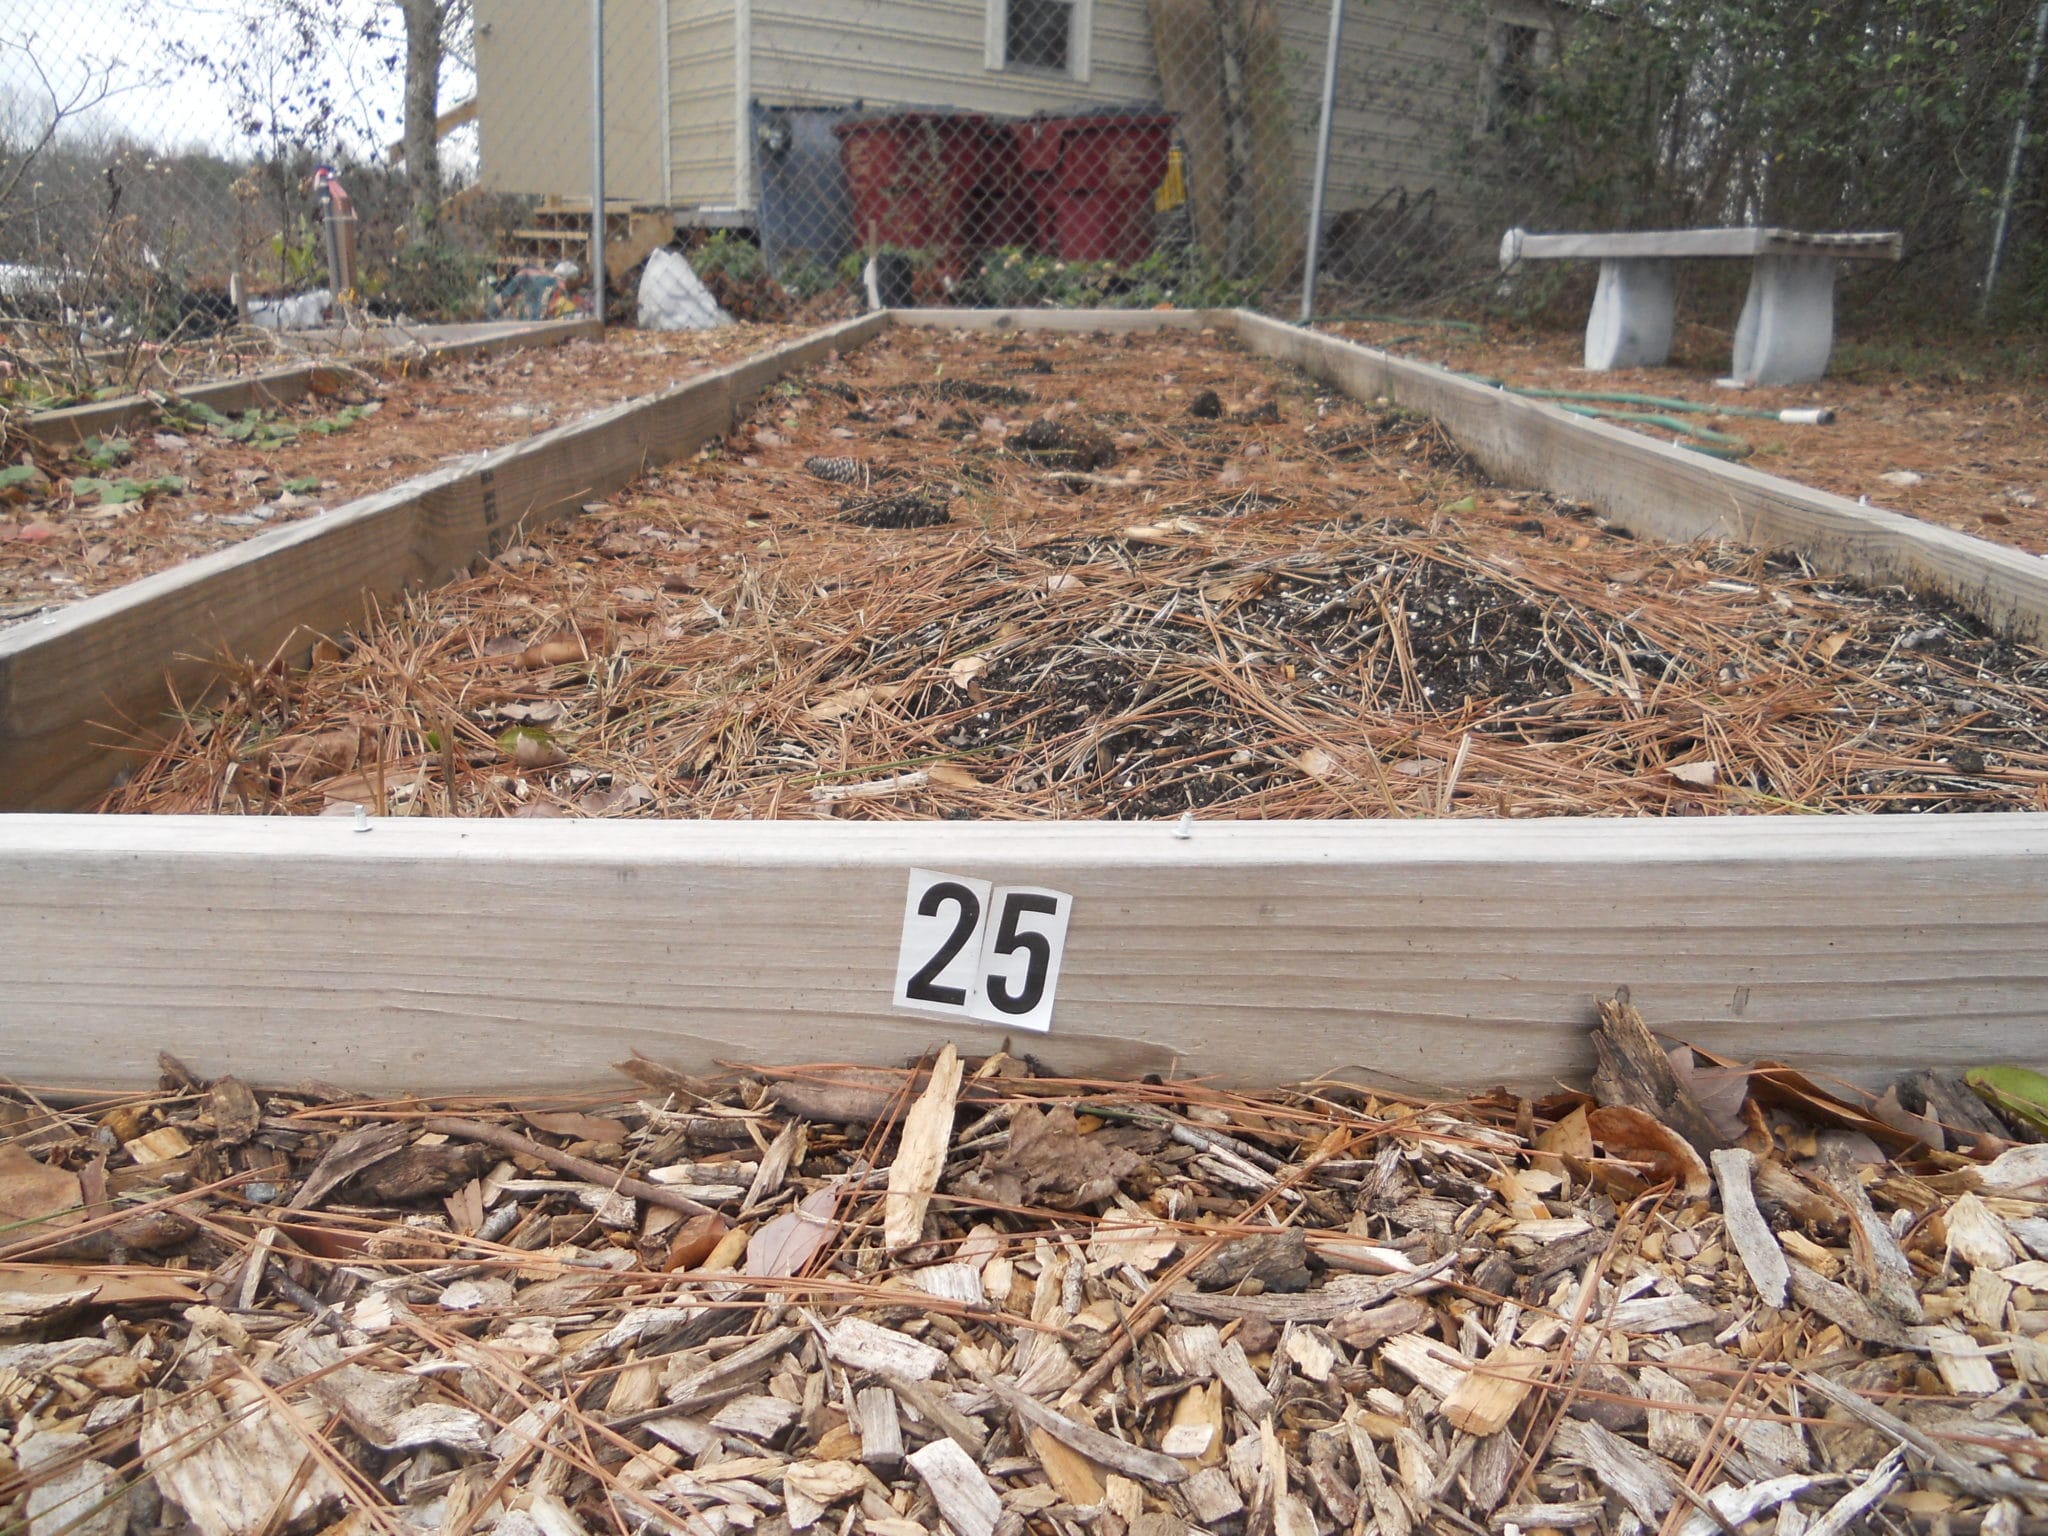
To finish our series on “tiny topics” I want us to think about mulch. Most gardeners already know that mulching our plant is a MUST. It helps even out soil temperature and moisture and it holds down weeds. But we can improve how mulch works for us if we take a minute to look at it critically.

Choose your mulch type wisely. The first rule of thumb is that you want mulch to be inexpensive and easily available. However, you also want mulch that is free from weed seeds. I have purchased hay as mulch that ends up contributing more weed seed than it prevented.

Using a lightweight mulch is best for a seed bed.

If you are using the mulch in a seed bed you want the elements of the mulch not to be a hindrance to seed emergence. If a small seed is pushing against a wood mulch nugget that is a problem. Lightweight mulch is best.

Often communities will give free mulch made from old Christmas trees. Be cautious of receiving this type of mulch. It is often full of large tree chucks which will be problematic for small seeds and can damage plant stems.

Consider changing your mulch. Especially if you are growing food crops, consider changing your mulch each season. Disease-casuisng organisms and pest insects can often overwinter in mulch and plant debris. Replace old mulch with new disease-free mulch. Another piece of the integrated pest management puzzle!

I hope with this series you have had a change to realize how even small garden elements can have a big impact on your garden’s health. I have appreciated the feedback and emails about this series!

Happy Gardening!

Tiny Topics – Garden Tools

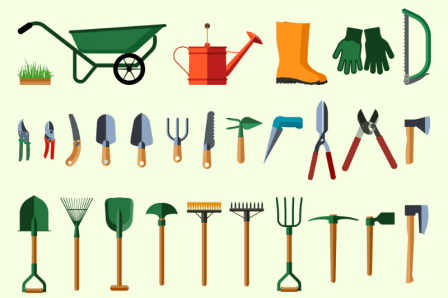
For our next post on “tiny topics” I want to visit the topic of garden tools. It is easy to take our tools for granted. I have visited gardens where trowels and shovels are just left in the elements. They rust, become lost in garden debris, and blades become dull. Take some time during this slow garden season to evaluate, repair and clean your tools. Stocking the Garden Shed is a wonderful publication if you need guidance on adding to your tool shed.

Tool shed at Woodstock Community Garden. Tool sheds are a great addition to the community garden.

It may be surprising to discover that how you use your garden tools can have an impact on disease management in the garden:

#1 Making improper pruning cuts or using a dull blade can damage plants and open up pathways for disease-causing organisms to enter your plant. Be diligent in your pruning skills and do not damage your plant. I have seen old pruners actually rip the bark off of a fruit tree because the cut wasn’t crisp. Keep those blades sharp.

#2 Using a tool on a diseased plant and then using that tool on another plant can spread disease, even if that tool is left for several days between uses. Bacteria, viruses, and fungal pathogens are easily moved and in part that count on that for survival. Fungal pathogens can produce structures called survival spores which can be viable for a long period of time. If you make a cut with pruners on a diseased plant or use a shovel to clean up diseased plant debris you could be unknowing transporting some of these spores to a clean, disease free plant.

It is worthwhile to disinfect your tools. Using a cleaning solution of 1 part bleach to 9 parts water is a recommended ratio for proper disinfection. You will find that getting into the routine of proper tool cleaning will be another piece of the puzzle in your integrated pest management system.

Happy Gardening!

Tiny Topics – Plant Spacing

Today we continue our series on tiny topics and we are exploring plant spacing. We all want to get as many plants as possible in our garden space. That is understandable, especially when you garden in a small 4′ X 8′ community garden plot. More plants equals more vegetables, right?

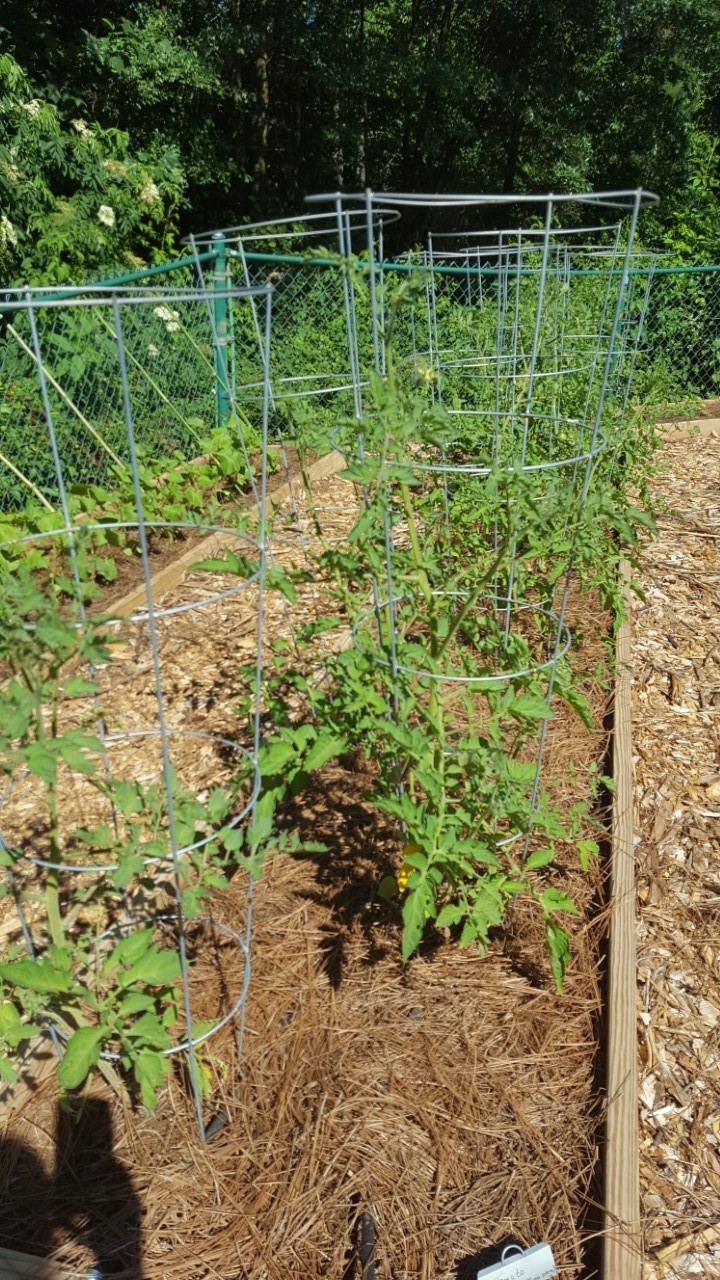
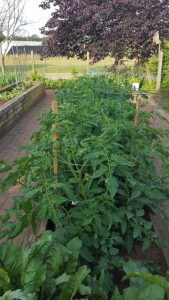
These tomatoes are planted way too close together.

Reasons plant crowding is problematic:

#1 Seedlings planted close together do not have room to grow and develop. Tall plants can actually lean on small plants. This can cause damage to the smaller ones. I have seen tomatoes planted too close to bush beans. Inevitably the tomatoes arch over to the beans breaking stems, leaves, and blossoms off of the beans.

#2 The plants in your plot are competing for resources, especially soil nutrients like nitrogen. If individual plants are suffering because of lack of nutrients this could mean a less healthy plant and less food production.

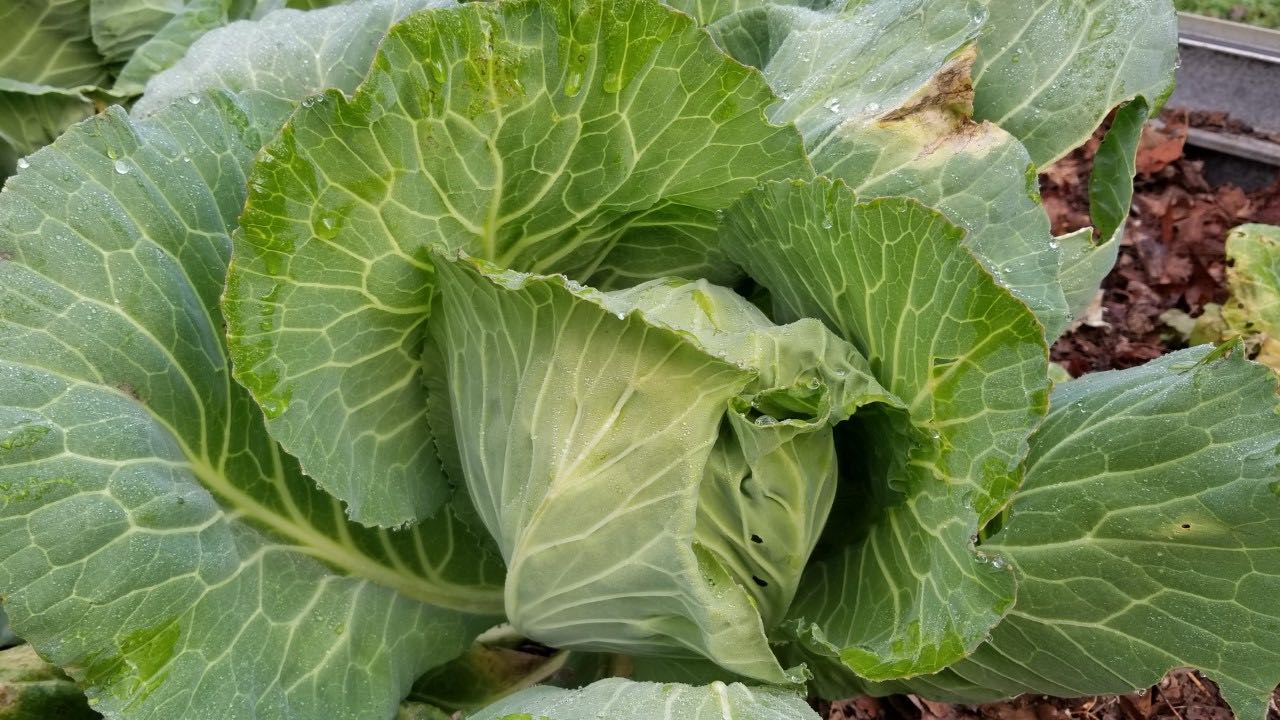
#3 Plant crowding creates a microclimate where plant leaves do not have enough air circulation to dry out. As we all know wet leaves lead to (say it with me) disease!

The takeaway is to think about what each individual plant needs as it goes into your garden. Happy Gardening!

Tiny Topics – Watering Practices in the Georgia Garden

I hope everyone enjoyed a wonderful thanksgiving! Today we resume our series “tiny topics.” Our next tiny topic is watering. How we water our plants can make a huge difference in our plant health. There are three things every gardener needs to know about watering:

#1 Avoid watering overhead if possible. Many of our plant disease-causing pathogens thrive in wet conditions. By wetting the leaves and plant blossoms we are creating an ideal environment for the spread of disease. Most community gardeners do not have drip irrigation systems that add water at the soil line and that is okay. Just be mindful when you are watering to focus the water on the soil line and not the plant leaves.

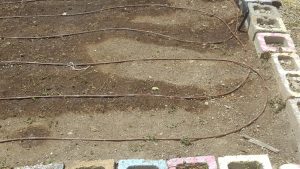
Drip irrigation systems are ideal but not always practical.

#2 The best time to water is in the early morning. This allows the plant leaves to dry off as the sun comes up. Again, water spreads disease! For most community gardeners this is not possible. Many gardeners head to the garden in the evening after work. Just knowing that you don’t want plants going through the night with wet leaves will help you be a better waterer.

#3 Don’t work in the garden while it is wet. There is no better way to spread disease then by working in a wet garden. Not only is spreading disease a problem but walking on wet soil can create soil compaction.

You may have heard these best management practices before today. But hopefully by knowing why these practices are important will allow you to modify your habits and your garden will thank you!

Happy Gardening (Watering)!

A Community Garden Thanksgiving Story

Years ago I was privileged to visit a community garden full of senior citizens that loved to garden. Most of them were women of the old Southern tradition. Their leader, Mrs. Banks, was dedicated to the garden and called me “honey” when I visited. It was a special place. Thank you Fred Conrad for introducing me to it.

The garden had the support of their larger community and that allowed them to grow needed food for their tables. This garden facilitated neighbors visiting with neighbors and sharing meals. Very good stuff.

One year the entire group was growing collard greens to share on Thanksgiving. As all Southern gardeners know, collard greens are only good after a frost. We had an early frost that year so the crop seemed promising. The gardeners woke up on Thanksgiving morning to find that their collards had been ripped from the garden, stomped on and destroyed. There Thanksgiving feast was ruined. What had happened?

The group discovered that a young man, visiting his grandmother for the holiday, had done the damage. The group had a choice. They could notify the police. The young man could be charged with a crime that could follow him as he became an adult. The group decided they would handle it on their own. They had the vandal clean the garden and they put him on garden chore duty for quite a while. Thinking about it facing the police may have been easier than facing an angry Mrs. Banks!

I have thought about that young man. What kind of person is he as an adult? I suspect that his encounter with this group of Southern gardeners had a positive effect on him. By handling the problem themselves they showed him some very tough love. I think he was the better for it.

On this Thanksgiving I am thankful for the ladies of this garden, thankful for gardens like this everywhere, and thankful that community gardens are only partly about the food but more about the community.

Happy Thanksgiving!

Tiny Topics – Microclimates in the Georgia Garden

Over the next few weeks we are going to explore “tiny topics” in the garden. These will be garden topics that are more in-depth than a horticultural overview. My goal is to have us all thinking about gardening in a more deliberate way. Our first topic is microclimates. What are they? How can they make a difference in your garden?

Most gardeners are familiar with the USDA plant hardiness zones. These are based on average annual extreme minimum temperatures. For example if your average annual extreme minimum temperature is 10 – 15 degrees F your plant hardiness zone is 8a. These zones are based on past climatological data. Suggested planting dates and many plant recommendations are based on these zone assignments.

But what if your garden is located close to the south side of your home? At this location the temperatures don’t get quite as cold as if the garden was located in the middle of an open field. This is a microclimate. By planting mint right next to the south wall of my home in an area also protected by a porch wall I am taking advantage of a microclimate that allows me to have fresh mint most of the winter.

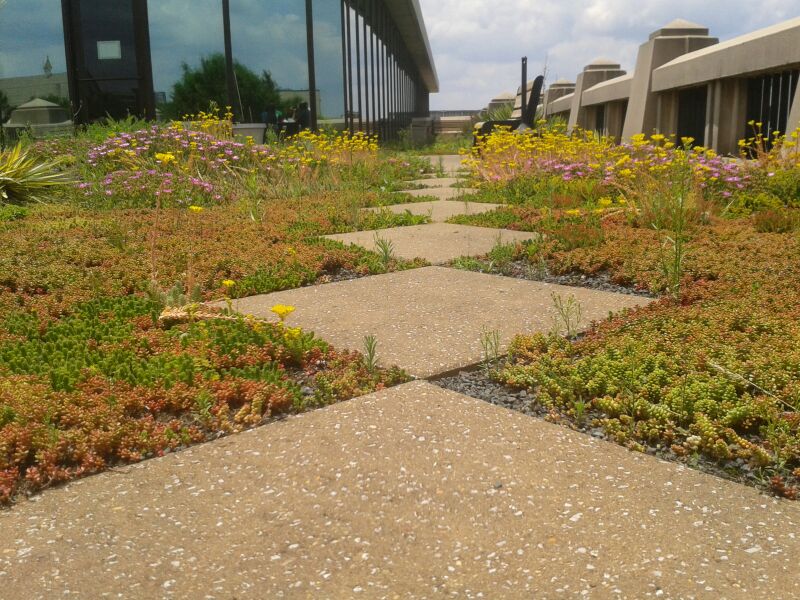
On the other hand a garden located on a rooftop in Atlanta is brutally hot in the summer. The full sun in an area where building materials create radiant heat and reflected sun light means that cactus are happy there. Another microclimate.

This microclimate in Atlanta means a cactus garden.

What if your garden is in a bit of a valley in your landscape? You may notice fog settles there or dew seems to last longer in the mornings. In this microclimate you need to look out for fungal diseases that occur with cool moisture. Downy mildew may be a problem for you.

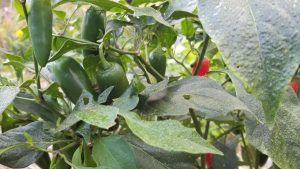
I recently visited a community garden in the North Georgia mountains. Even after officially reported night time temperatures of 32 degrees F the gardeners were still harvesting peppers. The group took advantage of a microclimate next to a shed that prolonged the growing season.

Late peppers in North Georgia

Using plastic to artificially warm up the soil in the early spring creates a microclimate that allows seeds to germinate early. I have used this technique in the past to plant squash early in an attempt to outwit squash pests.

I hope these examples have you thinking about the microclimates in your own garden. They may allow you to grow crop varieties that you would never have tried before or you may extend your growing season.

Happy Gardening!

Why Don’t More Georgia Gardeners Plant Cool-Season Vegetables?

I am often amazed at the number of community garden plots that remain empty during the fall, cool-season growing time. Many times the plots are simply abandoned with warm-season crop debris mixed with growing weeds. Why aren’t these spaces full of edible leafy greens?

After speaking with many of these gardeners and garden managers, my anecdotal research reveals that gardeners are simply tired. I have heard it many times. They have spent many summer hours in the garden and they want a break. They associate a garden with tomatoes, squash and cucumbers instead of lettuce, onions, and broccoli. It is a shame because cool-season growing is often superior to summer gardening.

1. Pest and disease pressure is lessened.
2. The hot outdoor working conditions are over.
3. We can grow many types of vegetables in the cool-season garden.

On the other end of the spectrum I have met gardeners who plant a cover crop in the summer, purchasing their tomatoes and cucumbers at the local Farmers Market. They would rather take the summer off and do their planting in the cool-season.

I would like to challenge you to garden a bit differently in 2019. Try growing something new, grow in a different season, or expand your garden knowledge. Over the next several weeks we are going to explore these topics to have you all prepared to challenge yourself in the coming year.

Happy Gardening!

Fall Festivals and Your Community Garden

October means fall festivals and seasonal events across the state of Georgia. From Blue Ridge to Savannah, from Augusta to Columbus everyone is celebrating fall. What is your community garden doing to celebrate? This time of year is perfect for emphasizing the “community” in your garden. Some suggestions:

Host scarecrows in the garden! This is done with flair at the Atlanta Botanical Garden and the Research and Education Garden in Griffin. Why not your garden? Ask local businesses, civic groups or schools to create a scarecrow to exhibit. This could be a contest where visitors vote and a local celebrity awards the prize. For a twist have the exhibitors create/decorate crow birds which can perch with a spooky flair in the garden. Craft stores sell crow bird props at low prices, easy to decorate.

Season storytelling in the garden for all ages. Enlist some garden members or community leaders to lead a spooky storytelling event in the garden. Reading an Edgar Allen Poe story or poem dressed in period costume would create excitement for sure. If your garden is large enough you could station readers around the plots.

Have a pumpkin decorating contest. Even if your garden does not grow pumpkins you could purchase some from a church pumpkin sale. Or, you could use other vegetables. Have visitors decorate a pumpkin/vegetable and take the opportunity to educate community members about growing vegetables.

Celebrate with an open house. If your community already has a scarecrow exhibit or other events simply add an open house to be part of the larger town effort. An open house does not to be much work on your gardeners and would be an excellent opportunity to let your town know about your beautiful space.

Whatever you decide to do, enjoy the fall season! You’ve earned it!