Community Food Gardening in the Desert

Less than 10 miles outside of Las Vegas’s famous strip is a community food garden.  Vegas Roots is a garden in the desert. On a recent trip out west I thought it would be fun to visit a garden with very different growing conditions than what I was used to in Georgia.  And, I was curious to know what they were growing in the desert!
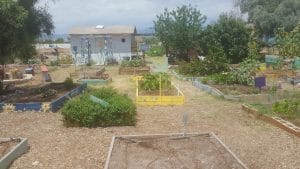
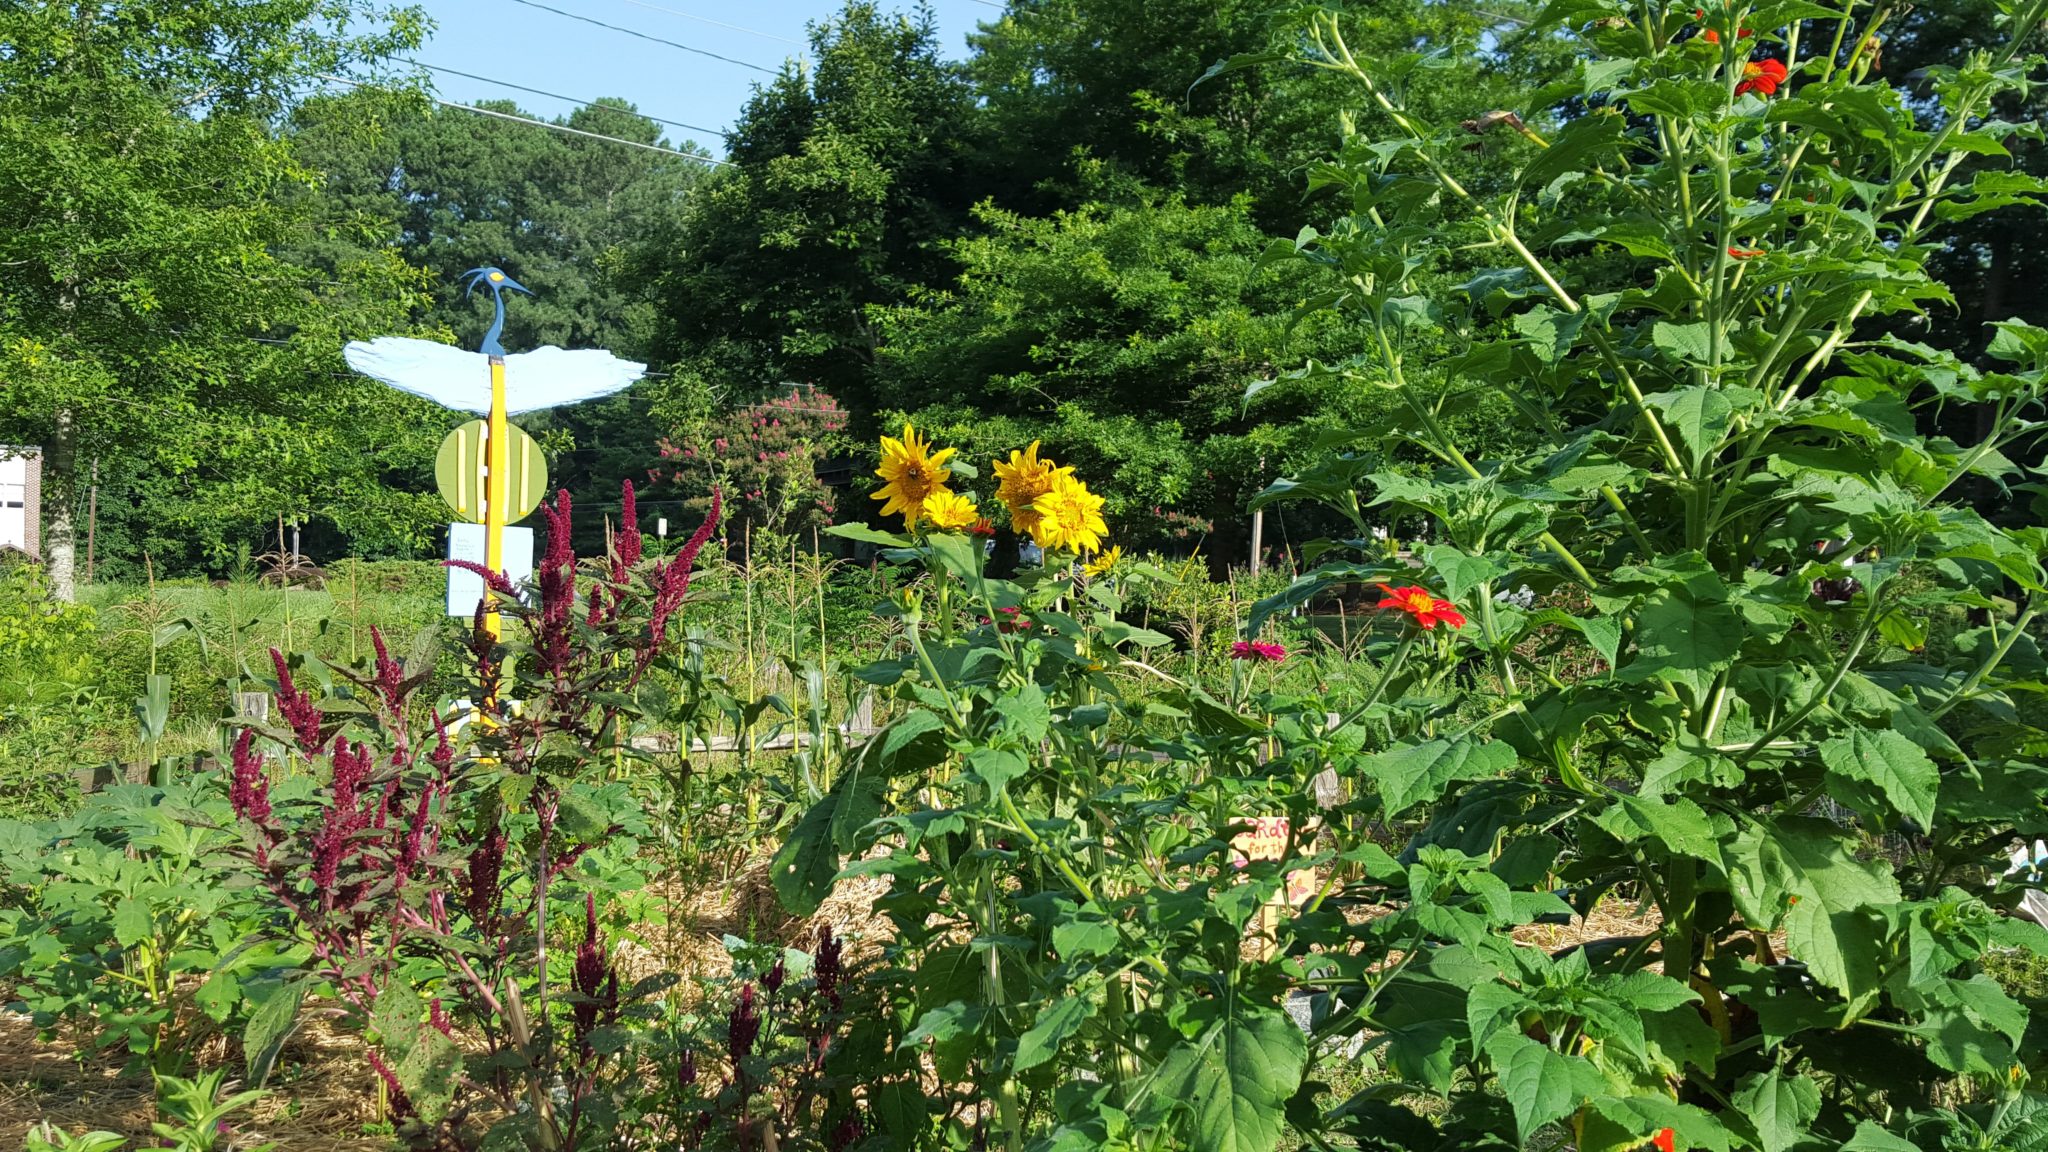
Vegas Roots Garden on a hot, July day.

The Climate

The climate in this area is hot in the summer, really HOT!  In July and August it is not uncommon for temperatures to be over 110 degrees F.  And, it is dry.  The average rainfall is 4.17 inches; compare that to Georgia’s 55 inches.  So, how does this garden grow?  It grows pretty well!

Vegas Roots Community Garden was created six years ago.  It is a multi-faceted space that contains plots for community members to rent, an area for children’s gardening, and rows for growing food that is donated to seniors and others in need.  Volunteers are always welcome and the nearby casinos are very supportive of this space.

Growing Food in the Desert

If you are interested in renting a 5′ X 10′ plot the cost is $500 per year.  The plots come with improved soil and a drip irrigation system installed.  The irrigation is automated and most of the rent costs go to pay for water.
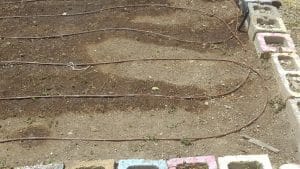
Irrigation systems are installed in all the gardening beds.

I visited this garden in early July and was surprised to see beautiful tomatoes and large squash fruits.  With a climate so dry, Vegas Roots Community Garden does not have the fungal disease problems that we struggle with in Georgia.  I got to eat juicy, ripe raspberries and saw apricot trees.  Herbs were plentiful and sometimes the garden sells them to restaurants.  My tour guide, Betty, says they will get burnout of plants later in the summer.
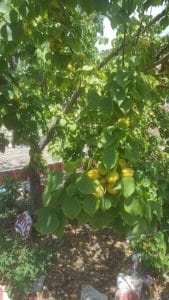
It turns out apricots grow fairly well in this desert garden.

I asked about pollinators and it turns out that there are native bees and other pollinating insects that pollinate the plants.  The gardeners plant pollinator flowers to attract them, but pollination is not a problem.  The garden does not allow pesticides.
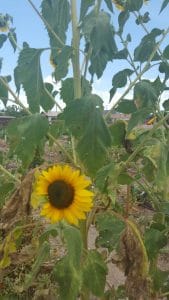
Sunflowers help attract native pollinators.

The afternoon I was there a delegation from South Korea was due to visit the garden.  It turns out those South Koreans are interested in setting up community gardens in their neighborhoods.  Betty indicated that they often get visitors who are in town for the more famous Las Vegas sites.
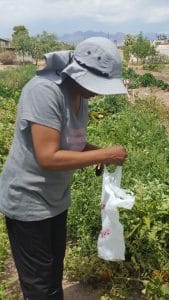
Vegas Roots volunteer, Betty, is justifiably proud of the garden.

What a great treat to see such a lovely space.  Thanks, Betty!

Happy Gardening!
The Importance of Soil Temperatures in Your Garden

It is the time of year when Georgia gardeners think about their Fall, cool-season gardens.   Leafy greens like spinach, leaf lettuce, and kale are all popular cool-season crops.  They don’t require the time necessary to make a “head”, you can eat the thinnings, and the varieties available are endless.

The Importance of Soil Temperatures in August
Lettuce in the Trustees Garden Savannah, Georgia

Often at the beginning of cool-season planting time, germination rates can be an issue.  “I have purchased new spinach seed and my germination rate is only about 50%.”  Or, “My arugula just did not come up at all.”  The problem might not be the seed quality but the soil temperatures, especially in a hot summer like we have been experiencing.  Seeds require a specific range of soil temperatures for best germination.

This chart from Cornell University shows optimum soil temperatures for germination of popular cool-season crops:

Crop Soil Temperatures needed for Germination Comments
Arugula 40 – 55° F May fail to germinate in warm soils
Lettuce 40 – 85° F Best germination below 70° F
Spinach 45 – 75° F May fail to germinate in warm soils
Kale 45 – 85°F
Collard Greens 45 – 85°F
Mustard Greens 45 – 85°F

If soil temperatures are close to the range extremes, the germination rate will definitely be affected.  These temperatures not only affect the germination rate but how quickly the seeds emerge.  For example, at 50°F spinach seed can take as much as three weeks to emerge.  At 70°F you could see emergence in just days.

Here are soil temperatures being reported by the University of Georgia Weather Network as of Tuesday, August 30th at 9:30 a.m.

Location Soil Temperature at 2″ depth
Ellijay  73.5 °F
Dallas  79.6 °F
Jonesboro  77.3 °F
Statesboro  83.0 °F
Tifton  78.9 °F
Valdosta  80.4 °F

Using the information shown, gardeners will have a difficult time growing spinach at this time in most parts of Georgia.

The lesson, be patient and monitor your soil temperatures.  Cool conditions are coming, I promise!

Happy Gardening!
August Gardening Chores for Your Georgia Garden

It is hot but there is work to be done in the garden!  According to UGA’s Vegetable Planting Calendar  :

Plant the following no later than the dates given:
—August 18: Snap beans and Irish potatoes (seed can be sprouted two to three weeks before planting).
—August 31: Cucumbers and squash; plant varieties resistant to downy mildew.

In order to calculate the planting date, determine the frost date and count back the number of days to maturity plus 18 days for harvest of the crop. If snap beans mature in 55 days and your frost date is November 15, you should plant on or before September 3.

August Gardening Chores for Your Georgia Garden
Chamblee Senior Center Garden

Start plants for broccoli, cabbage, cauliflower, collards, kale and onions in a half-shaded area for setting out in September.
Prepare soil for September to October plantings of “cool-season” crops. Apply fertilizer and prepare seeded so rains will settle the rows and make it easier to get seeds to germinate when they are planted.
If watering is necessary to get a stand, open the furrow for seed, pour in water, plant seed and cover. Use starter solution on the transplanted crops.
Water the garden as needed to prevent drought stress.

Beat Weeds While Feeding the Bees – A Guest Post by Josh Fuder

We cannot learn enough about the usefulness of cover crops in your community or school garden.  This week we are fortunate to have UGA Cherokee County Extension Agent Josh Fuder as a guest writer. He is teaching us about using Buckwheat as a summer cover crop.  Josh writes:

Each year I start my garden with grand visions of endless bounty.  Something happens around the first part of July though.  I’ve gotten full of squash and cucumbers even had a few choice tomatoes; basically I get too full to keep up with the invading army of weeds and pests.  The spring veggies are petering out as well as some of those early squash and cucumbers.  Then there is the stifling heat and humidity that makes going out in the garden almost impossible before 7 p.m.

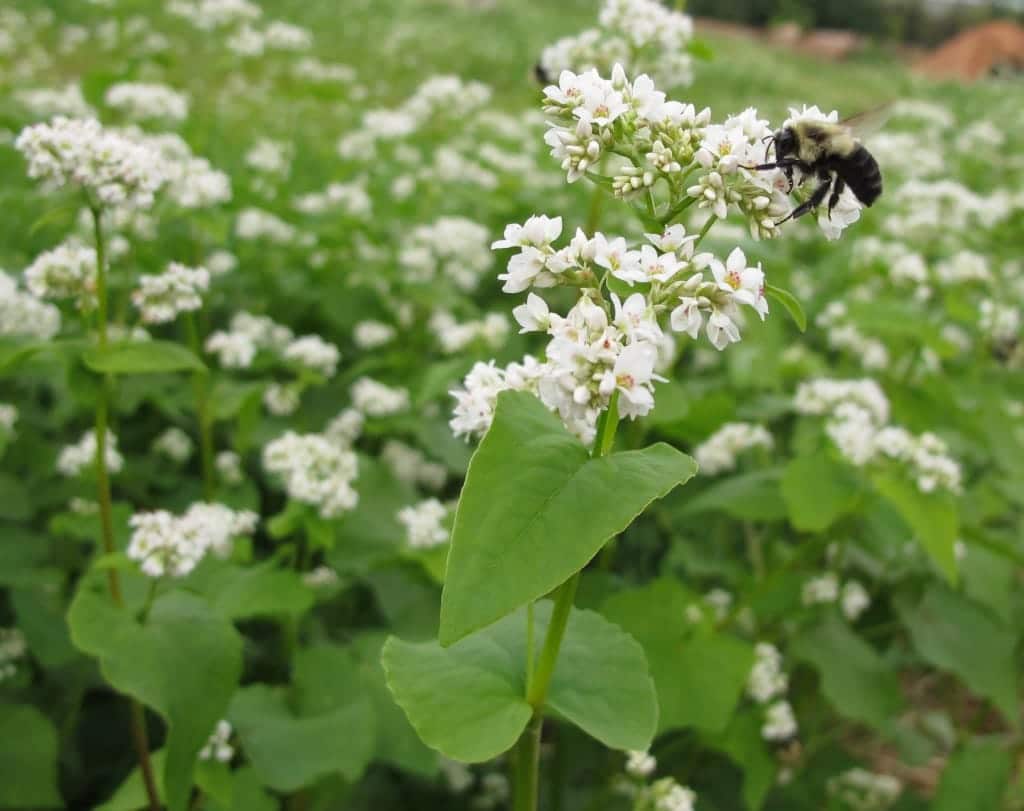
Well this year I have a plan keep those garden beds from turning into pasture.  No, it’s not mountains of mulch or more hours with the hoe and tiller.  Enter Buckwheat (Fagopyrum esculentum), buckwheat is an unusually fast-growing plant grown for its grain like seeds in commercial agriculture.  In the home garden it is one of the best summer cover/green manure crops available.

Buckwheat Josh Fuder 3
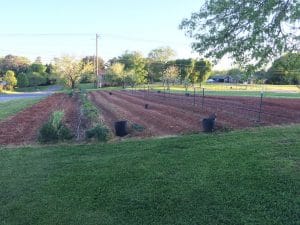
The strip on the far left was outside of my garden prior to this year and was just grass, clover and weeds. It was tilled and seed was broadcast on April 17th, 2016.

George Washington and Thomas Jefferson were some of the first American farmers to grow buckwheat as they recognized its benefit in a healthy crop rotation.  Native to Russia the flexibility and adaptability led it to be grown on more than a million acres in the U.S. in the late 1800’s.  The grain is ground into flour and used in a variety of foods from noodles in Japan to breakfast staples like cereal and pancakes in the U.S.  I even had pillows made from buckwheat hulls when I lived in the tropical Pacific.  The pillows are meant to be cooler on your head because of the increased space for air.  I never got over the crinkling noise each time I would move however.

Planting Buckwheat

Buckwheat is easy to grow by simply broadcasting seeds and lightly raking them in.  A pound of seed is recommended per 500 square feet of garden space or 3 ounces per 100 square feet. You can’t really put too much seed down and since you will usually have to buy it in bulk from a local feed store; better to err on the side of too much.  Buckwheat does not require highly fertile soils but will benefit from modest levels of nitrogen.  Its many fine roots are well adapted at finding lower levels of Phosphorous and when crop residues are returned to the soil it becomes more available for other plants.

Germination begins in about 3-4 days and within 10-14 days the ground should be fully covered with emerging leaves.  This quick leaf cover will protect your soil from erosion, retain moisture and shade out those dastardly weed seeds.  Now just sit back, drink some iced tea and wait for the best part which is the floral display that begins 3-4 weeks after planting.  A large dense planting will literally stop traffic; my neighbors and passersby in my neighborhood have told me they always slow down to admire the five by hundred foot strip that I have along the road.

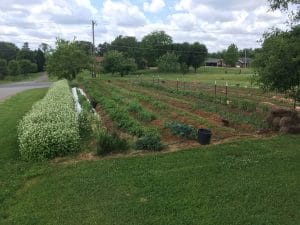
Same view on May 18th, 2016. Note the road on the left side of photo where neighbors slow down to take in the view.

Buckwheat Care

Resulting honey is dark colored and distinctly different in taste from clover or wildflower honey.  The timing of flowering is also very beneficial to bees because the mid-summer is usually when there is less native forage available for bees.

Just remember that those prolific flowers that the bees are pollinating each turn into a seed if allowed to develop and dry on the plant.  So if you do not want buckwheat carrying over into your next planting it is best to cut the plants or till them under 2-3 weeks after flowering.  Some growers will cut it and leave the plant residue on the surface as mulch providing a pre-mulched area for new transplants.

Thank you Josh, for the information and photographs of your garden.

Happy Gardening!
Enjoying Your Fresh Tomatoes Vingenzo’s Style

As gardeners we know that fresh is best.  Not much beats a fresh tomato picked right from the garden.  Chef Michael Bologna would agree with us.  His restaurant, Vingenzo’s in Woodstock, Georgia, is based on freshness.  And, he loves a really ripe, fresh tomato.

Enjoying Your Fresh Tomatoes Vingenzo's Style
Chef Michael Bologna leading a cooking class.

Located in downtown Woodstock Vingenzo’s has won many, many awards including one of Atlanta’s Top 50 restaurants (Atlanta Magazine 2012).  The restaurant features traditional Southern Italian fare.  Sausage, mozzarella, pasta, sauces, and desserts are made fresh on-site.

Chef Bologna comes from an Italian family and he is very, very passionate about food.  He truly delights in seeing people enjoy his cooking.  He also enjoys teaching others how to prepare wonderful, fresh meals.

Enjoying Your Fresh Tomatoes Vingenzo's Style
Chef Bologna giving me a cooking lesson.

Chef Bologna has been invited and cooked at the famed James Beard house – twice!  Happily, he has agreed to share one of his favorite recipes with us.  It features garden ripe tomatoes, something we all have a surplus of right now.

Picture1

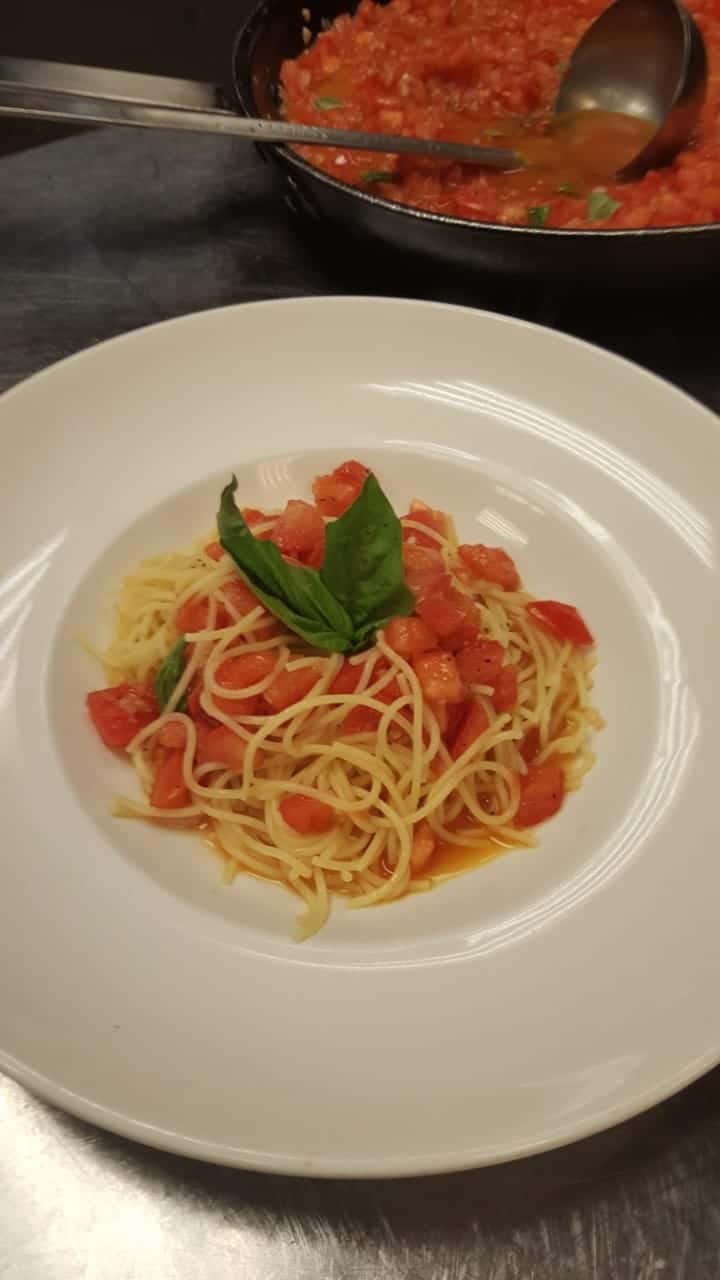
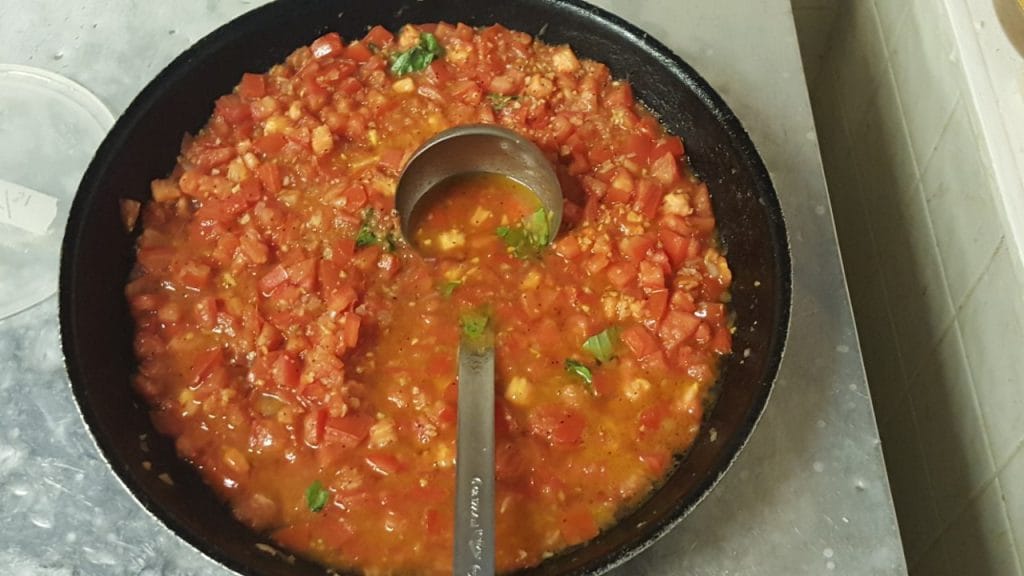
Chef Bologna’s Fresh Tomato Sauce

2 T olive oil

4 cloves garlic, sliced thin

1 pint cherry tomatoes, quartered or 4 roma tomatoes, diced

4oz olive oil

salt & pepper to taste

5 fresh basil leaves


1. Heat 2T oil up until almost smoking.

2. Add garlic and stir.

3. When garlic just starts to show color add tomatoes and stir.

4. Simmer until juices are released from tomatoes and add 4oz olive oil.

5. Simmer for 10 minutes.

6. Remove from heat.

7. Season with salt and pepper and torn basil leaves.

8. Serve with spaghetti or angel hair pasta.


Enjoying Your Fresh Tomatoes Vingenzo's Style
Delicious meals don’t need many complicated ingredients.

If you haven’t grown tomatoes before, this recipe alone should inspire you.  You could try growing some late season tomatoes or visit your local farmer’s market.

Thank you, Chef Bologna, for sharing your talents with us.  And just for you…

Buon giardinaggio!  (translation:  Happy Gardening!)

Your Garden Mission – Eliminate Squash Bug Eggs

This week’s garden mission – eliminate squash bug eggs before they become squash bugs!

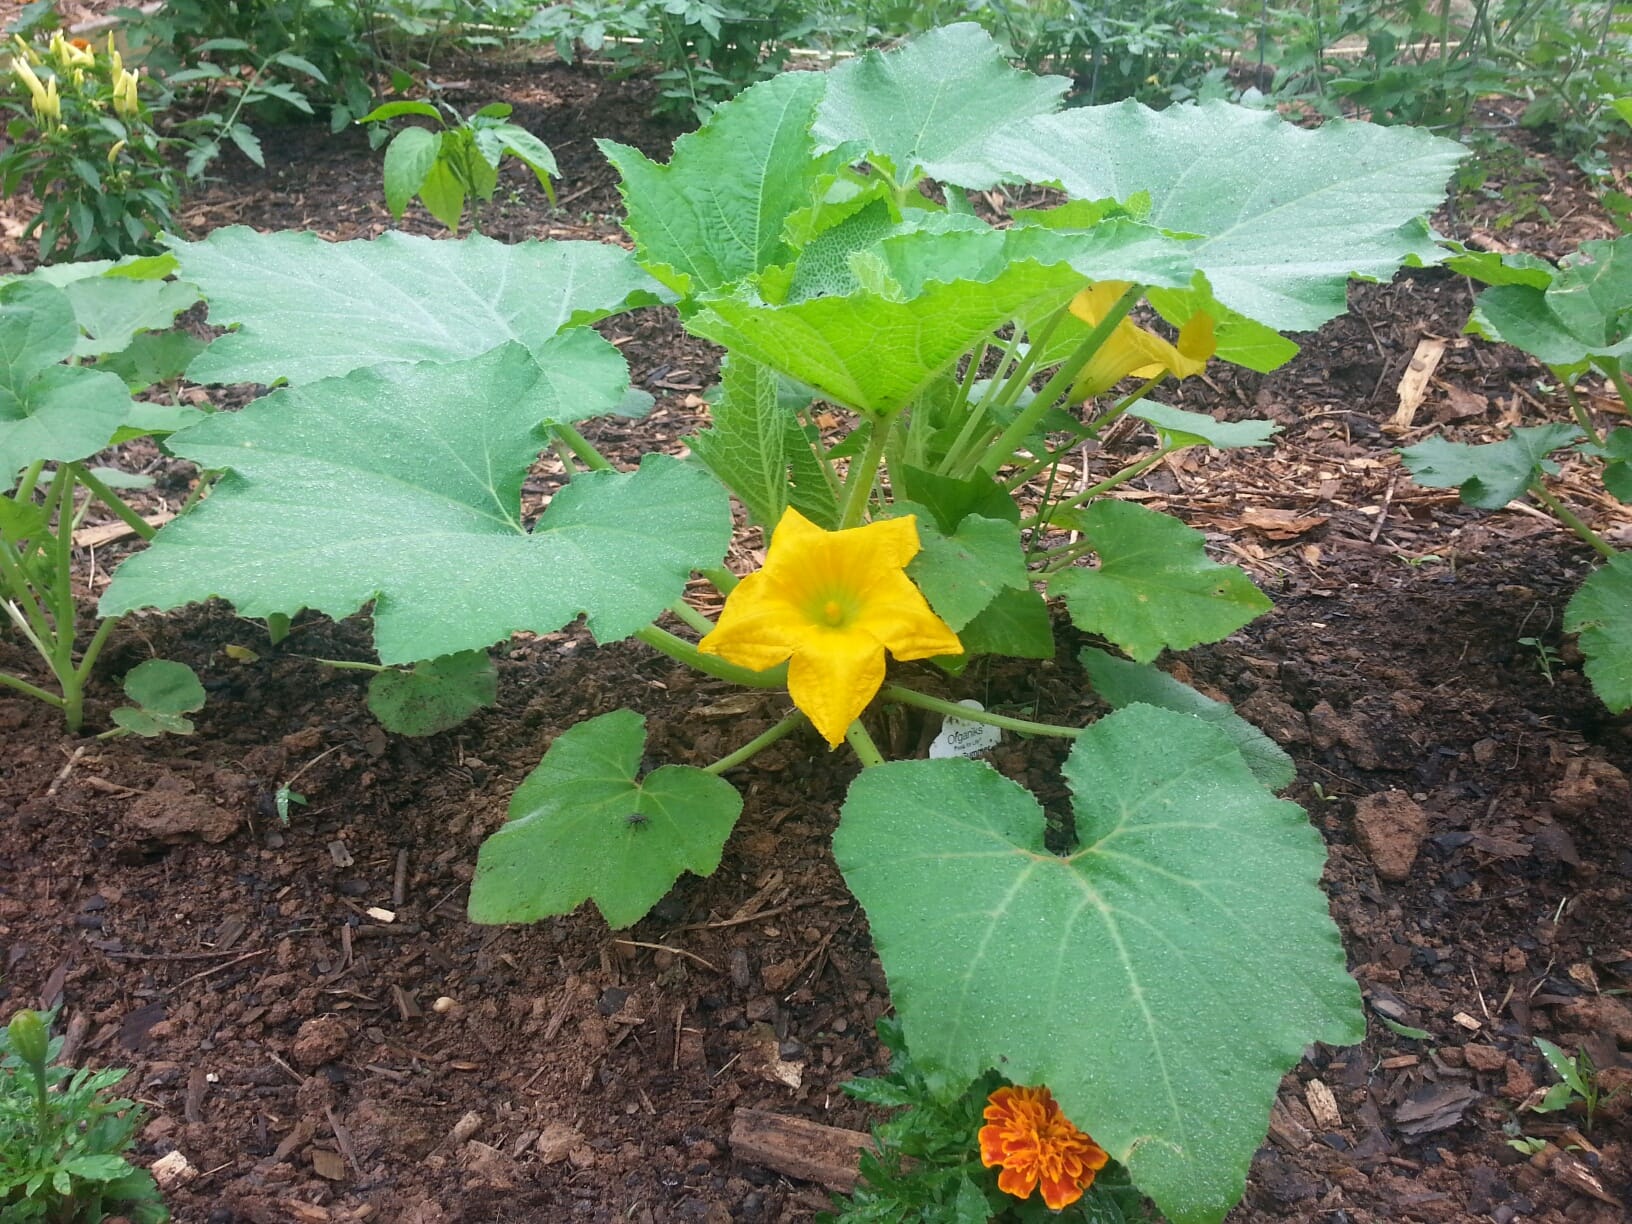
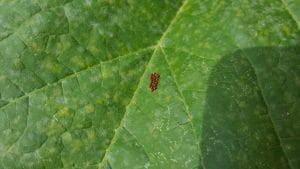
Scouting for pests in your garden on a regular basis is a MUST.  Scouting alerts you to problems before they get out of hand.  This time of the year as you scout among your squash plants you may see squash bug eggs.  They are not too hard to spot and should be in a cluster:

Your Garden Mission - Eliminate Squash Bug Eggs
Squash bug eggs appear in a cluster.

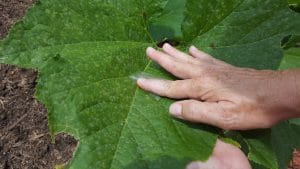
If you find an egg cluster congratulate yourself because you can now stop this pest cycle.  There are several ways to do this.  You could remove this leaf.  Or, flick the eggs off the leaf with your fingernail but you run the risk of just moving a viable egg that could eventually become a squash bug.  There is an easy way to get rid of these eggs and keep the squash leaf intact.

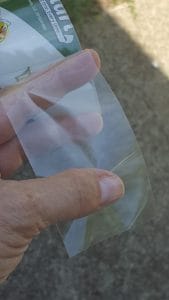
First, cut a short length of tape.  Clear packing tape seems to work very well:

Your Garden Mission - Eliminate Squash Bug Eggs
Clear packing tape works well.

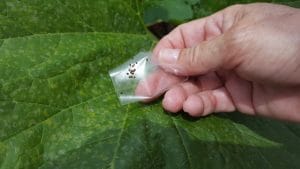
Next,  press the tape on top of the eggs.  Press firmly and move the tape around a bit.  The eggs stick to the tape:

Your Garden Mission - Eliminate Squash Bug Eggs
Press firmly so the eggs attach to the tape.
Your Garden Mission - Eliminate Squash Bug Eggs
The tape lifts the eggs off of the plant while leaving the leaf intact.

Finally, remove the tape and fold it. Crush the eggs within the folded tape and your potential pest problem is removed.  Notice the squash leaf is intact.

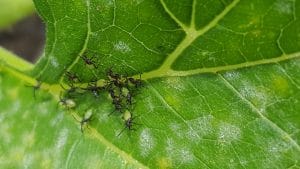
If you miss scouting and missed finding the squash eggs, the eggs hatch and these squash nymphs become squash bugs:

Your Garden Mission - Eliminate Squash Bug Eggs
Eggs hatch into nymphs that are on their way to become squash bugs!

An easy chemical-free way to take care of your garden!  For more information on growing squash successfully see UGA’s Home Garden Series:  Homegrown Summer and Winter Squash.

Wishing you a squash bug-free garden.

Happy Gardening!
July Gardening Chores for Your Georgia Garden

UGA’s Vegetable Garden Calendar gives us an idea of what we should be doing in our gardens in July.

Lettuce is a wonderful cool-season crop.

July’s Garden Chores

  1. Start planning the fall garden.
  2. Keep grass from going to seed.
  3. Fallow soil to conserve moisture for germination of fall crops and to help reduce the nematode population in the soil..
  4. Clean off harvested rows immediately to prevent insect and disease buildup.
  5. Plant the following vegetables not later than July 20 to allow time to mature before frost: tomatoes, okra, corn, pole beans and lima beans. Also plant cucumbers, squash and snap beans.
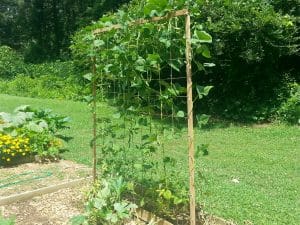
Get that last planting of beans planted. - Woodstock Community Garden
Get that last planting of beans planted. – Woodstock Community Garden
  1. Water deeply and less often — as needed to prevent drought stress.
  2. Plant that big pumpkin for Halloween.
  3. Be sure to make arrangements for neighbors to harvest and water your garden while you are on vacation.
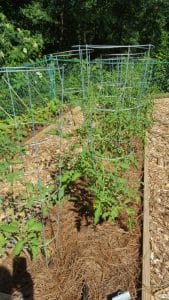
  4. Make sure the garden is well mulched to prevent weeds and conserve moisture.
Vegetables should be well mulched.

Happy Gardening!
They’re Back – Handling Japanese Beetles in Your Garden

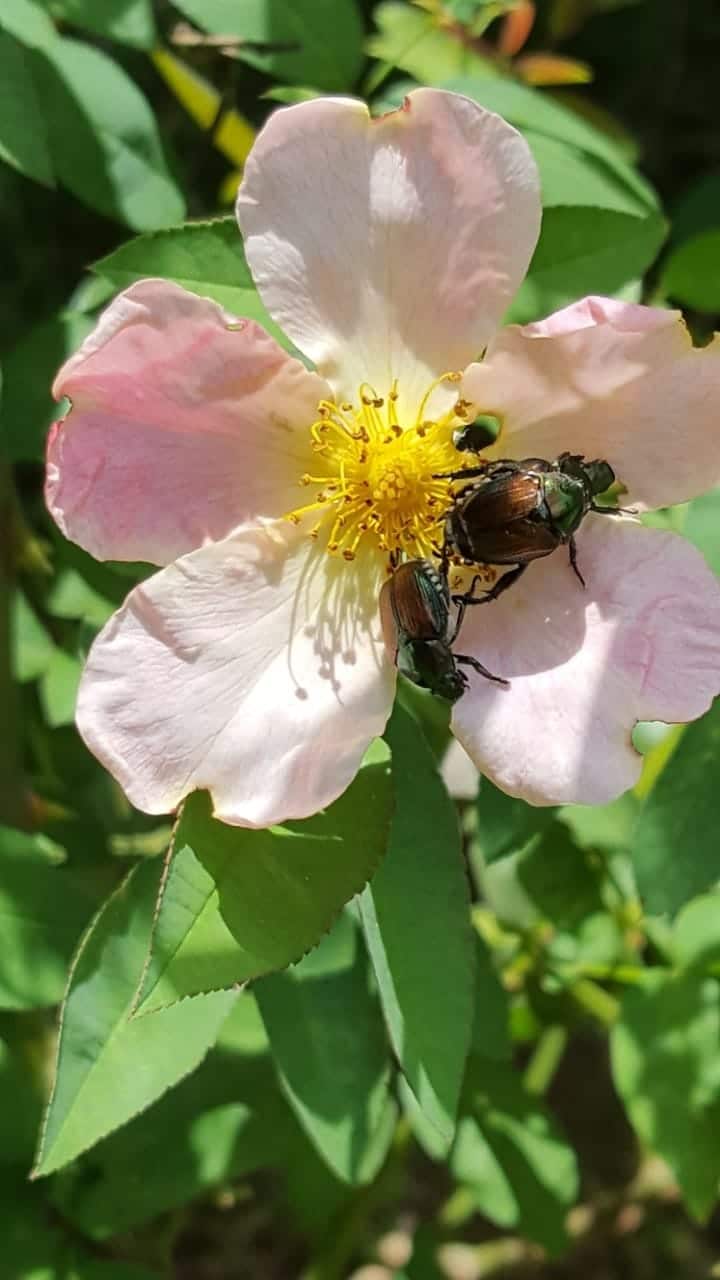
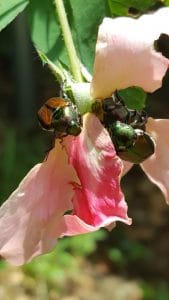
They are indeed back.  You have probably already seen Japanese Beetles (Popillia japonica) in your landscape.   They enjoy munching the leaves of roses, maple trees, cherry trees, peaches and grapes.  They actually are a pest to over 300 plant species.  A single beetle doesn’t do much damage.  Unfortunately once a beetle finds a food source other beetles soon follow.  It is the groups of beetles that do real damage.

These beetles will eat the leaves and petals of plants in the rose family.

Japanese beetles first arrived in the United States around 1917.  As with many non-native species, in their home country of Japan they are not a major problem.  This pest causes damage in the adult beetle stage as well as the larval stage.  The larvae, or grubs, live in the soil and can do damage to plant roots.

We often get questions from gardeners about these pests and thought it might be helpful to share them with you:

Do you need to worry about this pest?   

The Japanese Beetle season lasts 4-6 weeks, so realize they won’t be around for very long.  They are not a major pest of vegetable gardens and generally eat the leave margins leaving a lacy-type leaf.  They sometimes also eat petals and can damage fruit.

Do the Beetle Traps Work?

Yes, the beetle traps do work by attracting beetles from all over your area and bringing them to your yard! The traps contain a pheromone, a sex attractant, that can attract beetles that may not have visited your garden on their own.

If you decide to use traps, do not put them in the middle of your garden as you would just be bringing in additional numbers of the pests.  Also, the traps will need to be emptied often.  The dead beetles give off an ammonia scent that will repel other beetles.

Wouldn’t it be nice if your neighbors put out traps to attract your beetles to their yards?

Is Their a Non-Chemical Control?

Most home or community gardeners can control Japanese Beetles by simply picking the insects off the plants and dropping them in a container of soapy water.   By regularly scouting for these insects and removing them, you will prevent any real damage.  This is a great job for kids.

What if I Decide I Need an Insecticide?

There are insecticides available to kill Japanese Beetles but realize that the chemicals don’t affect just those beetles but possibly beneficial insects as well.  Contact your local UGA Extension Agent for a specific chemical recommendation.  As with all pesticides you will want to follow the label directions to the letter.

Wishing you a Japanese Beetle free garden! 

National Pollinator Week 2016

It is National Pollinator Week 2016.  Events are going on all across the nation to draw attention to pollinators and pollinator health.  What are you doing to celebrate?

We have been excited to see all of the pollinator gardens across Georgia that are being created as part of the Pollinator Spaces Project.

In Rockdale County, ANR agent Steve Pettis led a group in creating the Rockdale Community and Garden, including a pollinator space.  This garden will be a great asset to the Rockdale community.

National Pollinator Week 2016
Perennial shrubs are the bones of this pollinator space in Rockdale County.
Rockdale Community and Education Garden.
National Pollinator Week 2016
A killdeer bird laid her eggs in the new garden. What a nice surprise!

Heading Southwest from Rockdale, in Coweta County Brooks Elementary School planted their school pollinator garden in late April.  Principal Amy Harrison headed up a group that planned and organized for months before they installed their new space.  Coweta County ANR agent Stephanie Butcher helped the group get off to a great start.  We look forward to seeing more photos as the garden matures.

National Pollinator Week 2016
Brooks Elementary School Pollinator Garden Installation
Brooks Elem 3
Parent and Teachers created Brooks Elementary School’s pollinator garden.

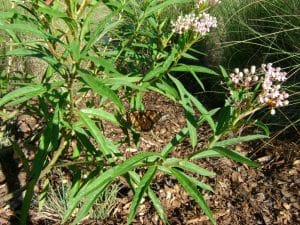
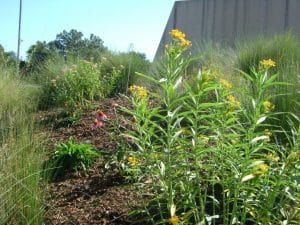
Traveling South from Coweta, the Riverquarium in Albany, Georgia, created a beautiful pollinator space.  Butterfly weed (Asclepius tuberosa), Meadow Blazingstar (Liatris ligulistylis), and Bergamot (Monarda fistulas) are just three examples of over twenty varieties of pollinator plants used in the creation of this garden.  This space will be a joy to Albany residents and visitors.  James Morgan, Doughtery County ANR agent, is an on-going resource for this group of gardeners.

National Pollinator Week 2016
Photos from the Riverquariam Pollinator Garden in Albany, Georgia
National Pollinator Week 2016
This beautiful space is full of perennials.

Creating a pollinator space of your own aids in pollinator conservation, can increase food production, and brings joy as you watch the pollinators at work.  For resources on creating your own space and to be included in Georgia pollinator history visit the Pollinator Spaces Project webpage.  Your local UGA Cooperative Extension agent can also assist you in planning your garden.

Happy Gardening!
Corn Controversy in the Community Garden

To plant corn in your community garden plot or to NOT plant corn in your community garden plot?

Fresh corn is one of the joys of summertime.  The serious corn connoisseur will have you boil the water first and then pick the ears to make sure corn flavor is at its peak.

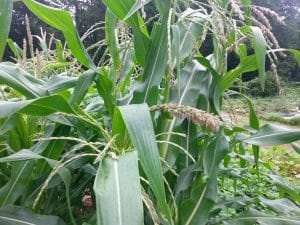
Corn tassling

However, growing this crop can be controversial in the community garden.  Here is why:

Corn is Wind Pollinated

You will not get much corn with a few stalks.  Corn is wind pollinated and each kernel of corn is formed from one grain of pollen.  It takes a large amount of pollen at just the right place on a corn plant to give you nice full ears of corn.  Larger stands will produce a higher quality crop than a smaller stand.

If you really want to have fresh corn of your own think, about planting corn in blocks and not rows.  This will increase pollination.  Also, as the corn tassels you could help pollination along by gently shaking the stalks.

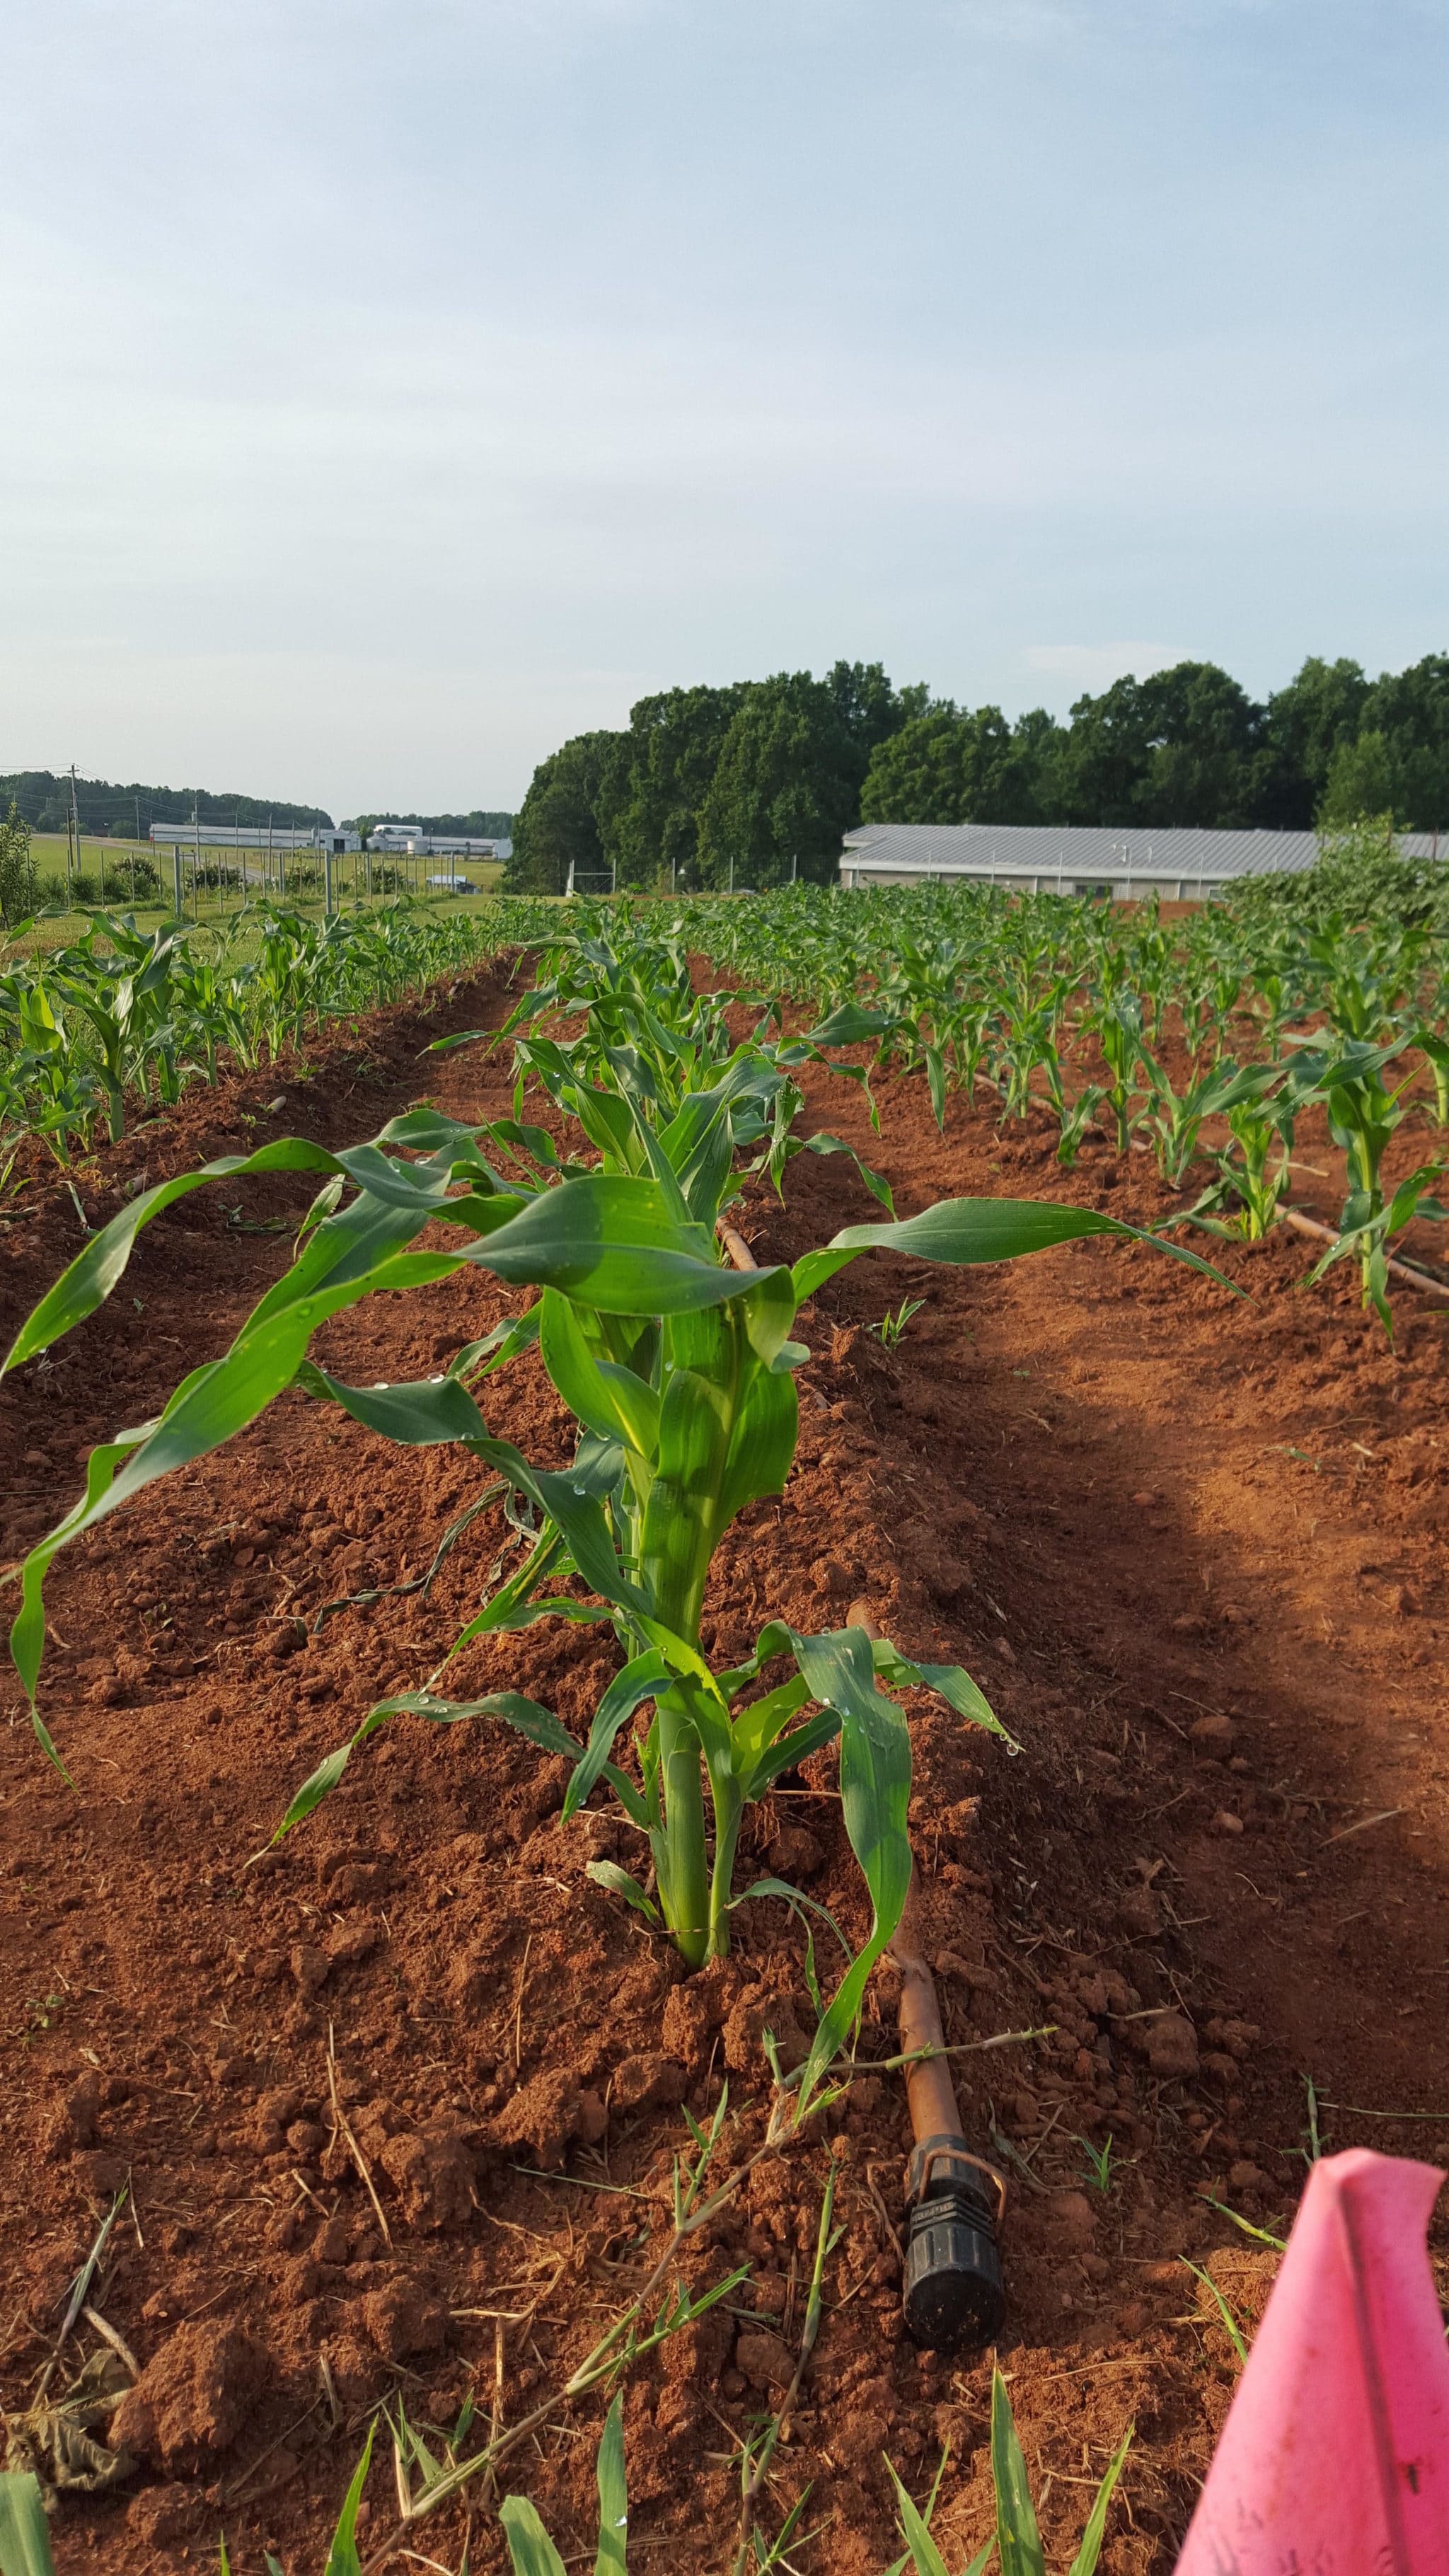
This small stand of corn will not yield a satisfactory crop.

Corn is Tall and Subject to Wind Damage

Corn is a tall, thin plant with a somewhat shallow root system.  That means any thunderstorm with a windy component could really damage your crop.   If you are a corn farmer with many acres of corn, wind from our afternoon thunderstorm might take out a few stalks at the perimeter of the corn stand.  If you are growing only 10 stalks, that damage could really affect your dinner plate.

Some community gardens like to stake each corn plant, like you would a pepper plant.  This adds extra support for those afternoon storms.

Corn at a Park Pride CG
Each corn stalk is staked for added support.

Corn Can Shade Out Other Crops

Corn is a tall crop and may shade out the rest of your plot or even your neighbor’s garden plot. There are shorter varieties which might be more appropriate for your garden but even shorter varieties like Golden Bantam or Sweetness Hybrid grow to 5 feet.  Growing Home Garden Sweet Corn has information on varieties recommended for Georgia.

Tom Thumb popcorn only grows 3-4 feet.  Popcorn is not quite the same, I know.

Think about asking for a plot on the perimeter of your community garden so shading won’t be a factor. Growing only corn for one season may improve your chances of a higher quality crop.

There are so many aspects to consider just to get fresh corn on your plate.   Who knew it could be so controversial?

Happy Gardening!