Indoor Seed Starting – Part Two

All of this rain has me very excited about getting back to our seed starting project.

I have one note about seed starting media. If you choose to purchase bagged media for starting seeds indoors, do not choose something with fertilizer in the mix. This will be too strong for seedlings. There are plenty of bagged mixes specifically for seed starting so choose one of those.

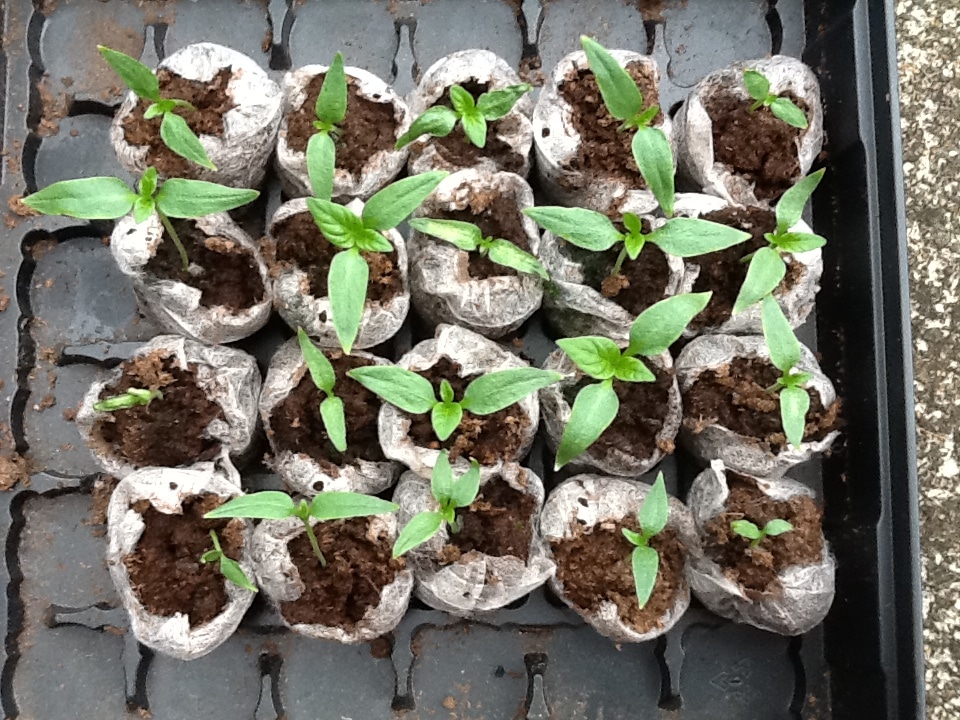
We are ready to expand our pellets. Notice the seed pellets are fully expanded with no standing water:
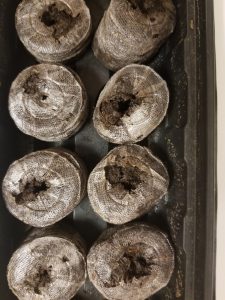
Seed pellets are not too wet but moist all the way through.

Next, take a fork and open up the top a bit and fluff the media. I like to take this time to make sure that the moisture is uniform all the way through with no dry spots:
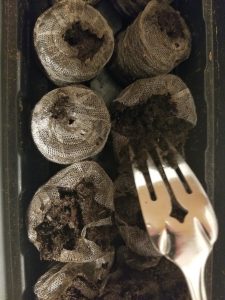
Fluff the planting media with a fork to ensure uniform moisture.

Now you are ready to plant your seeds. If you are mixing seed types in one tray, make sure that they will emerge and grow at about the same rate. I like to use plastic forceps to exactly place the seed where I want them. Some seeds, like lettuce and herbs, are very small and easily lost in the tray. Know how deeply to plant the seeds. Most of the ones you will probably plant just need to be lightly covered with the planting media.
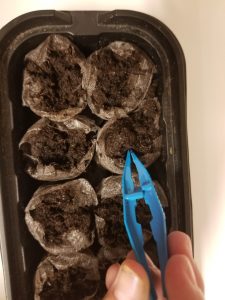
Plastic forceps can be your best friend!

It is worth the effort to do some research on your seed types. For example, cilantro seeds don’t germinate easily when exposed directly to light. Also, there are some seeds that just do better planting directly into the soil, beans and corn are good examples.

At this point it is a great idea to label your seed tray. Sharpie markers on masking tape work well. The tape sticks to the tray but can be removed later. Do not be tempted to label the lid. You will be removing the lid later and you don’t want to forget the original orientation. Finally, put the lid on the tray, making sure it fits tightly.
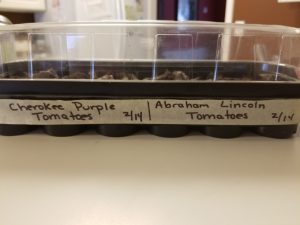
Do not forget to label your seed trays.

Do not place your seed tray near a window and hope for the best. You will be disappointed. You will not get enough light for healthy seedlings and the temperature fluctuation at the window will be problematic.

Use a light system. The system does not have to be complicated. I have a light fixture with florescent bulbs attached to a structure with moveable chains. This setup was originally housed in a bathroom tub but it is now in my grown daughter’s bedroom. Very simple. You need the chain to move the light so it stays just above the seed tray. To produce robust seedlings you need the light no more than an inch or two above the tray. This will be imperative as the seeds germinate and grow.
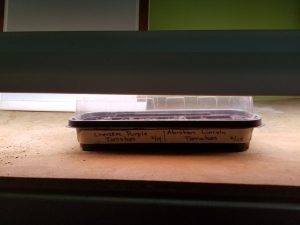
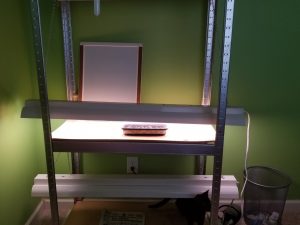
If you are germinating seeds in a place that is reasonably warm you do not need a heating mat. Those were designed for outside greenhouses and places like Michigan. By using a heating mat when you don’t need one, you risk drying out your planting media.

So far this is pretty simple, right? If you have any questions or concerns you can comment or email me at beckygri@uga.edu. Send photos! Next week we will discuss seedling care.

Happy Seed Starting!
Indoor Seed Starting – Part One

Over the next few weeks we are going to talk about seed starting. I did three in-depth posts last year and I am going to rerun them this year by request. Spring is coming….

Just flipping through one garden seed catalog I found 89 varieties of tomatoes, 21 varieties of cucumbers, 20 varieties of eggplant and 26 varieties of sweet peppers, including three types of lunchbox peppers. Compare that to the different types of vegetable plants that you would find at your big box retail store. Add some variety to your life and try starting your own seeds!

The rule of thumb is to start your warm-season seeds 6-8 weeks before planting time so over the next weeks we are going to explore indoor seed starting in-depth. For beginners, follow along with me as you start your first seeds. For seasoned seed-starting veterans, you may pick up a trick or two. I also encourage you to share your experience through the comments.

Let me begin by writing that there are many effective ways to start seeds indoors. I am going to share with you the way that I like to do it. I have been starting seeds indoors for decades and I have found a way that works best for me. You may find a different way that works best for you and that is terrific. I look forward to learning from you all as well.

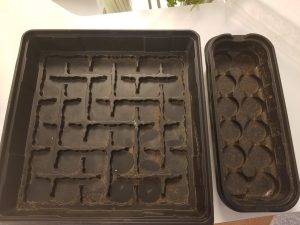
To start, I like these re-useable plastic trays. They are easy to store and come in many sizes. I have friends who save their old plastic milk jugs and trim them down for seed starting; that works well for them.

These trays are easy to use for seed starting.

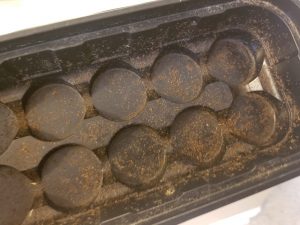
Any plastic trays MUST be disinfected before adding soil media and seed. I use a solution of 9-parts water to 1-part bleach. This step is important to eliminate any pathogens that have been overwintering on remaining soil particles. Starting with clean trays is an important step towards healthy seedlings. Don’t skip it.

These soil particles could hold pathogens. Disinfect those trays!

I like to use the peat moss discs for my planting media. As a bonus, the peat moss contains properties that discourage fungal growth. This helps prevent the disease damping off which is a real problem for seedlings.

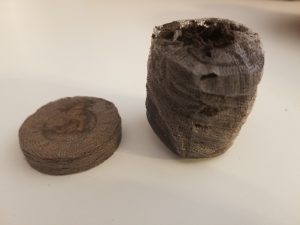
The pellets expand with the addition of water.

These pellets are readily available and are easy to store. Add water and the pellets expand. I use warm water to create a favorable environment for the seeds. It is important here to not oversaturate the discs with too much water. Too dry is better for the seeds than too wet. Too wet means that the seeds could rot or disease will become a problem. You want the planting media to be just damp. If you can wring water out of the media, it is too wet. If this happens you can let the discs sit outside the tray for a few hours so that they can dry out a bit. You will get the hang of how much is too much as you practice.

Okay, gather your seed starting equipment, and play around with the pellets. Next week we will talk about planting the seeds.

Happy Gardening!

Landscape Alerts & Updates | February 2019

Diseases and Problems to Watch for in Winter and Early Spring

Guest Post by Alfredo Martinez


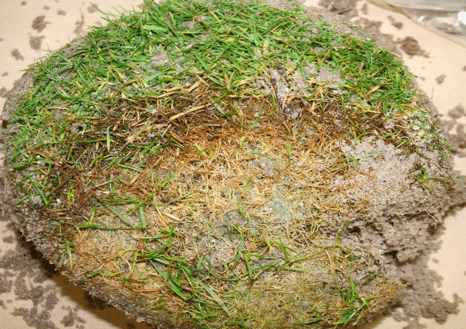
Microdochium Patch in Golf Courses.  When night temps dip below 50°F, Microdochium Patch (Fusarium Patch, pink snow mold) can be severe on new bentgrass and semi-dormant bermudagrass greens, and on greens overseeeded with Poa trivialis.  Patches begin as small reddish-brown spots that can grow and coalesce into large blighted areas.  White to pink mycelium (sometimes mistaken for Pythium or dollar spot) may appear during extended periods of rain and overcast weather.  Cultural controls are the same as those listed above for Yellow Patch.  Effective fungicides include products that contain azoxystrobin, fluoxastrobin, iprodione, metconazole, propiconazole, pyraclostrobin, thiophanate-methyl, triadimefon, trifloxystrobin, triticonazole or vinclozolin.


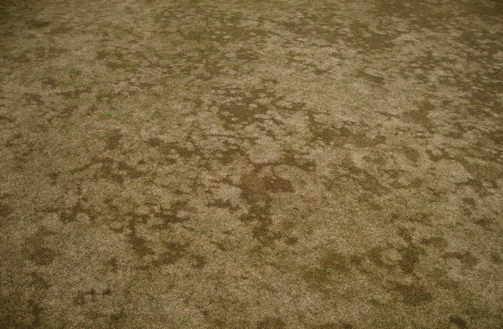
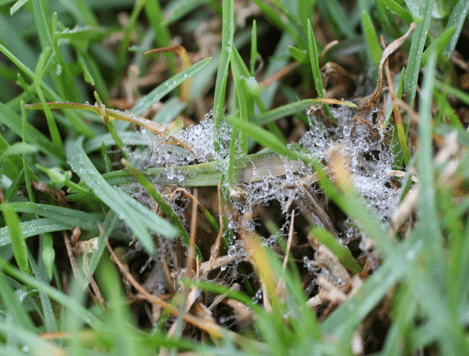
Slime Mold/Sooty Mold;Blackening observed in fully dormant zoysia and or bermudagrass after few rain events? We have received samples exhibiting olive green, gray to black molding affecting dormant tissue This condition is known as slime mold and /or “sooty mold” in other crops. The growth is superficial in nature. While the symptoms are worrisome, the condition does not affect turf further. Sooty mold is the result of secondary, saprophytic fungi and not considered a true disease. Sooty mold develops on dormant, senescing and/or damaged turf when prolonged wet, humid weather occurs. This symptomatology is probably going to go away as sunny, breeze weather resumes. This blackening should mow off rather quickly.


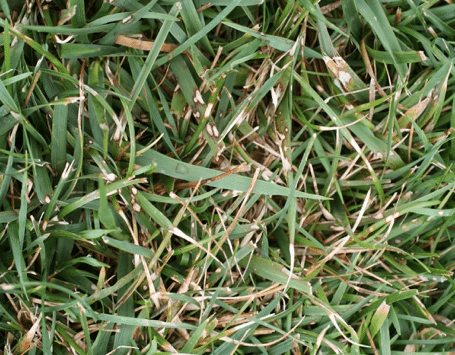
Yellow Patch (Rhizoctonia cerealis).Sporadic infections of R. cerealis(yellow patch) have been observed in ryegrass over-seeded bermudagrass turf swards and sport fields. The disease is rare in the state, but it thrives in extended periods of wet, cloudy weather. It is a cool-temperature disease (50 to 65°F). Disease development is significantly suppressed at temperatures lower than 45°F and greater than 75°F. Avoid excessive nitrogen fertilization in the fall or when the disease is present. Thatch management is essential for disease control. Maintain thatch at less than 0.5 inch. There are several fungicides that can be used to control the disease, however in the state, yellow patch usually does not warrant a fungicide application.


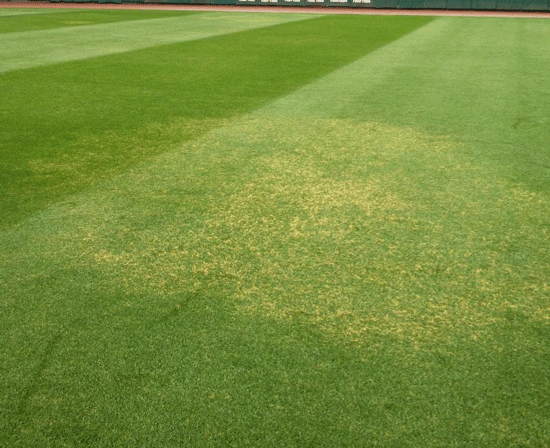
Dollar Spot Can Start Early:  The dollar spot fungus (Sclerotinia homoeocarpanow named Clarireediasp) can produce infections on warm season grass as soon as they start to green up. Additionally, dollar spot can continue to infect cool season grasses anytime temps are above 50°F but it is fully active between 60°F and 70°F.  Due to low temperatures, recovery of turf from dollar spot symptoms in late winter or early spring may take weeks rather than days.  Therefore, preventive control of dollar spot is important at this time of the year. Monitoring fertility is an important first step to controlling dollar spot. Excessive moisture on turfgrass foliage will promote dollar spot epidemics. Excessive thatch layers and compacted soil stresses the plants and slows turfgrass growth and recovery from disease.

Chemical control for practitioners: A variety of fungicides are available to professional turfgrass managers for dollar spot control including fungicides containing benzimidazoles, demethylation inhibitors (DMI), carboximides, dicarboximides, dithiocarbamates, nitriles and dinitro-aniline. Several biological fungicides are now labeled for dollar spot control. For a complete and updated list of fungicides available for dollar spot, visit http://extension.uga.edu/publications/detail.cfm?number=SB28


Alfredo Martinez is a University of Georgia Professor and Extension Plant Pathologist in the areas of turfgrass, small grains, and non-legume forages at the Griffin campus.


Trying Something New in the Georgia Community Garden – Corn

Today we continue our series on a good replacement for tomatoes in our summer community garden plots. Today’s crop to consider is corn.

Usually corn is avoided in the community garden. The tall stalks shade other plants, there is not much yield in the amount you can grow in a small space, and corn takes a large amount of water. That being said, I sometimes find community gardeners who really want to grow their own corn. They remember eating corn fresh from a grandparent’s farm or working the corn patch with their parents. Often these gardeners are now city dwellers and the corn means a great deal to them.

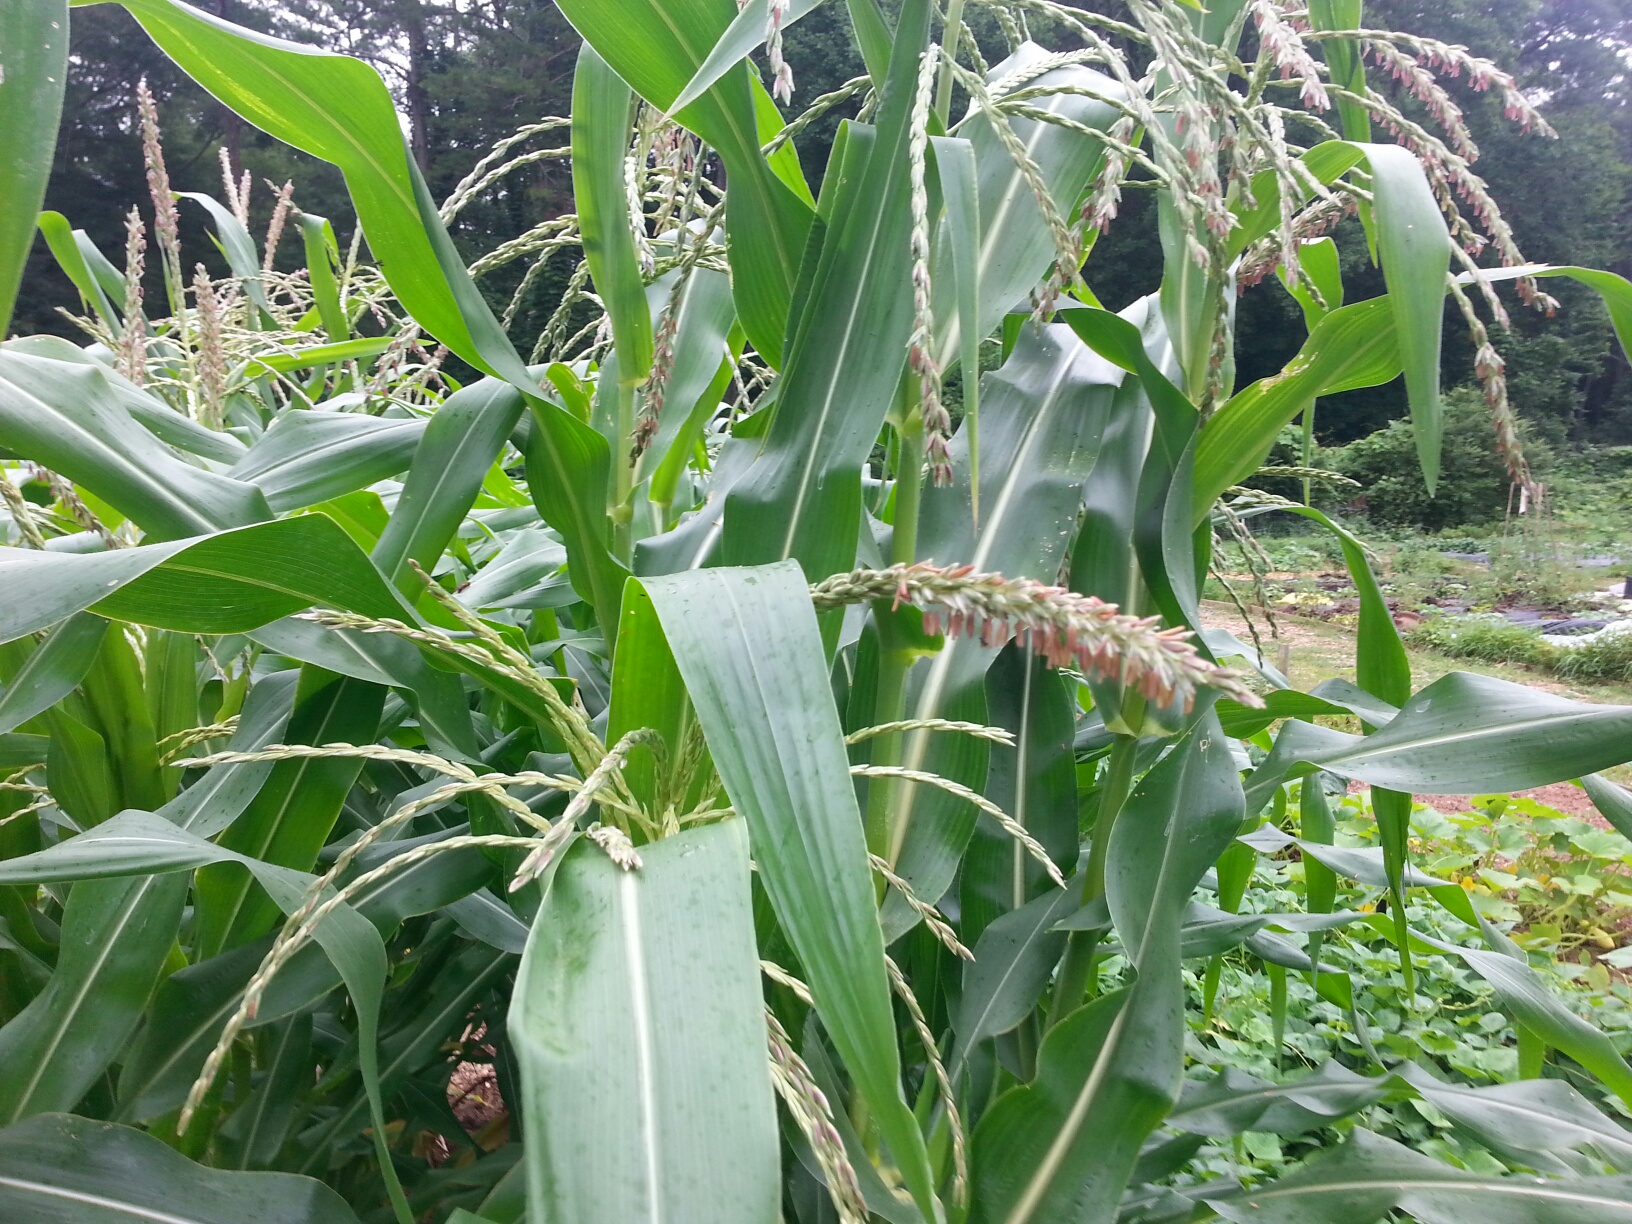
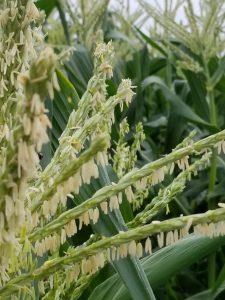
Corn tassels waiting on wind to spread the pollen

Instead of totally abandoning the idea of growing corn, why not think about trying some of the short growing varieties? Several of the seed companies offer shorter varieties. Burpee advertises a corn for growing in a patio container called On-Deck Hybrid. The description of this type states that it grows 4 – 5 feet high. Compare that to Silver Queen which stretches 8 feet tall.

Park Seed offers a shorter variety called Early Sunglow Hybrid. Stalks from this corn are expected to top at 4 feet. Another thought is popcorn. Seed Savers offers Tom Thumb popcorn which grows only 3-4 feet tall. I have grown popcorn many times. It is fun to grow and fun to pop with children or grandchildren.

I will caution you that more than a few stalks need to be grown to get any kind of yield. Many stalks yield 1-2 corn ears per plant. If you are serious about trying corn in the community garden consider allocating at least half of your 4’X 8′ garden bed for the crop. Also, remember that the crop is wind pollinated. It does not hurt to shake those corn tassels yourself to make sure the pollen moves around.

Happy Gardening!

Trying Something New in the Georgia Community Garden – Peanuts

Today we start our series on growing something new in the community garden. Have you tried growing peanuts? When I worked on a 4-acre farm garden we grew peanuts every year. The students visiting our garden LOVED peanut harvest. It is like a treasure hunt when peanuts are dug. Will there actually be nuts? How many will we get? Once the peanuts actually come out of the ground I would hear gasps. Really.

I think peanuts are a natural fit for a community garden. Commercially grown peanuts are grown in South Georgia where the soil is loose and sandy. Within the bounds of a community garden bed you can create that loose soil.

Peanuts are fascinating plants. The plant produces yellow flowers. After flowering the plant “pegs” by sending shoots back into the ground. The peanuts are formed then. The National Peanut Board has information on how peanuts grow.

To add to the peanut growing appeal, I have been involved in “peanut butter and jelly” gardens where we grew muscadines near the peanut beds. The Georgia Peanut Commission has an informative webpage including recipes.

I realize that if you work in a children’s garden you have to be mindful of peanut allergies, but if that is not a concern for you consider peanuts for your 2019 garden plot!

Happy Gardening!