There are many ways to start seeds for transplants. Using peat pellets is a popular way and has some advantages. The peat has a naturally occurring antimicrobial property that helps control fungal diseases. The peat pellets are also easy to handle which helps with transplanting.
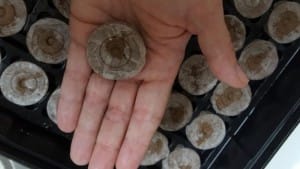
To get the pellets ready for planting you need to add water. Warm water is best. Package directions will tell you how much water to add. You want the pellets fully expanded, but you do not want them any wetter. You don’t want water sitting in the bottom of the tray. Too little water is better than too much.
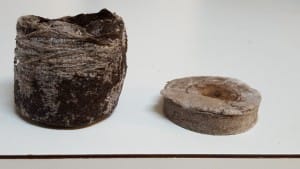
Add the seed carefully, keeping records of what type of seed went in each pellet. One of the useful things about this system is you can plant multiple varieties of seeds in the same tray.
Label the tray on the bottom. If you label the lid you will probably remove the lid at some point and replace it a different way losing your labeling information. We have all done it!
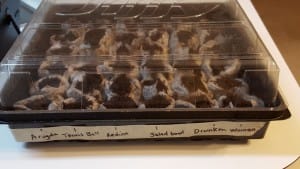
Once the seedlings emerge the tray will need to be placed under lighting. Place the light only inches from the top of the seedlings to give them a good start. If the light source is too far from the seedlings, they will become leggy as they reach for the light. As the seedlings grow up, move the light source up.
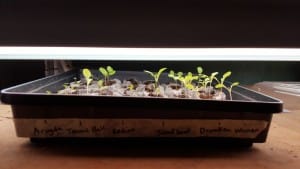
Keep an eye on the moisture level. If beads of moisture start collecting on the lid, you may have too much water in the system. Open the lid replacing it slightly askew, letting the container air out a bit. Too much moisture means disease may follow.
When you do need to add water pour it along the sides of the bottom tray, allowing the water to be absorbed from the bottom. This will help create strong roots and help prevent fungal diseases. It won’t be long until the pellets are ready for transplanting into larger pots.
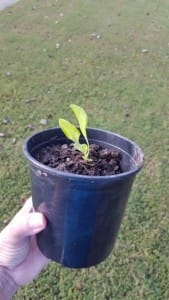
For information on many ways to start seed see Starting Plants From Seed for the Home Gardener.
Happy Gardening!
- ParSLAY the Day! - June 12, 2024
- 6th Annual Great Southeast Pollinator Census - May 28, 2024
- Are you ready for Pepper Palooza? - July 5, 2023
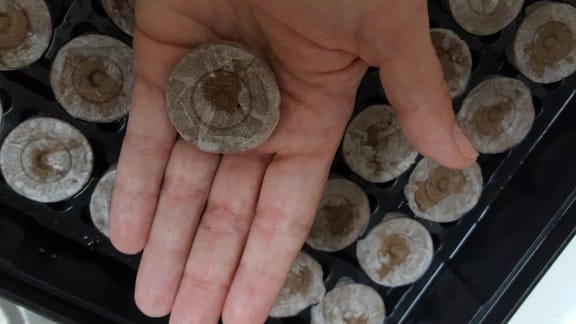
Does the use of plastic egg cartons for seed starting sound like a good idea? Or is there some problem with using plastic egg cartons?
There is always concern about food borne illness with egg cartons. Cindee Sweda, a Family and Consumer Sciences Agent, recommends washing these types of egg cartons with hot soapy water and then sanitize them with a bleach solution (1 tsp. of bleach to 1 quart of water) and air dry.
After that just make sure there is some type of drainage in each egg cup. Since the peat pellets will be stand alone in the egg cartons, also make sure they don’t dry out. Let us know how they do. Send a photo if you can. Good luck!
Also, can peat pellets be stored? If so, for what length of time and under what conditions?
Hi Donna, Peat pellets can be stored for many seasons as long as you can keep them dry and out of the humidity.
Creative idea! Roughly how often should I expect to water them?
Once the top is on your system you won’t need to water them at all. When the seedlings emerge and you remove the top, watch for the peat pellets drying out. The pellets will actually change color, a different shade of brown, when they start drying out. The pellets will also feel dry. Only water when needed.