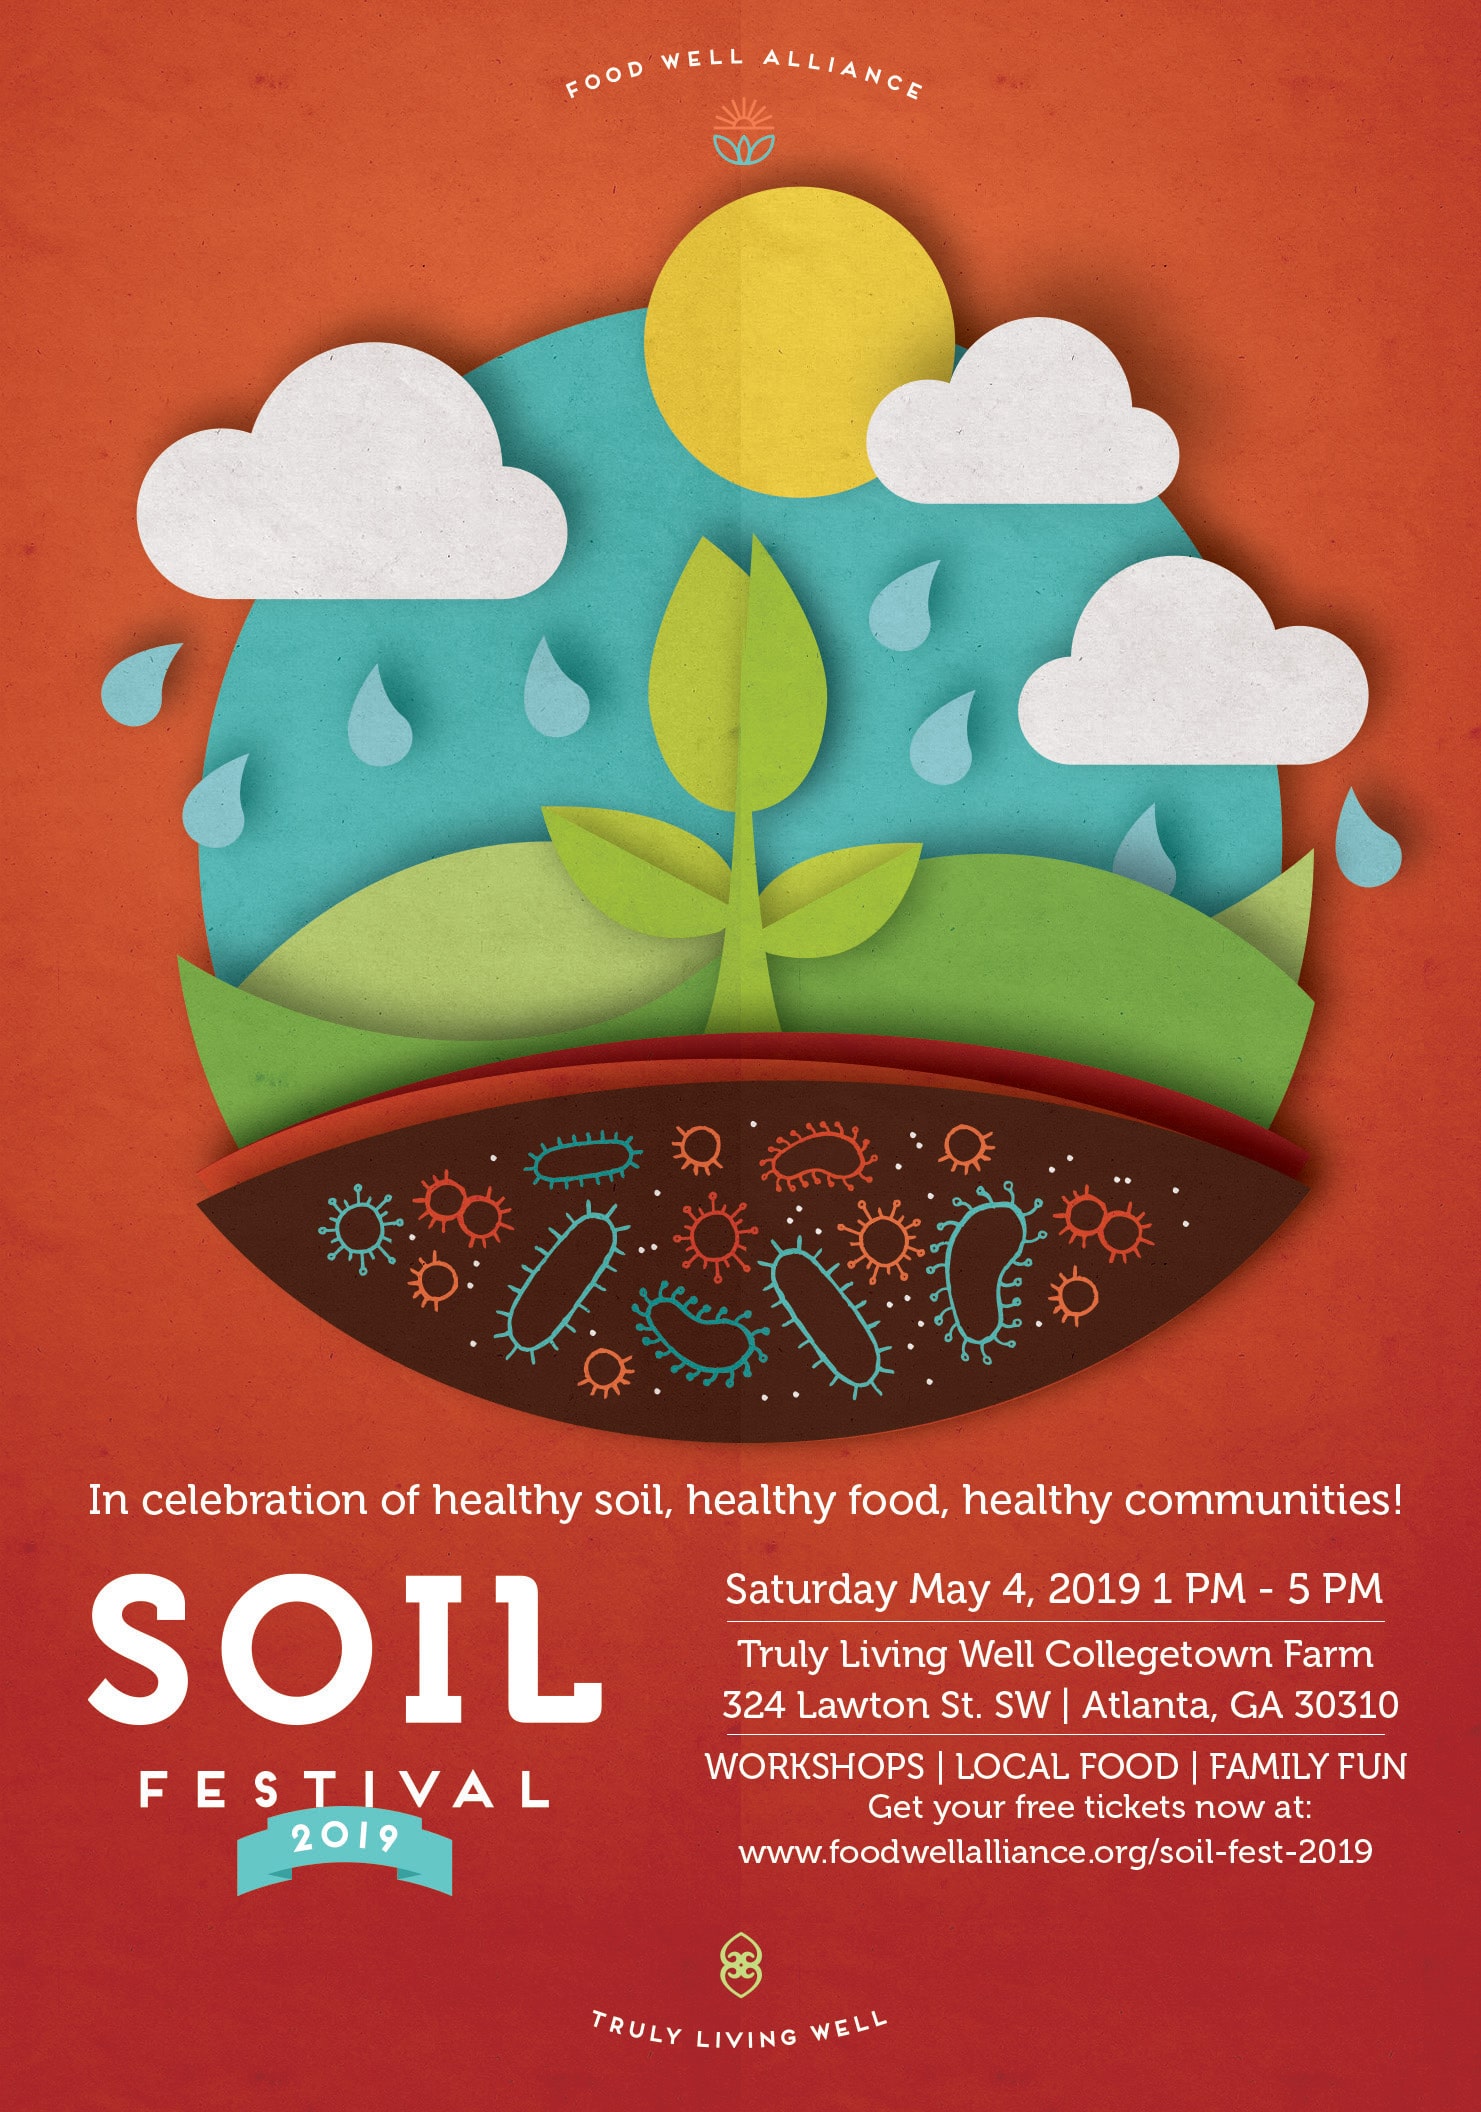
This Saturday, May 4th is the 5th Annual Soil Festival. Soil Festival is an annual tradition of celebrating soil as a key source for building gardens and healthier communities. This year a brand new Community Compost Learning Lab, the first of its kind in metro Atlanta, will be unveiled.
This free event is for all ages and raises awareness of the benefits of using local compost to improve and maintain high quality soil and to grow healthy food. This year, all attendees are encouraged to bring kitchen scraps to the event to support the production of healthy soil in Atlanta.
Soil Festival 2019 will be held at Truly Living Well’s Collegetown Farm in Atlanta, and includes a host of exciting opportunities for school gardeners, community gardeners, backyard gardeners, urban farmers, educators, beginning gardeners and children!
Never been to a farm? This festival is for you, too!
This year’s Soil Festival will feature educational workshops on gardening and composting; a children’s corner with fun garden-based activities and story time; a variety of urban agriculture vendors to learn tools of the trade from; a petting zoo; and free bags of compost for your garden.
We will also be providing great music and complimentary farm-to-table food and fare. Dig in, meet fellow gardeners, and visit all of the exhibitors who will be sharing resources and tools to help you enjoy the successes of gardening.
Winter is a season of waiting for gardeners. But winter is the perfect time to work on our soil. When is the last time you had a soil test? This week Dr. Jason Lessl gives us a refresher on why and how to soil test. Dr. Lessl writes….
One of the most fundamental, but often overlooked aspects to any successful vegetable garden, flower bed, landscape, or lawn is good, fertile soil. Getting your soil tested by a laboratory is the best and most accurate way to assess your nutrient and pH levels which are vital components of maintaining your soil. The University of Georgia Soil, Plant, and Water lab offers such services (www.aesl.ces.uga.edu).
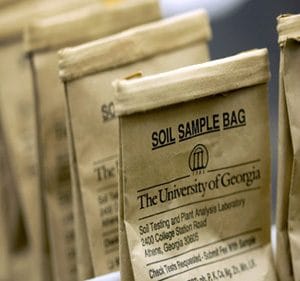
When you send a soil sample to a lab, you will receive a detailed report of soil nutrients levels along with crop-based recommendations on how to fix any potential deficiencies. The steps required to submit a soil sample are simple and can be achieved through a few items commonly found household items. You can start by contacting your local county extension office to acquire soil bags and get information on how to submit your samples. Locate your county office here: http://extension.uga.edu/about/county/index.cfm or call 1-800-ASK-UGA1.
Soil testing is available at your local UGA Extension office.
When to soil test?
Soils can be tested any time during the year, although it is typically best to take samples in the Fall/Winter. This is the time of year when most plants are dormant and the soil is most accessible. If pH adjustments are necessary, it is also the best time to apply amendments as it can take several months for them to take effect. Lime (to raise pH) and sulfur (to lower pH) reacts slowly and, if possible, should be mixed with the soil at least two to three months before planting.
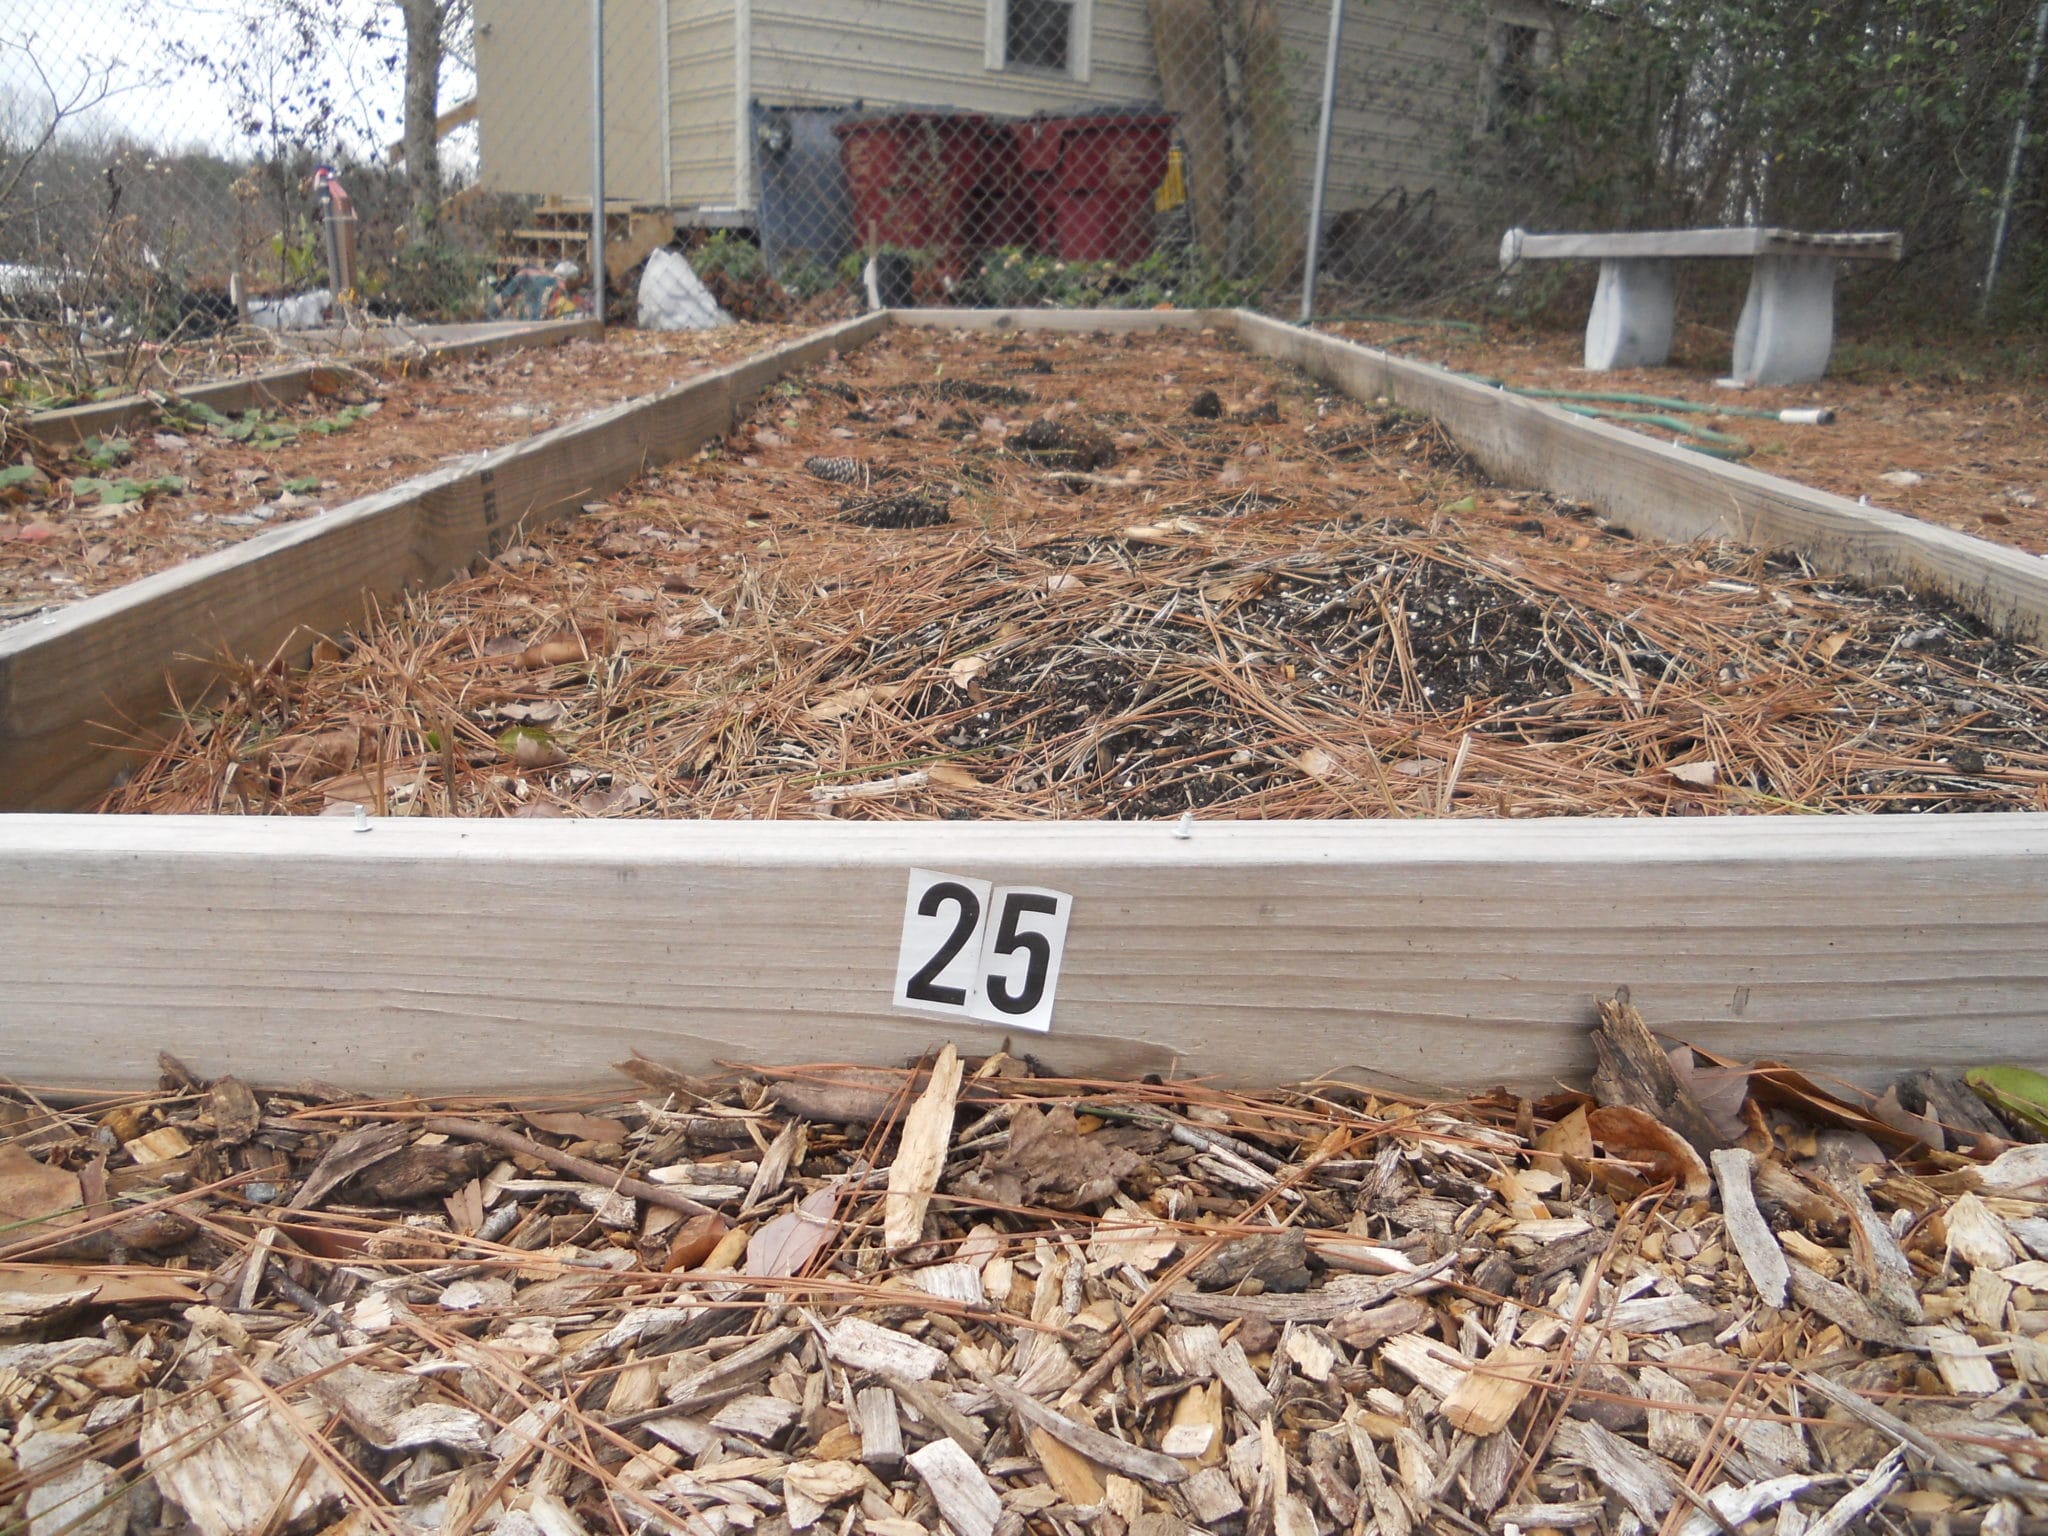
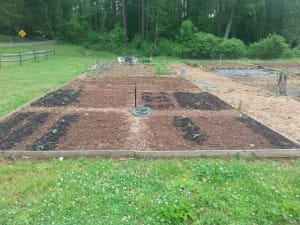
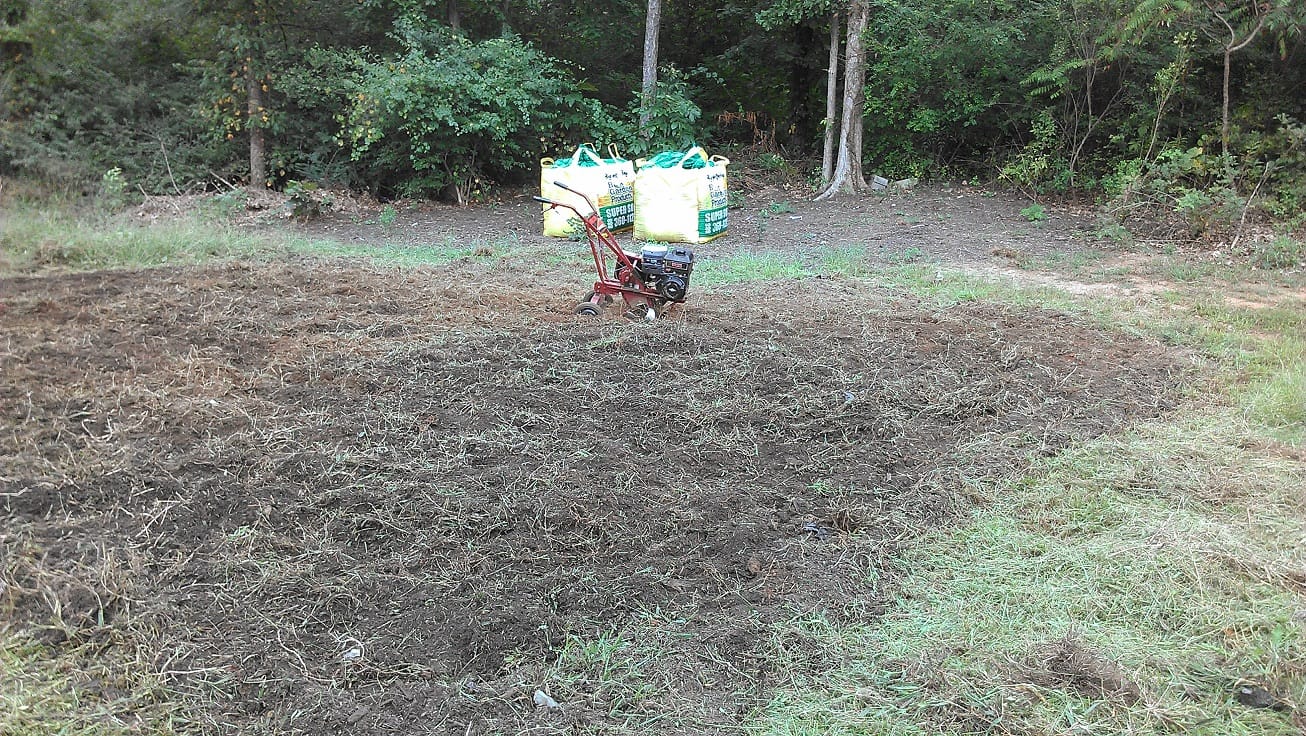
Soil from a community garden in Woodstock.
How often do I test my soil?
For intensely cultivated soils (i.e. vegetable gardens), an annual soil test is recommended. Otherwise, for lawns and ornamental areas, after medium to high fertility levels are established along with the appropriate pH, sampling should be done every two to three years.
Steps in Soil Sampling
Recommendations about when and how to apply nutrients are only as good as the soil sample submitted for analysis. To obtain a representative soil sample, the following steps are useful:
Map out the entire property. This will help in record keeping and ensure that the soil sample is representative of the entire area. Divide areas such that each soil sample represents one general plant type. For example, separate vegetable gardens, blueberry bushes, ornamentals, fruit trees, lawn, etc. If you have specific problem spots, sample those areas separately.
Use clean sampling tools and containers to avoid contaminating the soil sample. Collect samples with any digging tool you have available (hand trowel, shovel, soil probe, etc.).
Slightly damp soil is the easiest to work with if you can wait for those conditions. Clear the ground surface of grass, thatch, or mulch. Push your tool to a depth of 6 inches (4 inches for lawn areas) into the soil. Push the handle forward in the soil to make an opening then cut a thin slice of soil from the side of the opening that is of uniform thickness, extending from the top of the ground to the depth of the cut. Repeat this process in a zigzag pattern across your defined area, collecting 8-12 samples to mix together. For trees, take soil samples from 6-8 spots around and below the leaf canopy. Take about a pint (~2 cups) of the mixed soil (after removing large rocks, mulch, sticks, and roots) and fill the UGA soil sample bag. Be sure to label the sample clearly on the bag. If the samples are wet, spread the soil out over clean paper and let them air dry. Otherwise, take your samples to your local extension office for submission. Once the lab has received your soil, it will take 2-3 business days to get your report.
Dr. Lessl is a program coordinator for UGA’s Soil, Plant, and Water Lab. He understands the importance of the garden ecosystem as he is a fellow bee lover!
To round out our series on soil health we are fortunate enough to have information from Dr. Jason Lessl on soil testing. Jason writes…
Basic Soil Testing
One of the most fundamental, but often overlooked aspects to any successful vegetable garden, flower bed, landscape, or lawn is good, fertile soil. Getting your soil tested by a laboratory is the best and most accurate way to assess your nutrient and pH levels which are vital components of maintaining your soil. The University of Georgia Soil, Plant, and Water lab offers such services (www.aesl.ces.uga.edu). When you send a soil sample to a lab, you will receive a detailed report of soil nutrients levels along with crop-based recommendations on how to fix any potential deficiencies. The steps required to submit a soil sample are simple and can be achieved through a few items commonly found household items. You can start by contacting your local county extension office to acquire soil bags and get information on how to submit your samples. Locate your county office here: http://extension.uga.edu/about/county/index.cfm or call 1-800-ASK-UGA1.
Soil testing is available at your local UGA Extension office.
When to soil test?
Soils can be tested any time during the year, although it is typically best to take samples in the Fall/Winter. This is the time of year when most plants are dormant and the soil is most accessible. If pH adjustments are necessary, it is also the best time to apply amendments as it can take several months for them to take effect. Lime (to raise pH) and sulfur (to lower pH) reacts slowly and, if possible, should be mixed with the soil at least two to three months before planting.
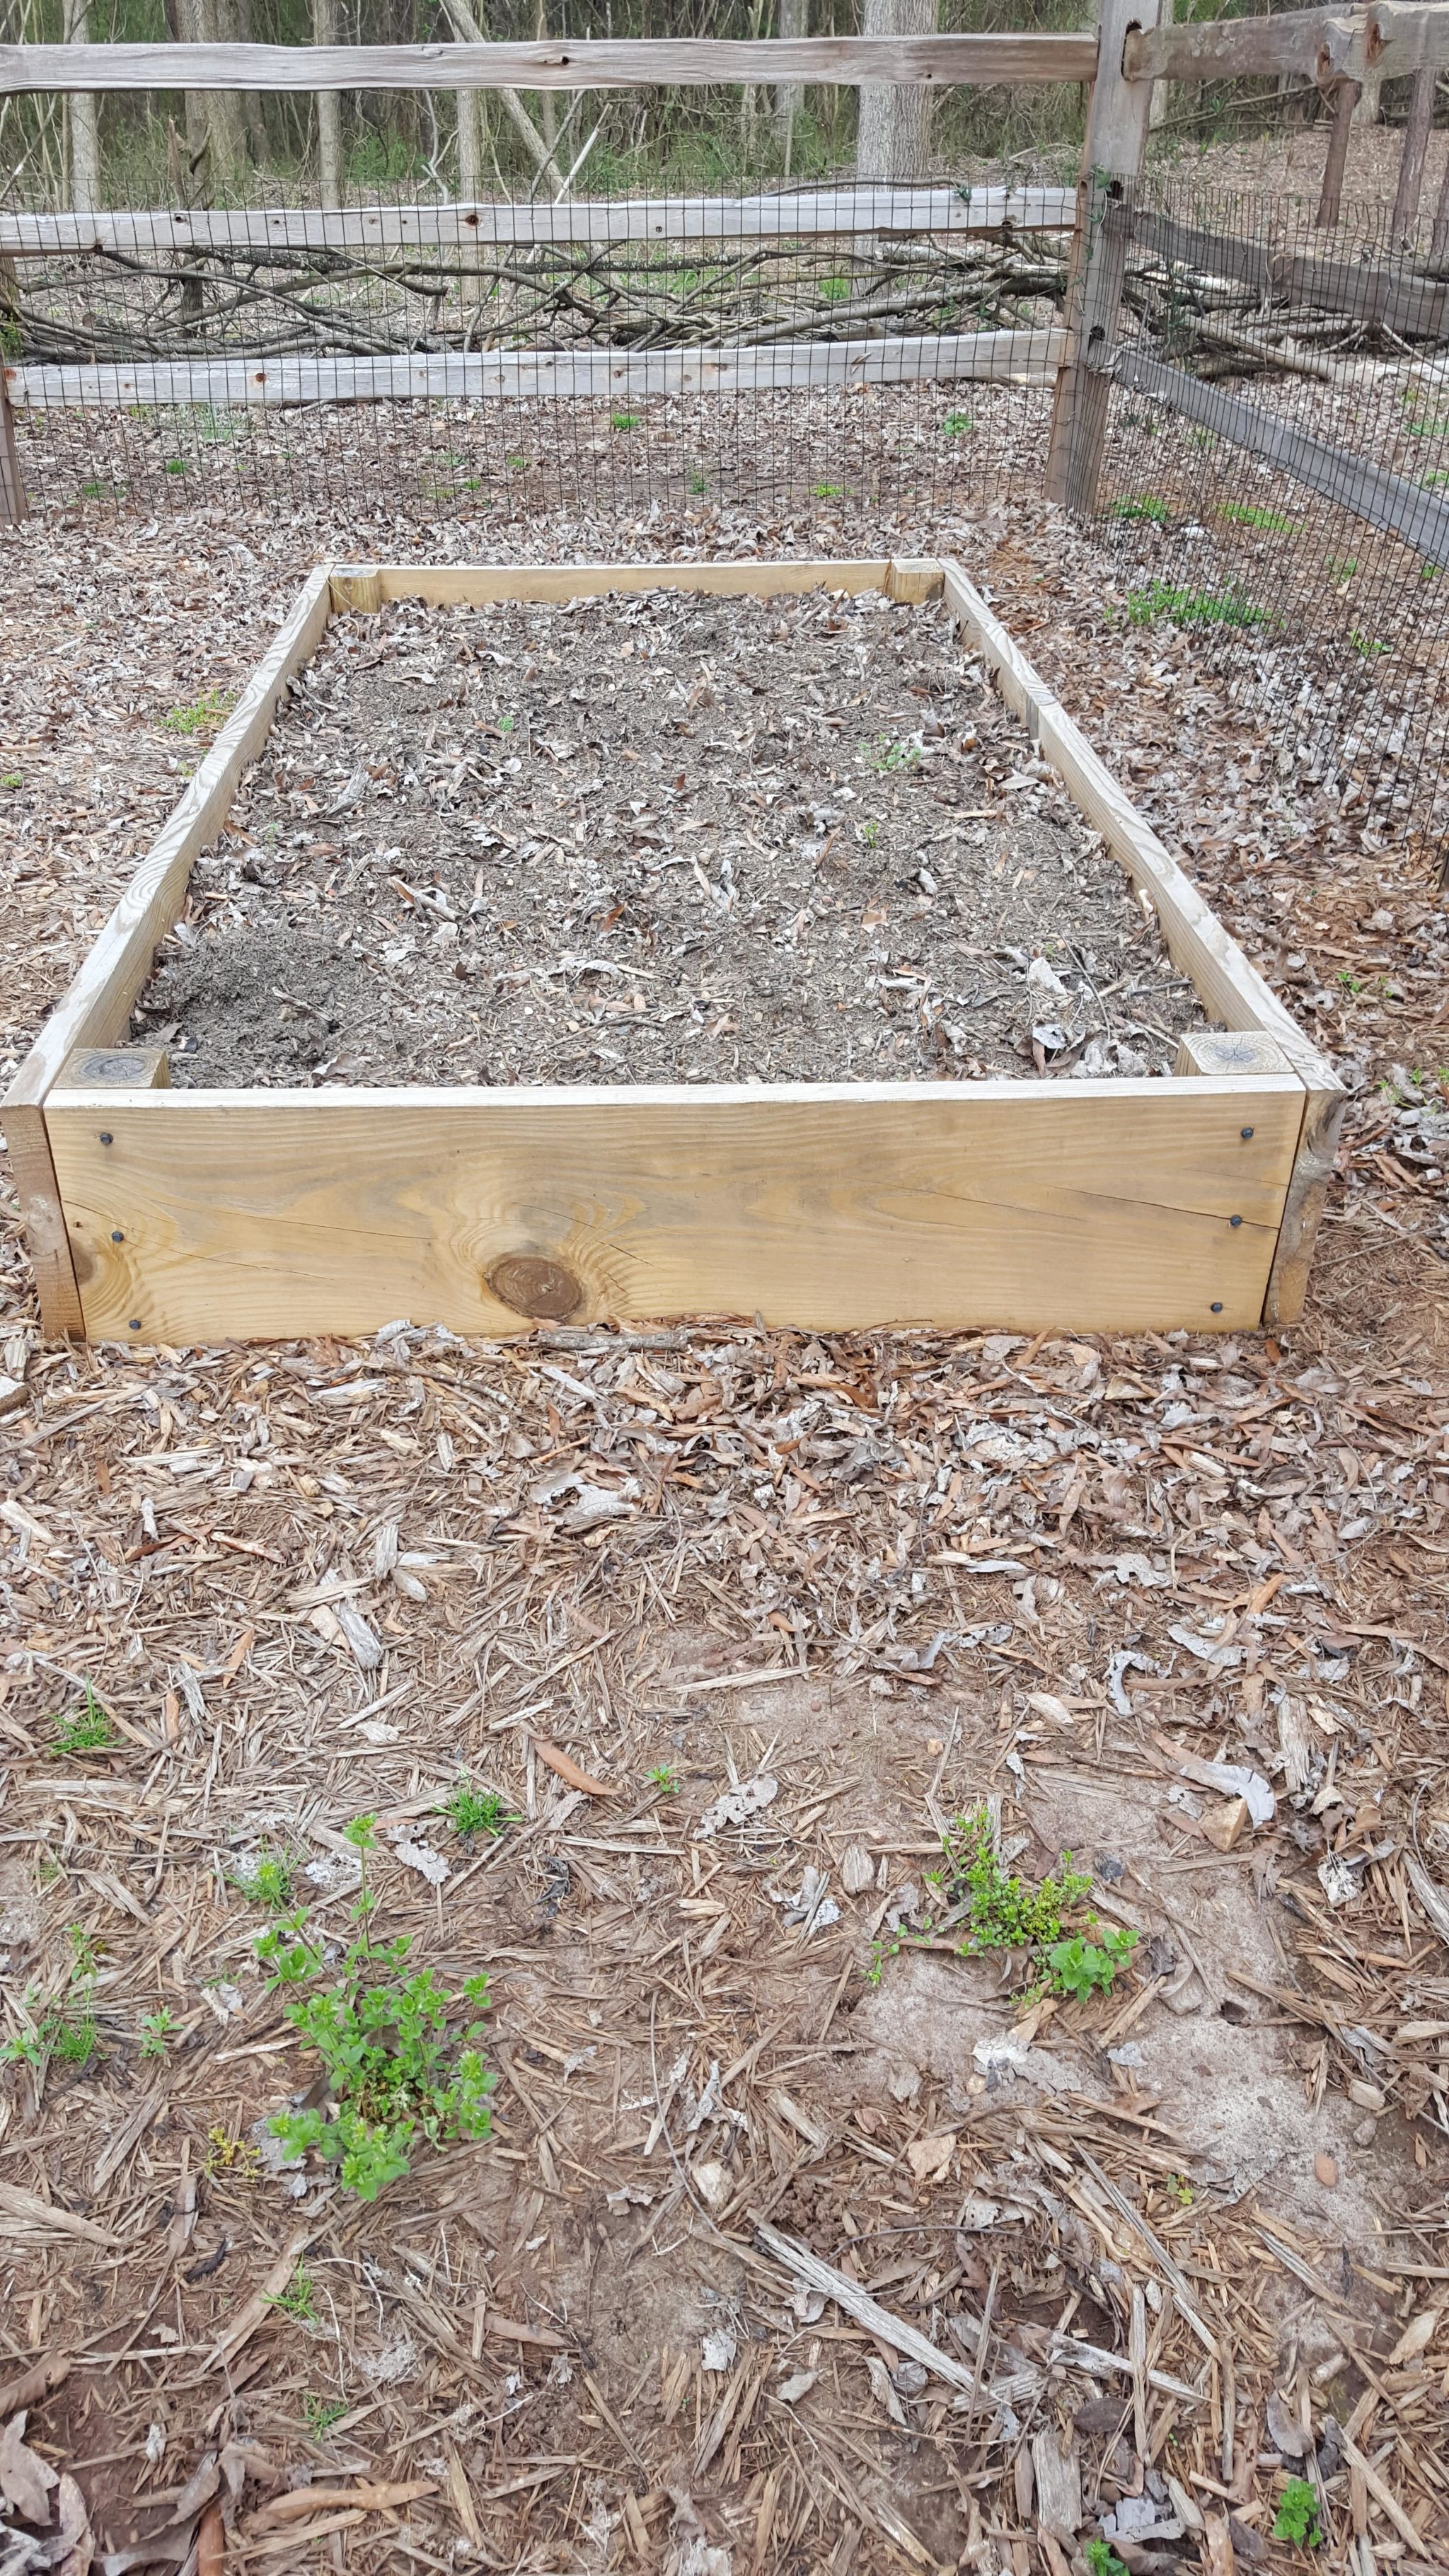
Soil from a community garden in Woodstock.
How often do I test my soil?
For intensely cultivated soils (i.e. vegetable gardens), an annual soil test is recommended. Otherwise, for lawns and ornamental areas, after medium to high fertility levels are established along with the appropriate pH, sampling should be done every two to three years.
Steps in Soil Sampling
Recommendations about when and how to apply nutrients are only as good as the soil sample submitted for analysis. To obtain a representative soil sample, the following steps are useful:
Map out the entire property. This will help in record keeping and ensure that the soil sample is representative of the entire area. Divide areas such that each soil sample represents one general plant type. For example, separate vegetable gardens, blueberry bushes, ornamentals, fruit trees, lawn, etc. If you have specific problem spots, sample those areas separately.
Use clean sampling tools and containers to avoid contaminating the soil sample. Collect samples with any digging tool you have available (hand trowel, shovel, soil probe, etc.).
Slightly damp soil is the easiest to work with if you can wait for those conditions. Clear the ground surface of grass, thatch, or mulch. Push your tool to a depth of 6 inches (4 inches for lawn areas) into the soil. Push the handle forward in the soil to make an opening then cut a thin slice of soil from the side of the opening that is of uniform thickness, extending from the top of the ground to the depth of the cut. Repeat this process in a zigzag pattern across your defined area, collecting 8-12 samples to mix together. For trees, take soil samples from 6-8 spots around and below the leaf canopy. Take about a pint (~2 cups) of the mixed soil (after removing large rocks, mulch, sticks, and roots) and fill the UGA soil sample bag. Be sure to label the sample clearly on the bag. If the samples are wet, spread the soil out over clean paper and let them air dry. Otherwise, take your samples to your local extension office for submission. Once the lab has received your soil, it will take 2-3 business days to get your report.
Dr. Lessl is a program coordinator for UGA’s Soil, Plant, and Water Lab. He understands the importance of the garden ecosystem as he is studying to become a new honey bee keeper this April! Thanks, Jason, for being part of healthy soil month!
In the middle of soil health month this Natural Resources Conservation Service (NRCS) video is worth a watch. Dr. Kris Nochols explains the importance of a healthy balance of soil microorganisms. The photos of the microbes are fantastic. You will never refer to your “soil” as “dirt” again. Enjoy!
For our first blog post on soil health we are going back to basics: soil texture. Knowing what soil texture we have will allow us to work towards improving it for our use.
Soil scientists tell us that the texture of soil is based on the proportions of sand, silt, and clay:
Sand: particles with diameters from 0.05 to 2.0 mm. They are the largest of the soil particle types. Soils high in sand drain well. However, they do not hold nutrients well and are not very fertile.
Silt: particles with diameters from 0.002 to 0.05 mm. These are the medium sized particles. These soils hold water and nutrients well and are considered fertile.
Clay: particles with diameters less than 0.002 mm. These are the smallest of the soil particles. Clay soils hold water and nutrients well. However, these soils have small pore spaces and show poor water drainage. Soils high in clay can form hard clumps when they are dry and become slick when wet.
Web Soil Survey Tool
The United States Department of Agriculture’s Natural Resources Conservation Service (NRCS) has done extensive research on soil and has actually mapped the soil texture. They have developed a wonderful computer tool useful in determining soil texture for a specific location. The Web Soil Survey allows you to find out your soil textural class at your garden. The website has easy to follow instructions and it can be as simple as typing in your garden address.
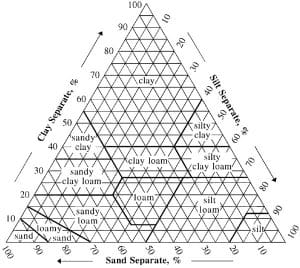
When typing in my home address I find that the native soil at my garden is sandy, clay loam. Connecting the lines on the soil texture triangle below, I learn that my soil is about 60% sand, 30% clay, and 10% silt. That surprises me. I would have guessed higher in clay particles.
NRCS’s Soil Texture Triangle
By using other tabs on the computer program I can see how the NRCS views the properties of this type of soil. I encourage you to visit the website and play with the computer program. What did you find out about your soil texture?