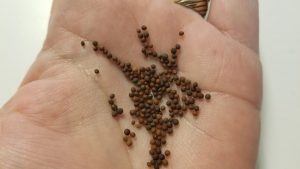
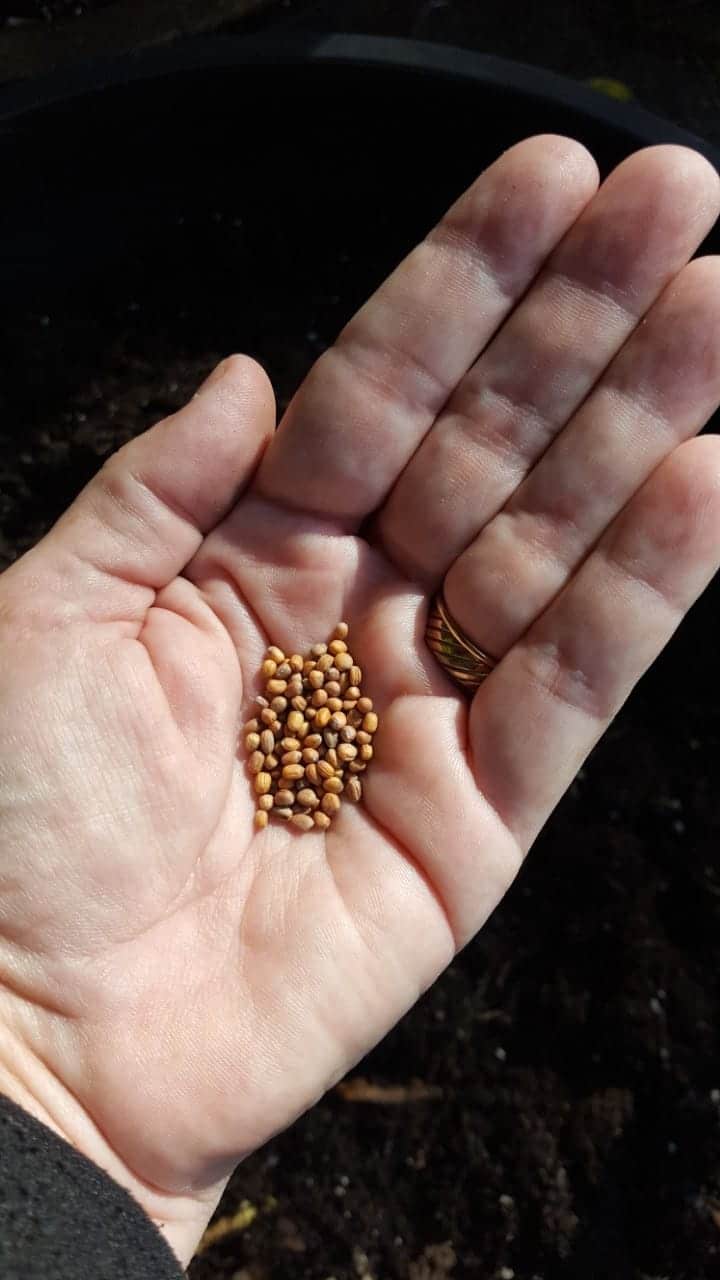
Fall planting often involved handling small seeds. Lettuce, spinach, carrots, radishes and all types of greens are started from small seeds and success with these seeds can be a challenge. Often it is a problem with seed germination. To help you with success we have compiled some tips to help you plant small seeds with confidence.

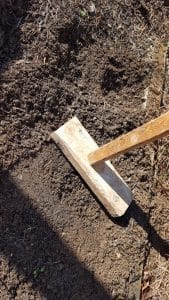
Tip #1 Once you have planted your seeds use a tamper to gently tamp the seed bed. A tamper uses the right amount of pressure to ensure good seed-to-soil contact while not compacting the soil. If you think on a small level it is possible for small seeds to get lost in air gaps in the soil. Think like a small seed! Seed-to-soil contact is imperative for good seed germination.

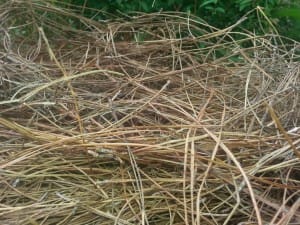
Tip #2 Mulch, mulch, mulch. Cool-season planting happens when our temperatures are still warm and rainfall is not plentiful. Sun can bake a bare soil affecting soil temperatures and moisture content. The right mulch can even out soil moisture and temperatures while protecting small seedlings. Using bark chunks for mulch is not advisable. Small germinating seeds cannot easy push a bark chunk out of the way. Again, we have to think like a small seed! Pine straw or clean wheat straw (with no wheat seeds!) is preferable.

Tip #3 Know that your seed bed needs to stay moist until germination. Water your seeds in and aim to keep the seed bed moist but not soaking. If you visit your community garden plot only once a week to water and we don’t receive any rainfall, your seeds will dry out. On another note, if you experience an extreme rainfall event, like hard rains from a hurricane, your seeds will probably wash away. Not too much water and not too little water is the goal.
When working with community gardeners across the state I have found those who follow these three tips have a much greater chance of small seed success. Let me know how it goes!
Happy Gardening!
- ParSLAY the Day! - June 12, 2024
- 6th Annual Great Southeast Pollinator Census - May 28, 2024
- Are you ready for Pepper Palooza? - July 5, 2023
