This Saturday, May 4th is the 5th Annual Soil Festival. Soil Festival is an annual tradition of celebrating soil as a key source for building gardens and healthier communities. This year a brand new Community Compost Learning Lab, the first of its kind in metro Atlanta, will be unveiled.
This free event is for all ages and raises awareness of the benefits of using local compost to improve and maintain high quality soil and to grow healthy food. This year, all attendees are encouraged to bring kitchen scraps to the event to support the production of healthy soil in Atlanta.
Soil Festival 2019 will be held at Truly Living Well’s Collegetown Farm in Atlanta, and includes a host of exciting opportunities for school gardeners, community gardeners, backyard gardeners, urban farmers, educators, beginning gardeners and children!
Never been to a farm? This festival is for you, too!
This year’s Soil Festival will feature educational workshops on gardening and composting; a children’s corner with fun garden-based activities and story time; a variety of urban agriculture vendors to learn tools of the trade from; a petting zoo; and free bags of compost for your garden.
We will also be providing great music and complimentary farm-to-table food and fare. Dig in, meet fellow gardeners, and visit all of the exhibitors who will be sharing resources and tools to help you enjoy the successes of gardening.
Earth Day falls on Monday, April 22nd. It is a good day to appreciate our Earth and to evaluate how we are caring for it.
The first Earth Day was in 1970. The April 22nd date was chosen because it was after college spring break but before college exams. The expectation was that college students would be an internal part of that day and they were. Several of those students have grown to be very involved in the environmental movement. In 2020 we will celebrate the 50th anniversary of the first Earth Day.
In my household we usually celebrate the day with a huge feast feeling grateful for what we can grow and very thankful for the farmers that grow what I do not. Each year we have a theme. One year it was a native peoples feast featuring bison burgers. One year it was honey-themed and another year I featured strawberries. The point was to take some time to appreciate our Earth and the food we grow.
We can all take stock on how we treat our natural resources. As a vegetable gardener are you following best management practices in your garden? Are you using integrated pest management to handle pests instead of reaching for a pesticide? Are you creating and sustaining healthy soil? How are your composting skills? Can you pull the weed instead of using an herbicide?
This time of year I always create a goal towards improvement. What about you?
All of this rain has me very excited about getting back to our seed starting project.
I have one note about seed starting media. If you choose to purchase bagged media for starting seeds indoors, do not choose something with fertilizer in the mix. This will be too strong for seedlings. There are plenty of bagged mixes specifically for seed starting so choose one of those.
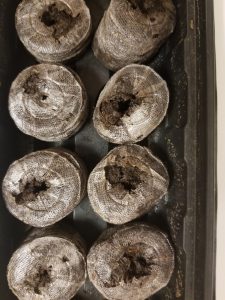
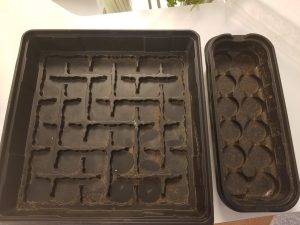
We are ready to expand our pellets. Notice the seed pellets are fully expanded with no standing water:
Seed pellets are not too wet but moist all the way through.
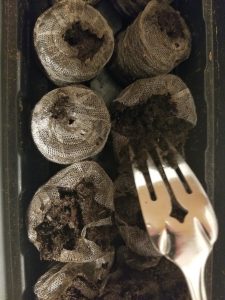
Next, take a fork and open up the top a bit and fluff the media. I like to take this time to make sure that the moisture is uniform all the way through with no dry spots:
Fluff the planting media with a fork to ensure uniform moisture.
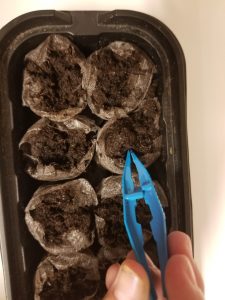
Now you are ready to plant your seeds. If you are mixing seed types in one tray, make sure that they will emerge and grow at about the same rate. I like to use plastic forceps to exactly place the seed where I want them. Some seeds, like lettuce and herbs, are very small and easily lost in the tray. Know how deeply to plant the seeds. Most of the ones you will probably plant just need to be lightly covered with the planting media.
Plastic forceps can be your best friend!
It is worth the effort to do some research on your seed types. For example, cilantro seeds don’t germinate easily when exposed directly to light. Also, there are some seeds that just do better planting directly into the soil, beans and corn are good examples.
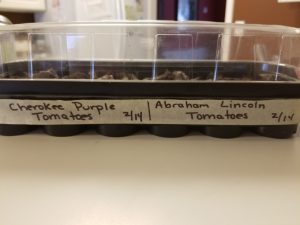
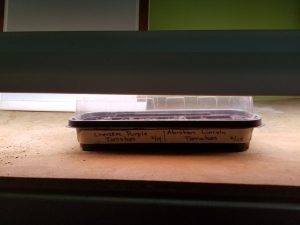
At this point it is a great idea to label your seed tray. Sharpie markers on masking tape work well. The tape sticks to the tray but can be removed later. Do not be tempted to label the lid. You will be removing the lid later and you don’t want to forget the original orientation. Finally, put the lid on the tray, making sure it fits tightly.
Do not forget to label your seed trays.
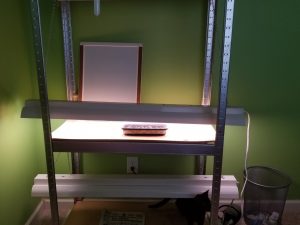
Do not place your seed tray near a window and hope for the best. You will be disappointed. You will not get enough light for healthy seedlings and the temperature fluctuation at the window will be problematic.
Use a light system. The system does not have to be complicated. I have a light fixture with florescent bulbs attached to a structure with moveable chains. This setup was originally housed in a bathroom tub but it is now in my grown daughter’s bedroom. Very simple. You need the chain to move the light so it stays just above the seed tray. To produce robust seedlings you need the light no more than an inch or two above the tray. This will be imperative as the seeds germinate and grow.
If you are germinating seeds in a place that is reasonably warm you do not need a heating mat. Those were designed for outside greenhouses and places like Michigan. By using a heating mat when you don’t need one, you risk drying out your planting media.
So far this is pretty simple, right? If you have any questions or concerns you can comment or email me at beckygri@uga.edu. Send photos! Next week we will discuss seedling care.
Over the next few weeks we are going to talk about seed starting. I did three in-depth posts last year and I am going to rerun them this year by request. Spring is coming….
Just flipping through one garden seed catalog I found 89 varieties of tomatoes, 21 varieties of cucumbers, 20 varieties of eggplant and 26 varieties of sweet peppers, including three types of lunchbox peppers. Compare that to the different types of vegetable plants that you would find at your big box retail store. Add some variety to your life and try starting your own seeds!
The rule of thumb is to start your warm-season seeds 6-8 weeks before planting time so over the next weeks we are going to explore indoor seed starting in-depth. For beginners, follow along with me as you start your first seeds. For seasoned seed-starting veterans, you may pick up a trick or two. I also encourage you to share your experience through the comments.
Let me begin by writing that there are many effective ways to start seeds indoors. I am going to share with you the way that I like to do it. I have been starting seeds indoors for decades and I have found a way that works best for me. You may find a different way that works best for you and that is terrific. I look forward to learning from you all as well.
To start, I like these re-useable plastic trays. They are easy to store and come in many sizes. I have friends who save their old plastic milk jugs and trim them down for seed starting; that works well for them.
These trays are easy to use for seed starting.
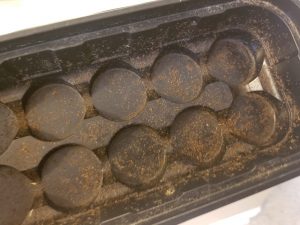
Any plastic trays MUST be disinfected before adding soil media and seed. I use a solution of 9-parts water to 1-part bleach. This step is important to eliminate any pathogens that have been overwintering on remaining soil particles. Starting with clean trays is an important step towards healthy seedlings. Don’t skip it.
These soil particles could hold pathogens. Disinfect those trays!
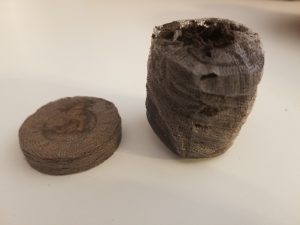
I like to use the peat moss discs for my planting media. As a bonus, the peat moss contains properties that discourage fungal growth. This helps prevent the disease damping off which is a real problem for seedlings.
The pellets expand with the addition of water.
These pellets are readily available and are easy to store. Add water and the pellets expand. I use warm water to create a favorable environment for the seeds. It is important here to not oversaturate the discs with too much water. Too dry is better for the seeds than too wet. Too wet means that the seeds could rot or disease will become a problem. You want the planting media to be just damp. If you can wring water out of the media, it is too wet. If this happens you can let the discs sit outside the tray for a few hours so that they can dry out a bit. You will get the hang of how much is too much as you practice.
Okay, gather your seed starting equipment, and play around with the pellets. Next week we will talk about planting the seeds.
Today we continue our series on a good replacement for tomatoes in our summer community garden plots. Today’s crop to consider is corn.
Usually corn is avoided in the community garden. The tall stalks shade other plants, there is not much yield in the amount you can grow in a small space, and corn takes a large amount of water. That being said, I sometimes find community gardeners who really want to grow their own corn. They remember eating corn fresh from a grandparent’s farm or working the corn patch with their parents. Often these gardeners are now city dwellers and the corn means a great deal to them.
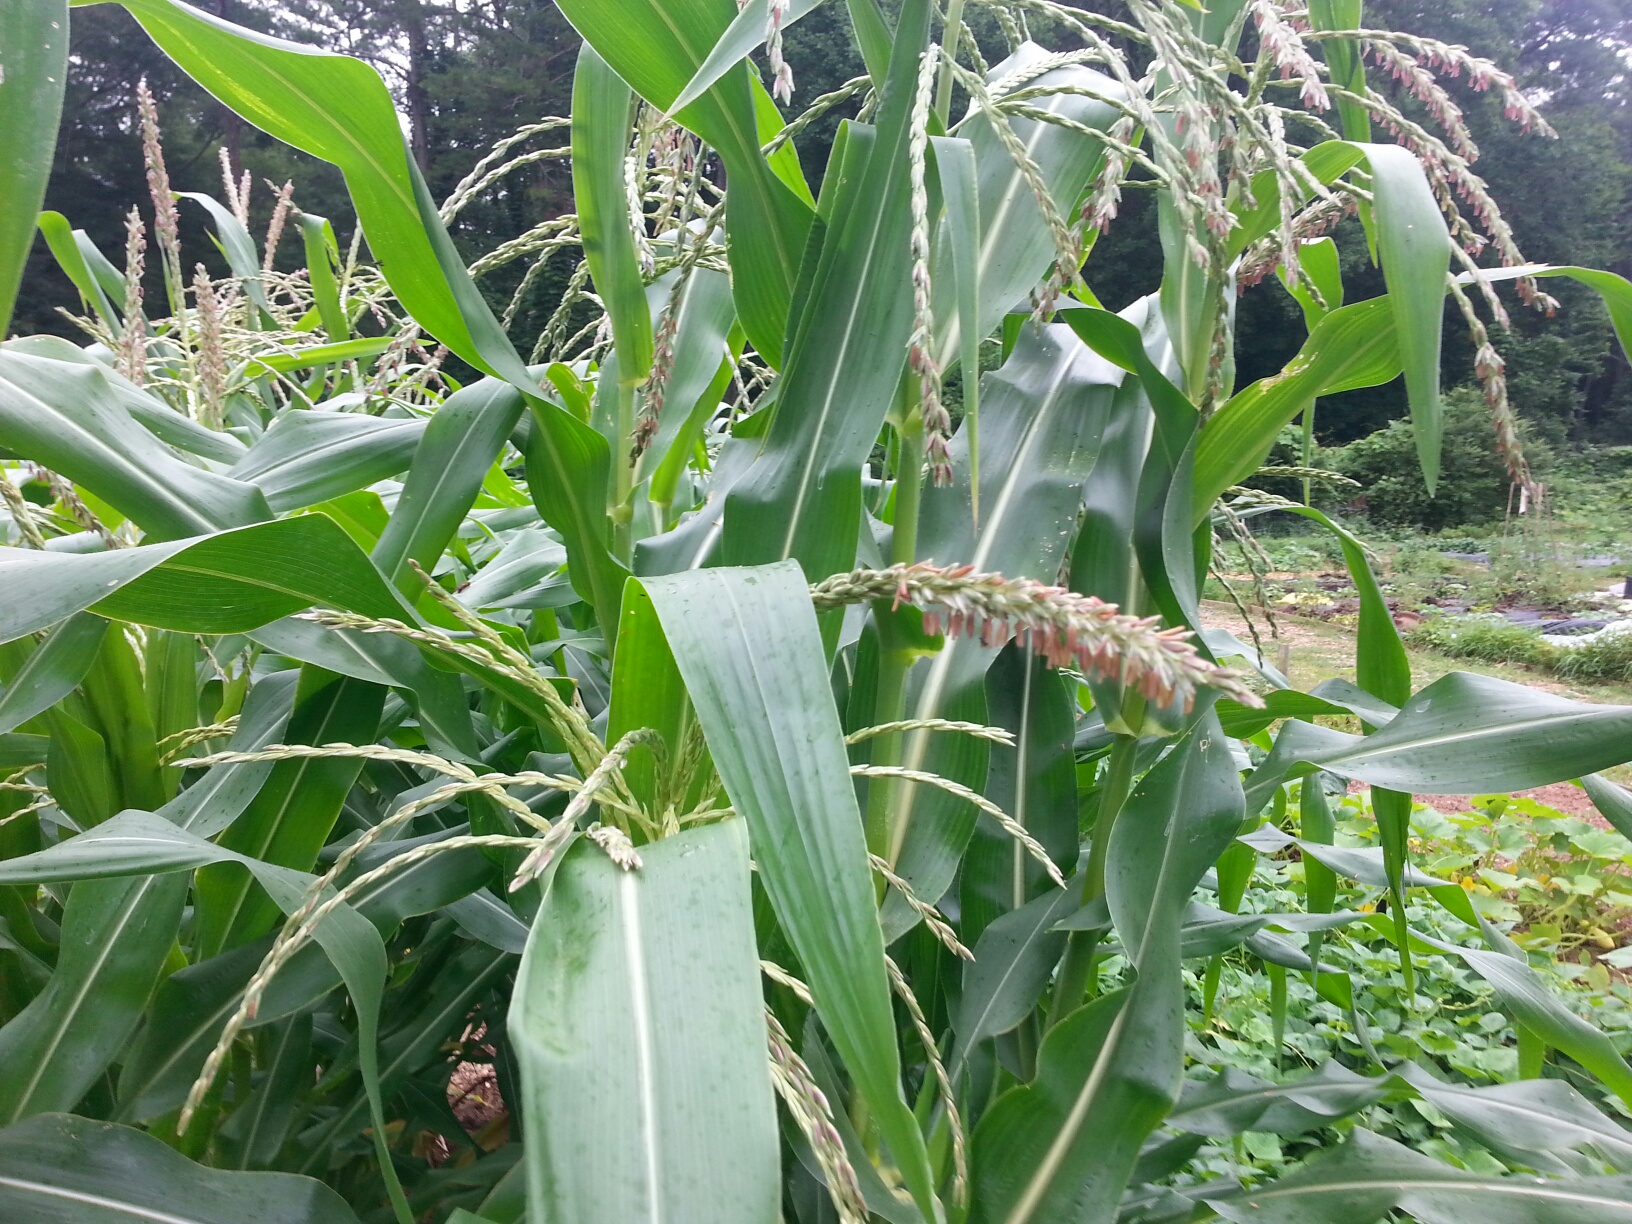
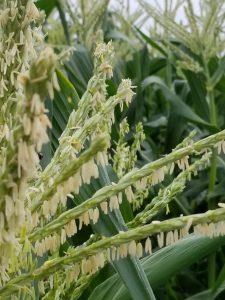
Corn tassels waiting on wind to spread the pollen
Instead of totally abandoning the idea of growing corn, why not think about trying some of the short growing varieties? Several of the seed companies offer shorter varieties. Burpee advertises a corn for growing in a patio container called On-Deck Hybrid. The description of this type states that it grows 4 – 5 feet high. Compare that to Silver Queen which stretches 8 feet tall.
Park Seed offers a shorter variety called Early Sunglow Hybrid. Stalks from this corn are expected to top at 4 feet. Another thought is popcorn. Seed Savers offers Tom Thumb popcorn which grows only 3-4 feet tall. I have grown popcorn many times. It is fun to grow and fun to pop with children or grandchildren.
I will caution you that more than a few stalks need to be grown to get any kind of yield. Many stalks yield 1-2 corn ears per plant. If you are serious about trying corn in the community garden consider allocating at least half of your 4’X 8′ garden bed for the crop. Also, remember that the crop is wind pollinated. It does not hurt to shake those corn tassels yourself to make sure the pollen moves around.
The #1 crop grown in community gardens is tomatoes. I don’t remember visiting a community garden where I didn’t see tomatoes in the summer. I understand! There is not much better than a tomato from the vine warmed from the sun. BUT, growing tomatoes in the same space year after year creates disease and pest problems.
Over the next few weeks we will be exploring some food crops not typically grown in the community gardens. I am hoping that we can provide some options for that tomato garden space.
To get you ready to embrace new plant options, take a minute to view this video on tomato diseases!
Winter is a season of waiting for gardeners. But winter is the perfect time to work on our soil. When is the last time you had a soil test? This week Dr. Jason Lessl gives us a refresher on why and how to soil test. Dr. Lessl writes….
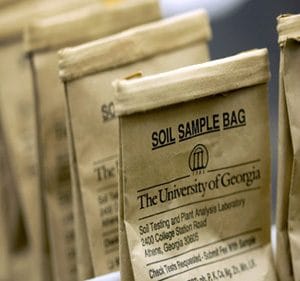
One of the most fundamental, but often overlooked aspects to any successful vegetable garden, flower bed, landscape, or lawn is good, fertile soil. Getting your soil tested by a laboratory is the best and most accurate way to assess your nutrient and pH levels which are vital components of maintaining your soil. The University of Georgia Soil, Plant, and Water lab offers such services (www.aesl.ces.uga.edu).
When you send a soil sample to a lab, you will receive a detailed report of soil nutrients levels along with crop-based recommendations on how to fix any potential deficiencies. The steps required to submit a soil sample are simple and can be achieved through a few items commonly found household items. You can start by contacting your local county extension office to acquire soil bags and get information on how to submit your samples. Locate your county office here: http://extension.uga.edu/about/county/index.cfm or call 1-800-ASK-UGA1.
Soil testing is available at your local UGA Extension office.
When to soil test?
Soils can be tested any time during the year, although it is typically best to take samples in the Fall/Winter. This is the time of year when most plants are dormant and the soil is most accessible. If pH adjustments are necessary, it is also the best time to apply amendments as it can take several months for them to take effect. Lime (to raise pH) and sulfur (to lower pH) reacts slowly and, if possible, should be mixed with the soil at least two to three months before planting.
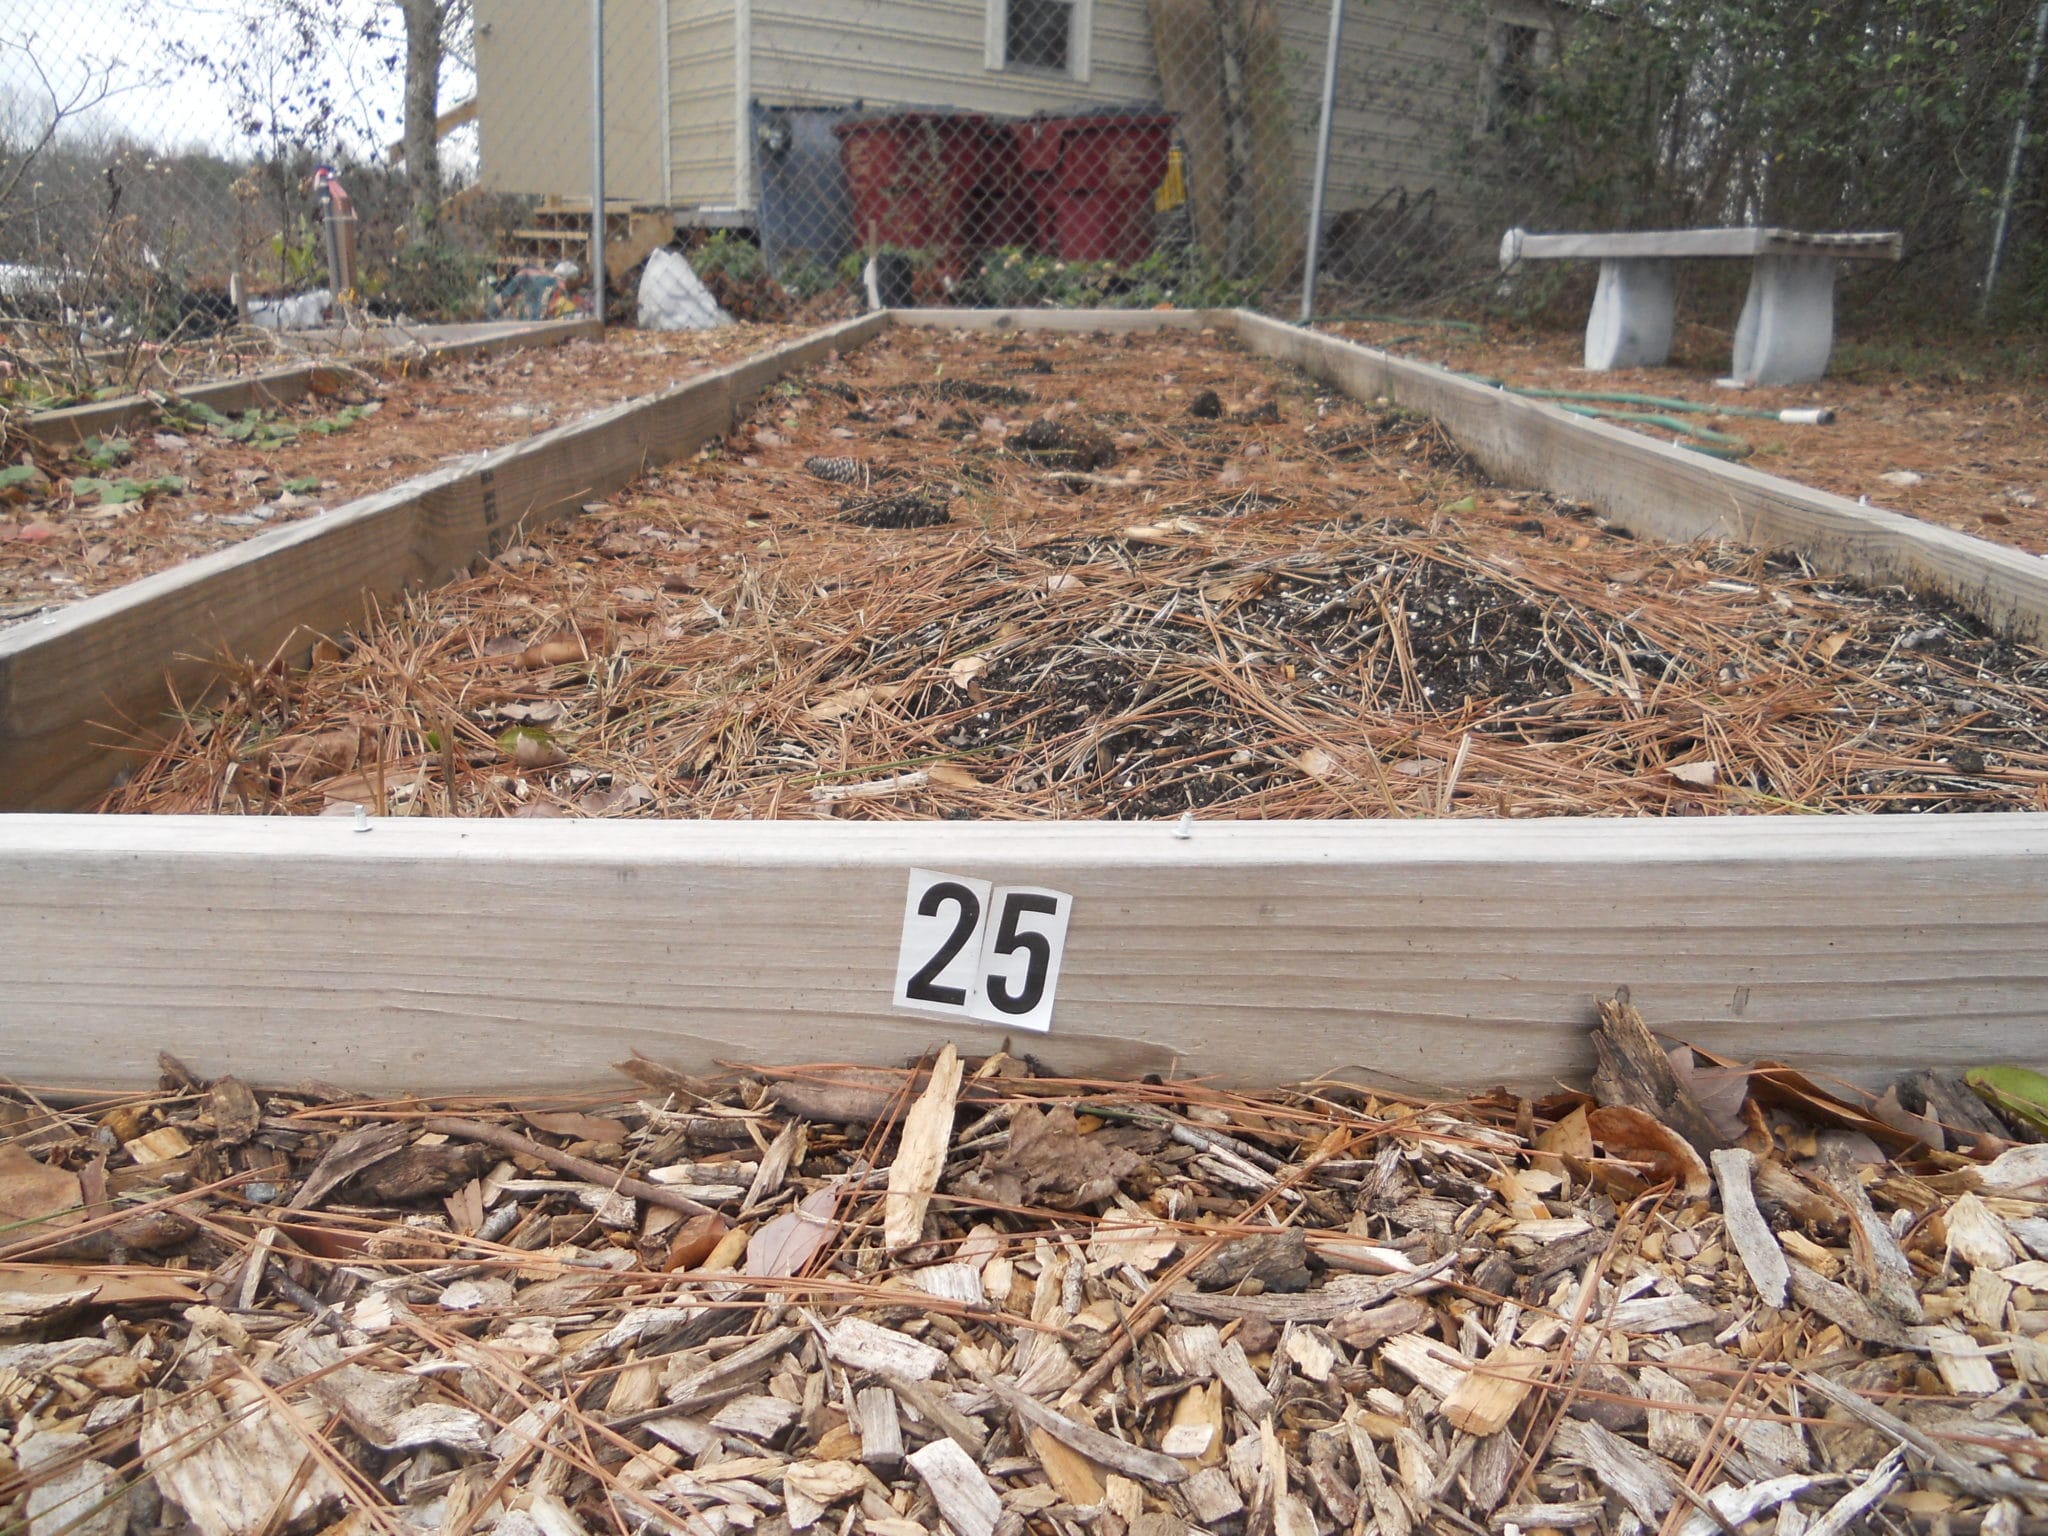
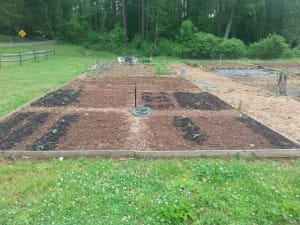
Soil from a community garden in Woodstock.
How often do I test my soil?
For intensely cultivated soils (i.e. vegetable gardens), an annual soil test is recommended. Otherwise, for lawns and ornamental areas, after medium to high fertility levels are established along with the appropriate pH, sampling should be done every two to three years.
Steps in Soil Sampling
Recommendations about when and how to apply nutrients are only as good as the soil sample submitted for analysis. To obtain a representative soil sample, the following steps are useful:
Map out the entire property. This will help in record keeping and ensure that the soil sample is representative of the entire area. Divide areas such that each soil sample represents one general plant type. For example, separate vegetable gardens, blueberry bushes, ornamentals, fruit trees, lawn, etc. If you have specific problem spots, sample those areas separately.
Use clean sampling tools and containers to avoid contaminating the soil sample. Collect samples with any digging tool you have available (hand trowel, shovel, soil probe, etc.).
Slightly damp soil is the easiest to work with if you can wait for those conditions. Clear the ground surface of grass, thatch, or mulch. Push your tool to a depth of 6 inches (4 inches for lawn areas) into the soil. Push the handle forward in the soil to make an opening then cut a thin slice of soil from the side of the opening that is of uniform thickness, extending from the top of the ground to the depth of the cut. Repeat this process in a zigzag pattern across your defined area, collecting 8-12 samples to mix together. For trees, take soil samples from 6-8 spots around and below the leaf canopy. Take about a pint (~2 cups) of the mixed soil (after removing large rocks, mulch, sticks, and roots) and fill the UGA soil sample bag. Be sure to label the sample clearly on the bag. If the samples are wet, spread the soil out over clean paper and let them air dry. Otherwise, take your samples to your local extension office for submission. Once the lab has received your soil, it will take 2-3 business days to get your report.
Dr. Lessl is a program coordinator for UGA’s Soil, Plant, and Water Lab. He understands the importance of the garden ecosystem as he is a fellow bee lover!
To finish our series on “tiny topics” I want us to think about mulch. Most gardeners already know that mulching our plant is a MUST. It helps even out soil temperature and moisture and it holds down weeds. But we can improve how mulch works for us if we take a minute to look at it critically.
Choose your mulch type wisely. The first rule of thumb is that you want mulch to be inexpensive and easily available. However, you also want mulch that is free from weed seeds. I have purchased hay as mulch that ends up contributing more weed seed than it prevented.
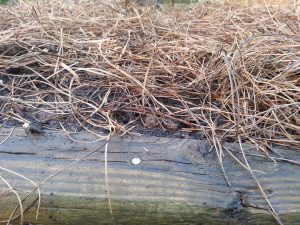
Using a lightweight mulch is best for a seed bed.
If you are using the mulch in a seed bed you want the elements of the mulch not to be a hindrance to seed emergence. If a small seed is pushing against a wood mulch nugget that is a problem. Lightweight mulch is best.
Often communities will give free mulch made from old Christmas trees. Be cautious of receiving this type of mulch. It is often full of large tree chucks which will be problematic for small seeds and can damage plant stems.
Consider changing your mulch. Especially if you are growing food crops, consider changing your mulch each season. Disease-casuisng organisms and pest insects can often overwinter in mulch and plant debris. Replace old mulch with new disease-free mulch. Another piece of the integrated pest management puzzle!
I hope with this series you have had a change to realize how even small garden elements can have a big impact on your garden’s health. I have appreciated the feedback and emails about this series!
Today we continue our series on tiny topics and we are exploring plant spacing. We all want to get as many plants as possible in our garden space. That is understandable, especially when you garden in a small 4′ X 8′ community garden plot. More plants equals more vegetables, right?
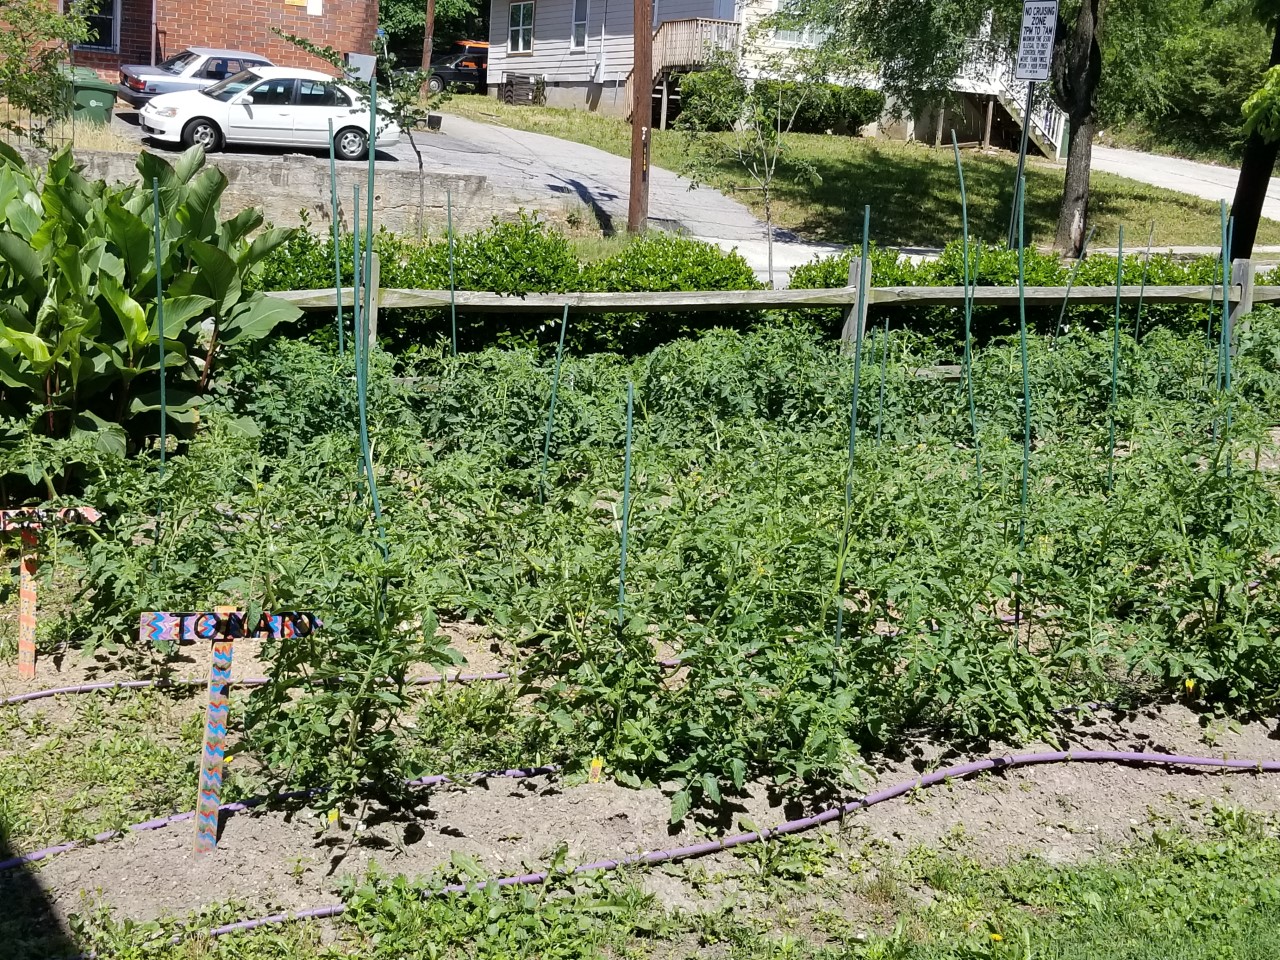
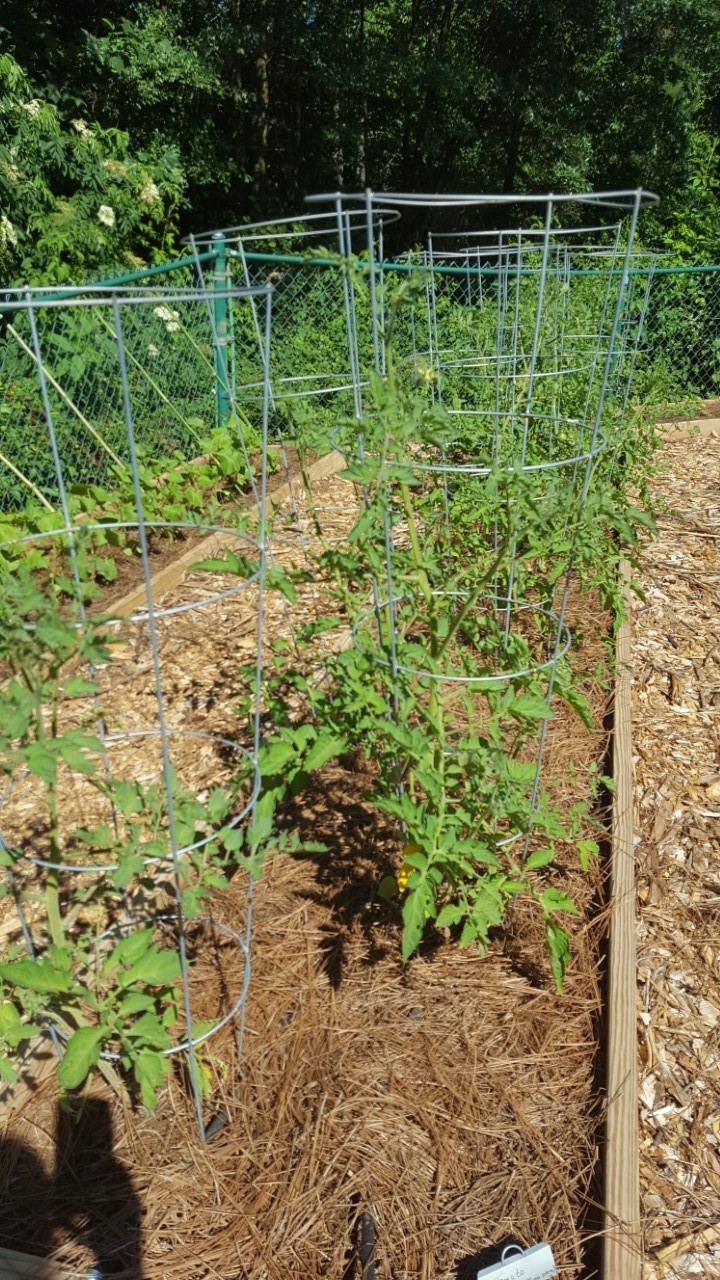
These tomatoes are planted way too close together.
Reasons plant crowding is problematic:
#1 Seedlings planted close together do not have room to grow and develop. Tall plants can actually lean on small plants. This can cause damage to the smaller ones. I have seen tomatoes planted too close to bush beans. Inevitably the tomatoes arch over to the beans breaking stems, leaves, and blossoms off of the beans.
#2 The plants in your plot are competing for resources, especially soil nutrients like nitrogen. If individual plants are suffering because of lack of nutrients this could mean a less healthy plant and less food production.
#3 Plant crowding creates a microclimate where plant leaves do not have enough air circulation to dry out. As we all know wet leaves lead to (say it with me) disease!
The takeaway is to think about what each individual plant needs as it goes into your garden. Happy Gardening!
I hope everyone enjoyed a wonderful thanksgiving! Today we resume our series “tiny topics.” Our next tiny topic is watering. How we water our plants can make a huge difference in our plant health. There are three things every gardener needs to know about watering:
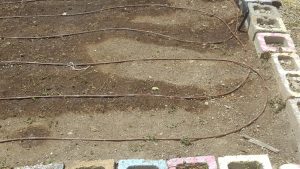
#1 Avoid watering overhead if possible. Many of our plant disease-causing pathogens thrive in wet conditions. By wetting the leaves and plant blossoms we are creating an ideal environment for the spread of disease. Most community gardeners do not have drip irrigation systems that add water at the soil line and that is okay. Just be mindful when you are watering to focus the water on the soil line and not the plant leaves.
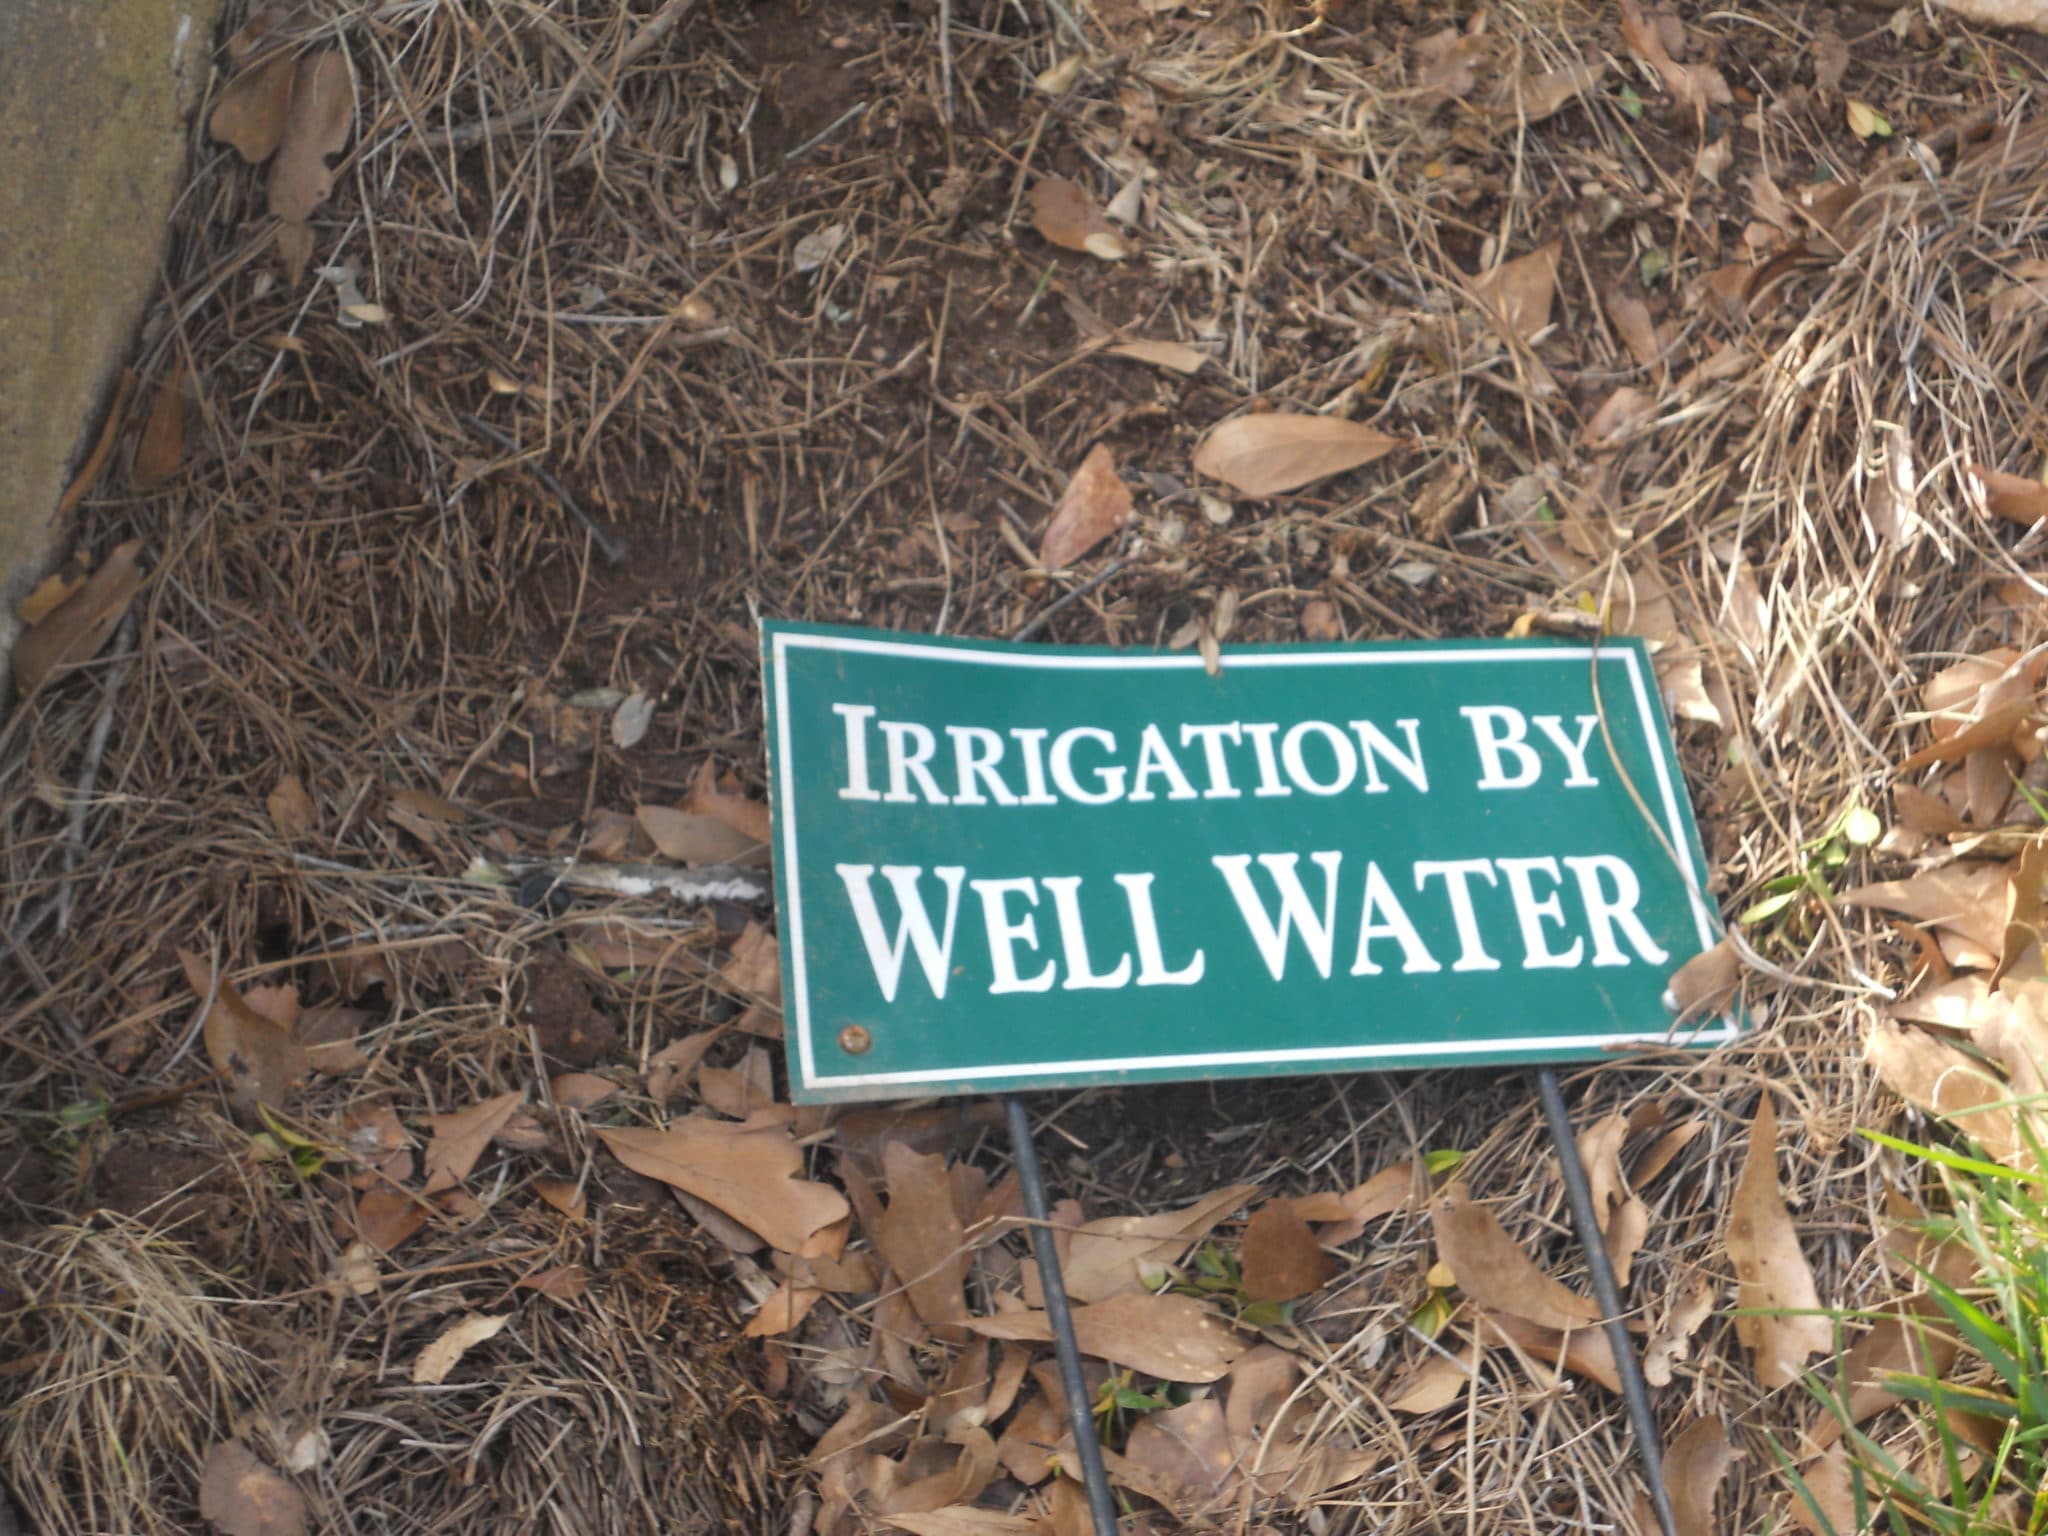
Drip irrigation systems are ideal but not always practical.
#2 The best time to water is in the early morning. This allows the plant leaves to dry off as the sun comes up. Again, water spreads disease! For most community gardeners this is not possible. Many gardeners head to the garden in the evening after work. Just knowing that you don’t want plants going through the night with wet leaves will help you be a better waterer.
#3 Don’t work in the garden while it is wet. There is no better way to spread disease then by working in a wet garden. Not only is spreading disease a problem but walking on wet soil can create soil compaction.
You may have heard these best management practices before today. But hopefully by knowing why these practices are important will allow you to modify your habits and your garden will thank you!